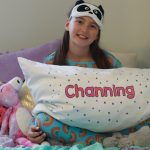
DIY Coloring Pillowcase
A great activity for kids! Make your own coloring pillowcase - use washable markers to color it over and over again!
Yield: 1 Pillowcase
Equipment
- Cricut Explore Air 2
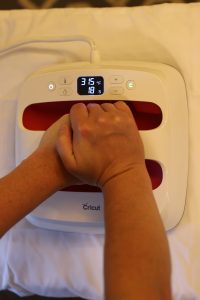
- EasyPress
- EasyPress Mat
- Wedding Tool
Materials
- Iron on Vinyl - Black
- Blank Pillowcase
- Fabric Markers
Instructions
- Type your name in Cricut Design Space. A great outline font available with Cricut Access is Cricut Sans Outline, or you can use any other font you have downloaded to your computer.
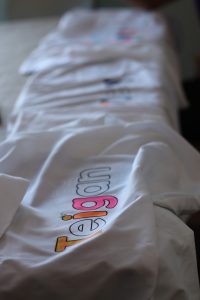
- Cut out design with the Cricut Explore Air 2. Remember to mirror image your text! Weed the vinyl and it is ready to iron on! It should have a clear sheet of plastic on top of the design.
- Warm up the EasyPress and place the pillowcase over the heating mat. After warming the pillowcase with the easypress, place the iron on vinyl design onto the pillowcase. Heat according to the Heat Settings Guide for your material and peel as directed.
- Before coloring place a piece of cardboard inside of the pillowcase so the markers do not bleed from the front to the back.
Notes
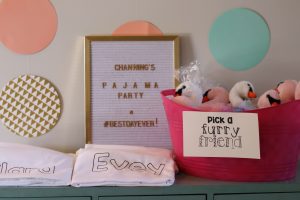 To make it easier, you may want to cut out and iron on your names prior to the guests arriving. The coloring is the fun part!