The Perfect Gallery Wall
Gallery walls are such a great way to add impact, personality, and memories to your home. I love a well done collage, and in fact, have collected great photos of them for years. In our house, there tends to be track marks up the walls from nails being repositioned a quarter of an inch in any direction. If the photos you are hanging are small or light weight it is ok because you are using very tiny nails. The problem becomes when you are hanging really heavy art. Another issue that I have come across with my design clients is lath and plaster walls. When you nail into them, the wall behind it crumbles a bit, so installing a gallery wall would become quite the arduous process as well as very damaging to your walls.
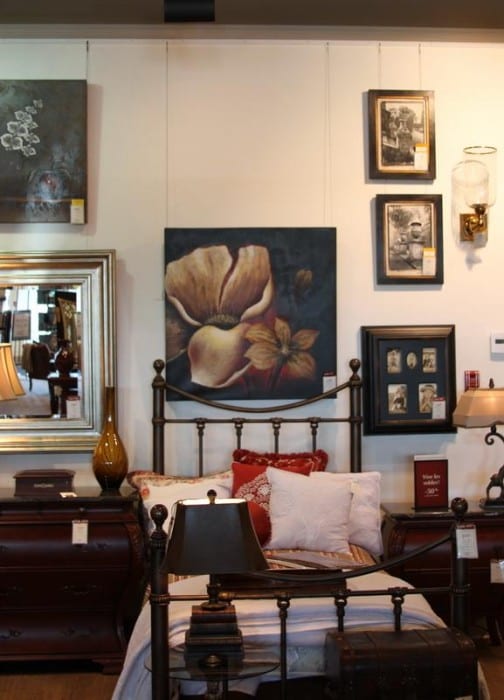
When I was working as a designer in a home furnishings store, one of the ideas that frequently came to mind was a cable system. For an area that has an expensive faux finish or wallpaper that is permanently on display, while still rearranging furniture frequently, cable systems are a great solution. It is essentially a heavy duty cable anchored to the ends of the wall, allowing you to hang photos from rails without nailing into the wall. This allows you to tweak the arrangement of a gallery wall to be precise, straight, and able to be rearranged. For cable systems, ashanging is a great source to check out.
Tips for hanging a gallery wall:
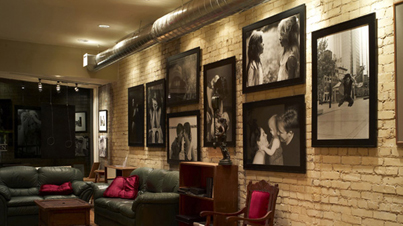
- Keep it united – keep one thing consistent. Use frames in the same color such as all black frames with white mats.
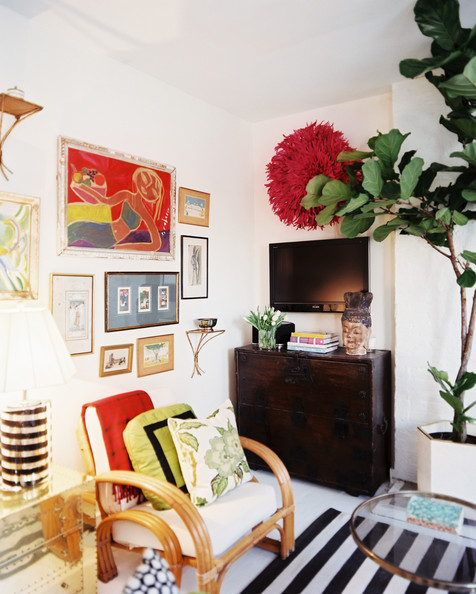
- Or not – have a variety of frame styles, materials, and media. Have paintings, sketches, and photographs as well as framed objects. Anything goes!
- Change out the mat – adding a really wide mat adds importance to a photo. My favorite style of frame is a really large outer frame, thick mat, and a smaller photo in it. Sometimes the photos that make you stop and look are the most exciting.
- Let it evolve – start with large frames and fill in with smaller frames as time goes on. Expand the wall space as time goes on.


