Have you ever found a project in design space but want to change just one tiny thing? There is a whole world of tools to use in Design Space that will open a whole new world to you. Today you are going to get the crash course in what each of these tools does and when to use it.
Introduction To Cricut Design Space
Did you just get a Cricut Maker or Cricut explore? If you want the basics of how to use Design Space this is the tutorial you will want to read and save.
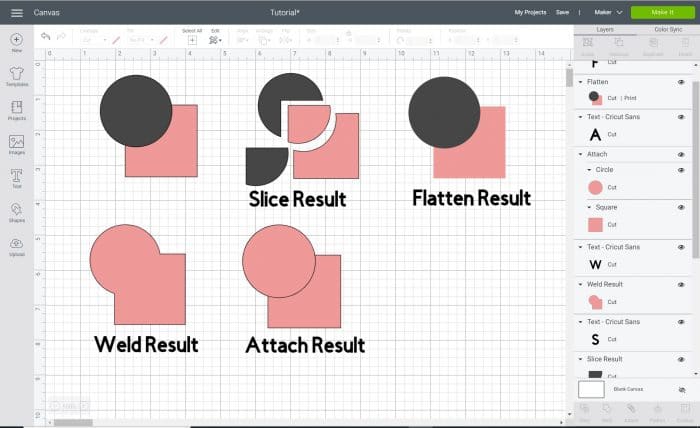
Are you looking to customize a project or item in Cricut Design Space? Then you will want to know how to use the slice, weld, attach, flatten, and contour tools.
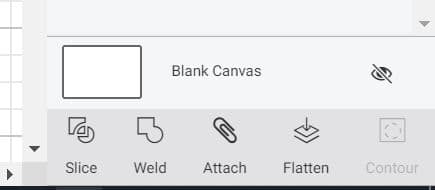
These tools are found in the bottom right corner of the design space screen. They will be super helpful to design within Cricut Design Space and I will show you how they each work.
Group
You can group two items together by highlighting them both, right clicking, and selecting group. Or Ctrl + G. Grouping two items will keep them together while being moved or resized. This will not keep these items together on the cutting mat.
Attach
The attach tool holds items together – both on the canvas / design screen and on the cutting mat. It will attach a writing or score layer to a cut layer.
For example, if you are wanting to have a pen draw on a card you would need to select the card (which would be a cut layer) and the text (which would be a drawing layer) and use the attach tool. You would be drawing on the same piece of paper that is being cut out. They are attached.
Weld
Weld is used to join two shapes together into one shape and removes any overlapping cut lines. This is most often used in cursive fonts with letters that would overlap.
It can also be used with basic shapes to make new shapes – for example a rectangle and triangle to make a pennant.
Slice
The slice tool splits two overlapping shapes into separate pieces. It cuts one shape from another shape to create new shapes. I like to think of the slice tool as a cookie cutter.
If you had a sandwich that you wanted to cut into a cute flower shape for your kids (you know, because you are such a fun mom, right?) You would stack bread, cheese, meat, and bread then press the flower shaped cutter into it.
The result would end up with the outside pieces from each layer of food. The flower shape cutout in each layer of the sandwich.
Note: You can only slice two images at a time, so if the tool is not showing up you can ungroup your images and try again.
Flatten
Flatten will take all the images and shapes that you have selected and presses them into a single image. Every color we remain the same as it appears on screen.
Flatten is used for the print then cut feature. If you wanted to make stickers you could use printable vinyl or sticker paper. You would flatten the images, print the design on your home printer, and then put the sheet onto your cutting mat where it would be cut out around the entire shape.
Contour
The contour tool is used to hide or ignore pieces of a design that you do not want cut out.
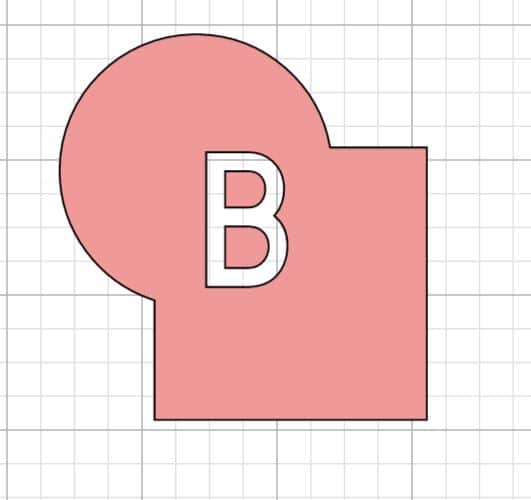
For example. Lets say you have this shape and had the letter B cut out of it. But you do not want the B to be cut out. You would select the contour tool, which pulls up this screen:
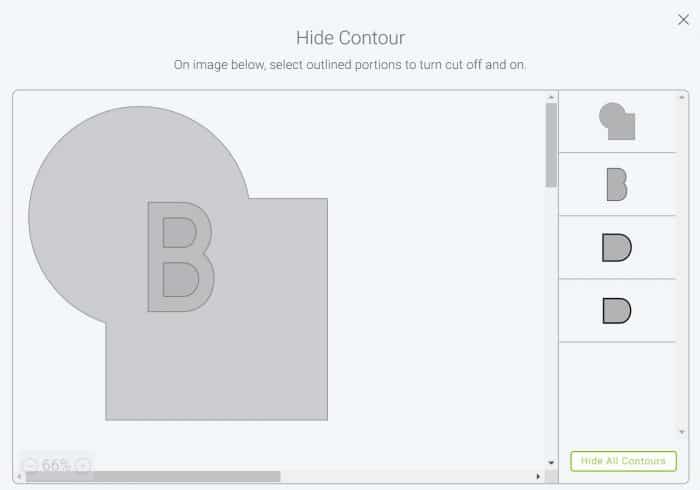

You would then select the pieces of the b you do not want to cut.
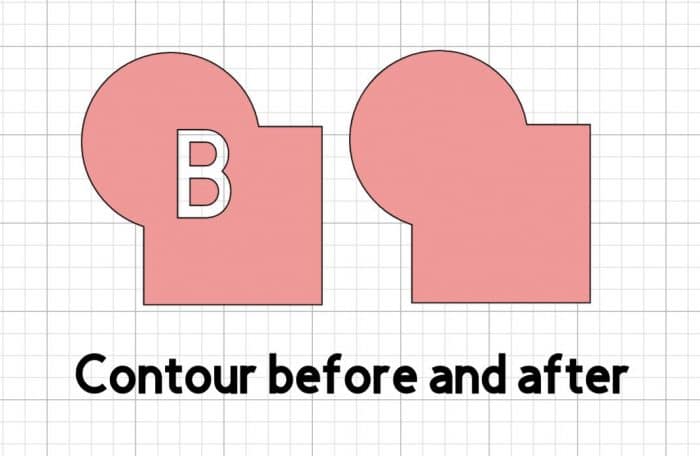
When it is time to cut, the letter B will be completely ignored. Those shapes are still in the design layers if you ever needed them, but they will not be cut. Sometimes this tool is a faster way to get the shape you want then trying to slice and weld lots of little pieces.

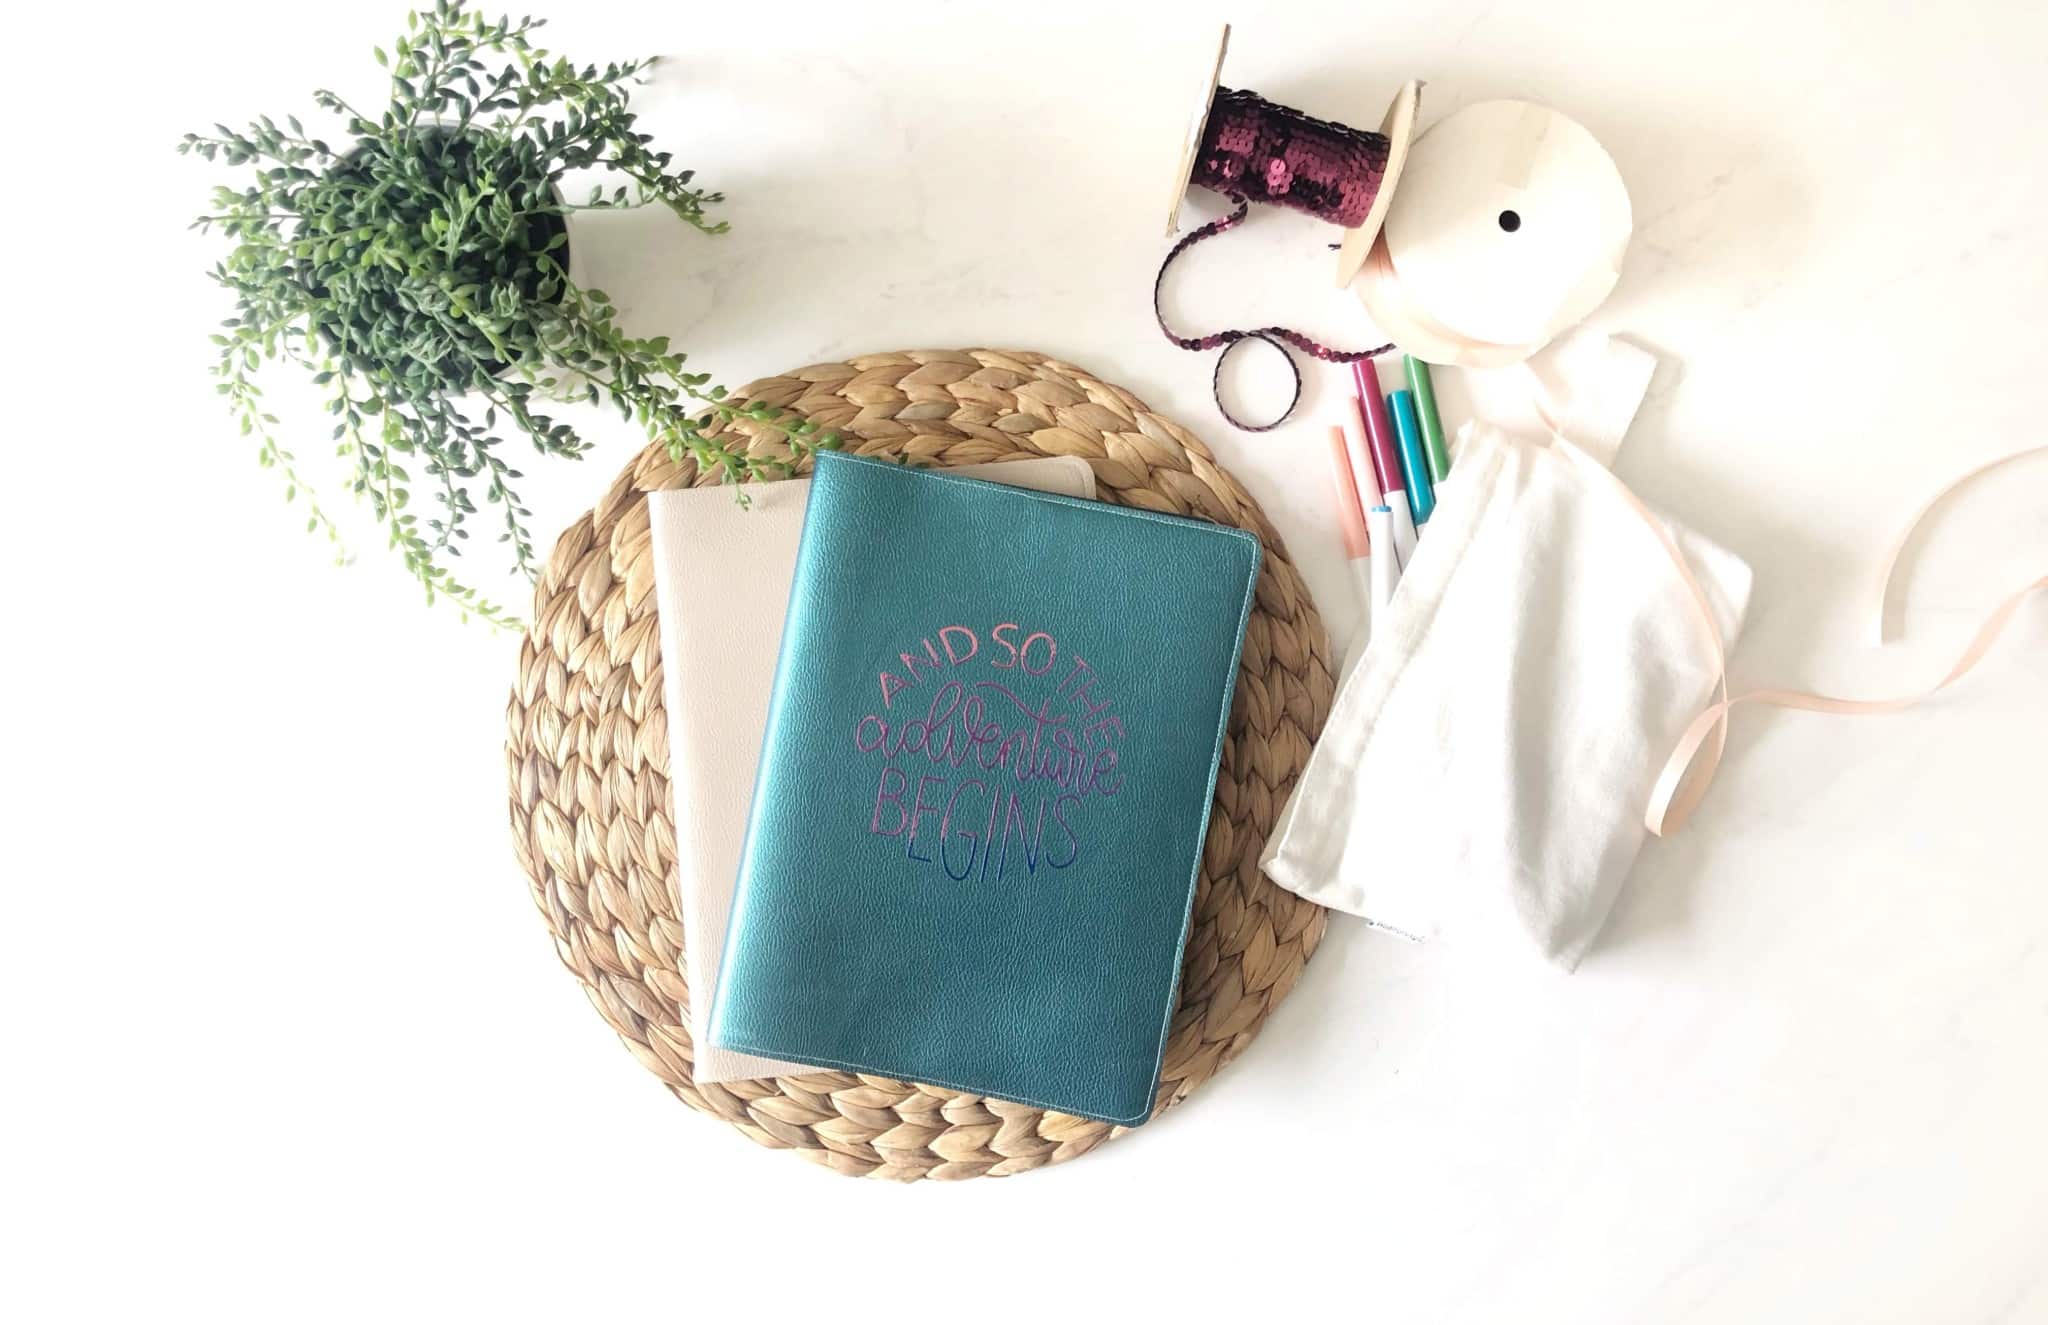
DIY Leather Journal Cover Tutorial (Cricut-Friendly & Reusable!)
Get a luxury leather journal without breaking the bank – this DIY leather journal cover is made with faux leather and the cricut explore. Not only is this leather composition book cover inexpensive to make yourself, it is reusable too!

DIY Sloth Ornament
Hang out and relax while making a DIY sloth ornament. These cute felt ornaments are small enough that they are made in a short amount of time. Even better, use the Cricut to cut the felt for you! Make one in every color of the rainbow! #handmadechristmas #CricutChristmas #CricutCrafternoon This baby sloth stuffie is such…

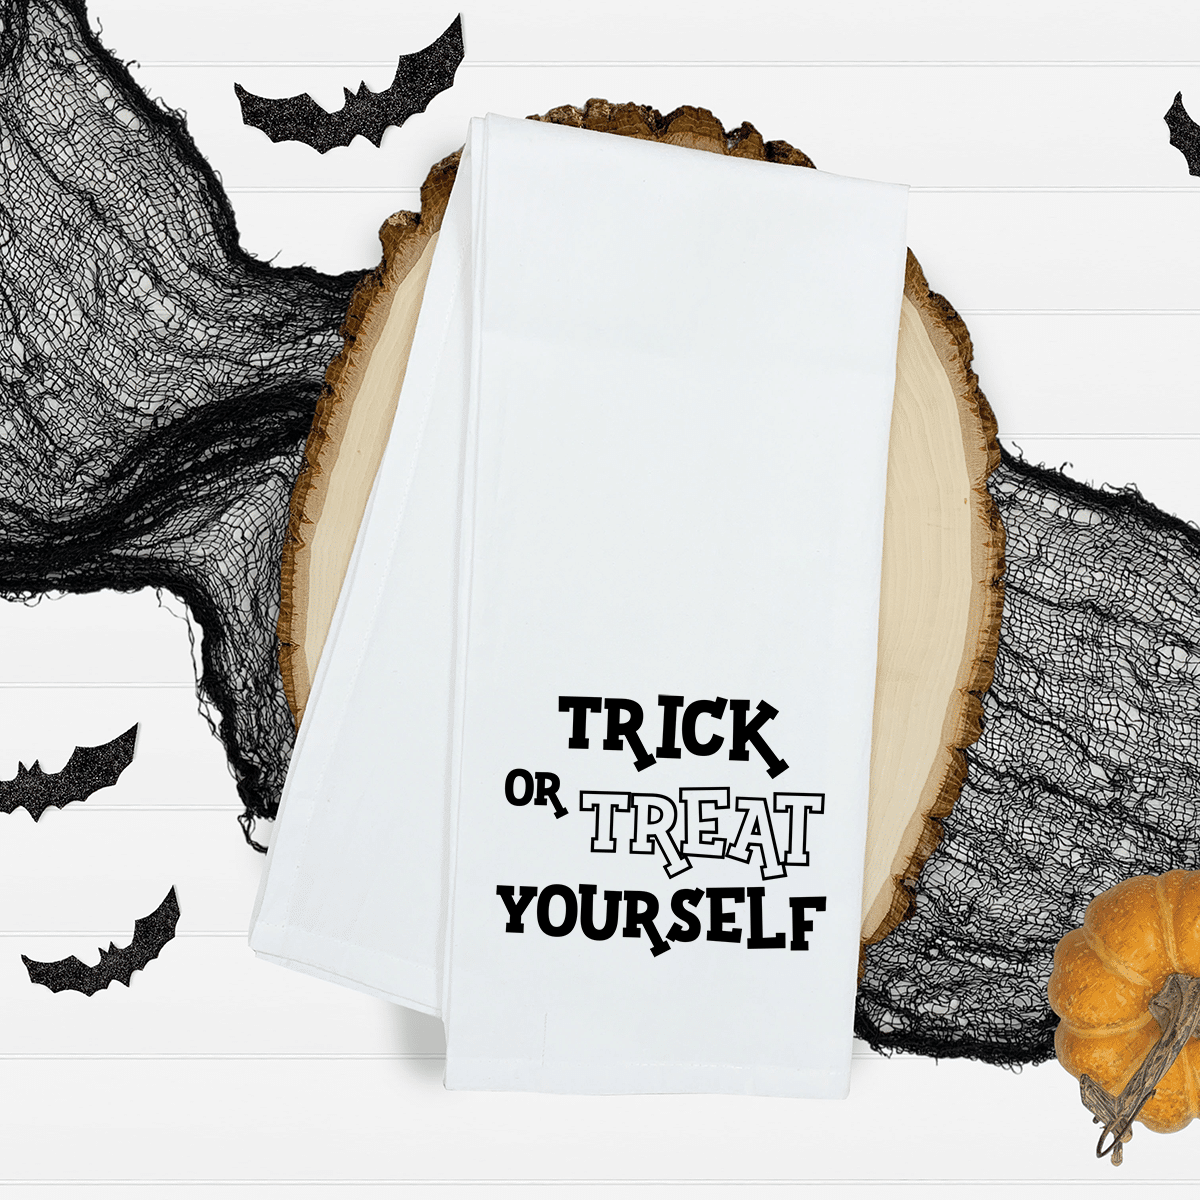
Trick or treat yourself
Trick Or Treat Yourself – Halloween SVG If you are looking for some simple halloween craft projects I am here for you. I am sharing my Trick Or Treat Yourself SVG as a free download to use on your Cricut or Silhouette machine. I also rounded up a few other halloween svg files from some other…


Comments & Reviews
Phyllis says
Thank you that is such a good explanation of these features.
Brooke says
I am so glad it helped you!
Sandra says
Thank you, I wondered what the flatten and contour features were for x
patricia smith says
Thank you now I can explain better to my niece when she asks questions. so helpful
patricia smith says
Is there any way i can print this to help
Maggy says
needed a way to change my email on your system – all I could do was unsubscribe.
Brooke says
That works! Feel free to unsubscribe and if wanted, resubscribe with your new email!