
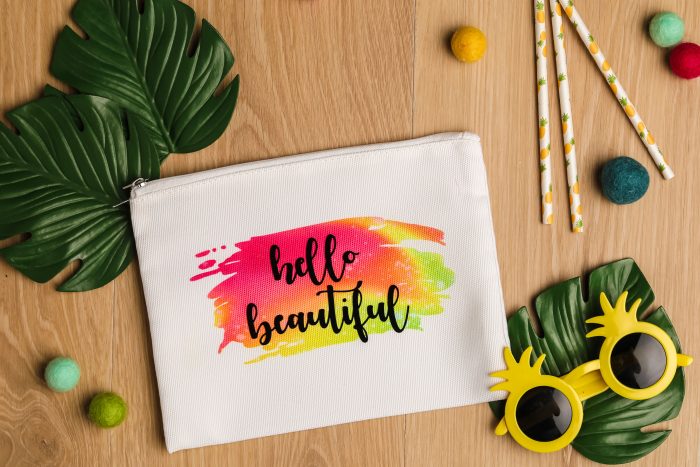
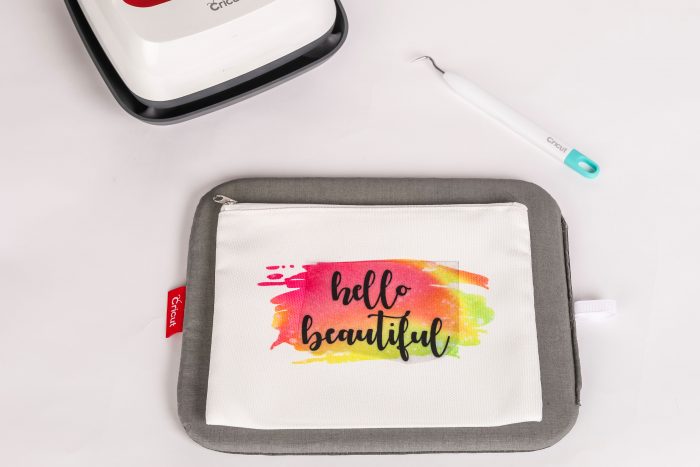
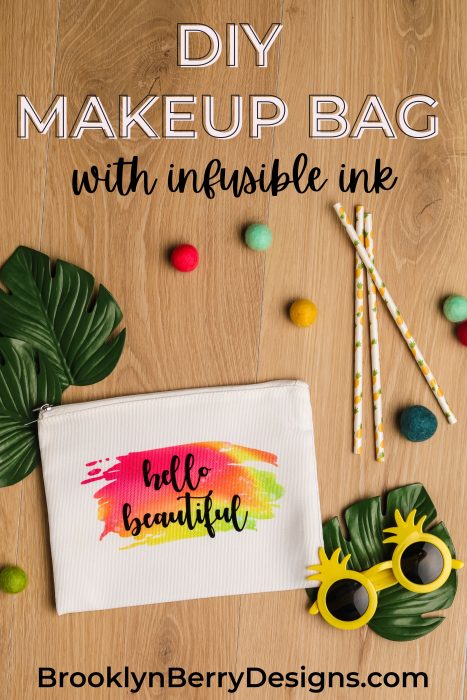
Are you looking for a really simple project to get started with infusible ink? I am about to show you a Infusible Ink Cosmetic Bag tutorial and it’s so cute that you will be wanting to make a million more!
What I love about infusible ink is the variety in patterns available. Instead of layering different colors of vinyl, you can get an intricate pattern that is fused into the fabric.
Where my mind went to next was – what if we added a layer of iron-on vinyl on top of the infusible ink? That could open up a lot of design options as well.
Of course, the fear of messing up is huge when trying something new or slightly experimental. So what better project to start with than the new infusible ink blank cosmetic bags.
For those of you who are seasoned pros with infusible ink, feel free to scroll to the end of this post to get the free “Hello Beautiful” svg file to make this design.
For anyone who needs some encouragement to try infusible ink I will walk you through the steps from start to finish. Prepare yourself – it looks so complicated while actually being simple – you will want to make more of these for christmas gifts, birthdays, or even bridesmaid gifts!
If you haven’t tried Cricut infusible ink yet, this DIY makeup bag is the perfect starter project. It’s simple to make and the results are amazing!
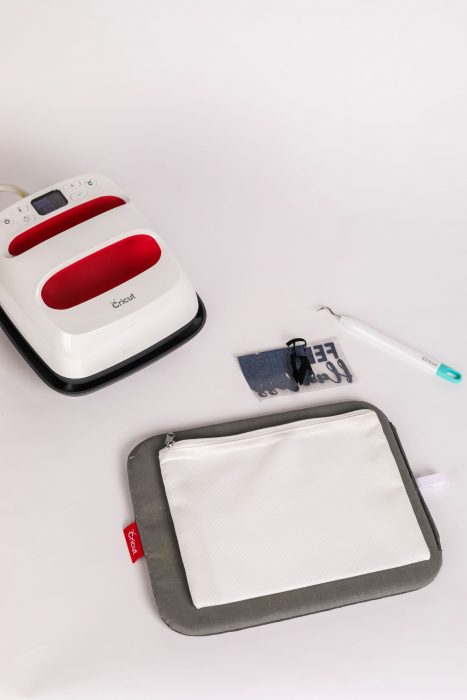
Supplies Needed to make the Infusible Ink Cosmetic Bag:
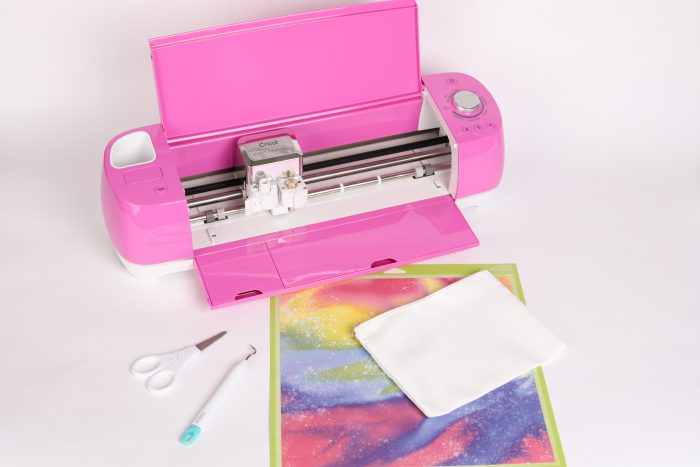
- Cricut Explore Air 2 or Cricut Maker
- Cricut EasyPress 2
- Infusible Ink Transfer Sheet
- EasyPress Mat
- Cutting Mat
- Weeding Tools
- Designs / SVG (the link to download is at the end of this post)
- Cricut Blank Cosmetic Bag
- Heat Resistant Tape
- White cardstock
- Lint roller
INSTRUCTIONS FOR DESIGN SPACE:
- Upload the design to Cricut Design Space (an in depth tutorial can be found here)
- Resize the design to fit on the cosmetic bag.
- Place an Infusible Ink transfer sheet on a StandardGrip Mat face up.
- Place iron-on vinyl on StandardGrip Mat shiny side down.
- Click MAKE IT. Note: you’ll need to MIRROR your image for both images.
- Choose Infusible Ink for your the infusible ink mat, and iron-on vinyl for the other mat.
- Load the mat, then press the C (cut) button on your machine.
- When it’s finished cutting, unload the machine and take the Infusible Ink sheet off the mat.
- Repeat step 7-8 for iron on vinyl.
- Remove the outside of the design from your cut so that only your design is left on the sheet.
INFUSIBLE INK COSMETIC BAG INSTRUCTIONS:
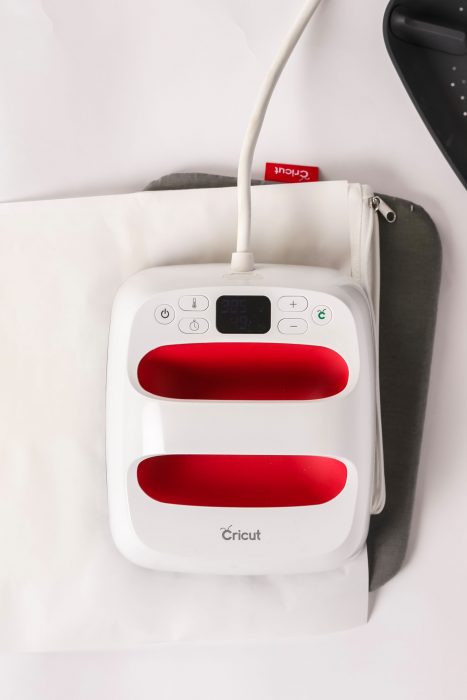
Preheat Cricut EasyPress 2 to 385°F
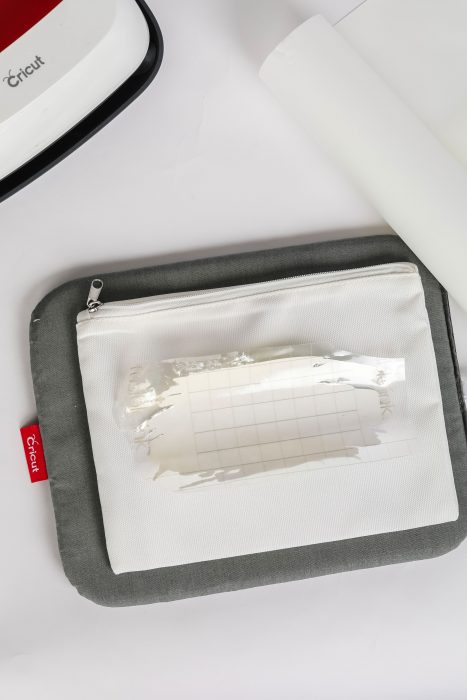
Place cosmetic bag on EasyPress mat
Place cardstock inside the cosmetic bag to prevent the colors from bleeding onto the back of the bag.
Use a lint roller over the bag to remove any particles that may be on the bag.
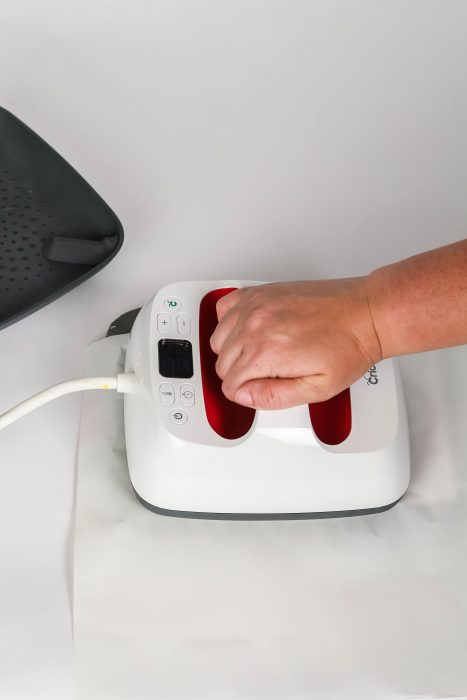
Cover cosmetic bag with butcher paper and preheat for 15s. This removes and moisture from the bag and gives you a better transfer.
Remove butcher paper and place the design on the cosmetic bag – liner facing up.
Press with light pressure at 385°F for 60 seconds
Let the design bag cool to a warm temperature and remove the liner.
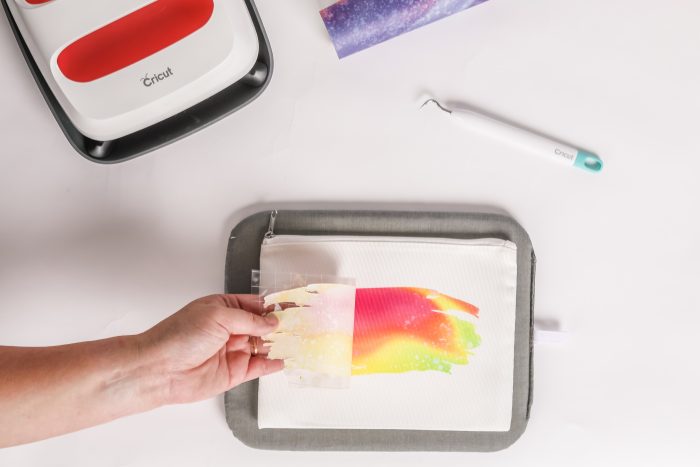
Repeat again with iron-on vinyl design.
Double check that the easy press is not placed over the zipper because it could cause the heat to be applied unevenly.
Looking For A Crafty Friend?

Looking for the best deals on Cricut products, designs, and fonts? Check out my Cricut Deals Page!
GET THE FREE “HELLO BEAUTIFUL” SVG FILE HERE:


INFUSIBLE INK COSMETIC BAG
Equipment
- Cricut Brayer and Remover Set
- EasyPress
- EasyPress Mat
- Cricut Explore Air
Materials
- Cricut Explore Air 2
- Cricut EasyPress 2
- Infusible Ink Transfer Sheet
- EasyPress Mat
- Cutting Mat
- Weeding Tools
- Designs / SVG the link to download is at the end of this post
- Cricut Blank Cosmetic Bag
- Heat Resistant Tape
- White cardstock
Instructions
- Place an Infusible Ink transfer sheet on a StandardGrip Mat face up.
- Place iron-on vinyl on StandardGrip Mat shiny side down.
- Upload the design to Cricut Design Space
- Resize the design to fit on the cosmetic bag.
- Click MAKE IT. Note: you’ll need to MIRROR your image.
- Choose Infusible Ink for your the infusible ink mat, and iron-on vinyl for the other mat.
- Load the mat, then press the C (cut) button on your machine.
- When it’s finished cutting, unload the machine and take the Infusible Ink sheet off the mat.
- Repeat steps 7-8 for iron on vinyl.
- Remove the outside of the design from your cut so that only your design is left on the sheet.
- Preheat Cricut EasyPress 2 to 385°F
- Place cosmetic bag on EasyPress mat
- Place cardstock inside the cosmetic bag to prevent the colors from bleeding onto the back of the bag.
- Use a lint roller over the bag to remove any particles.
- Cover cosmetic bag with butcher paper and preheat for 15s.
- Remove butcher paper and place the design on the cosmetic bag – liner facing up.
- Press with light pressure at 385°F for 60 s
- Let the design bag cool to a warm temperature and remove the liner.
- Repeat again with iron-on vinyl design.

Leave A Reply!