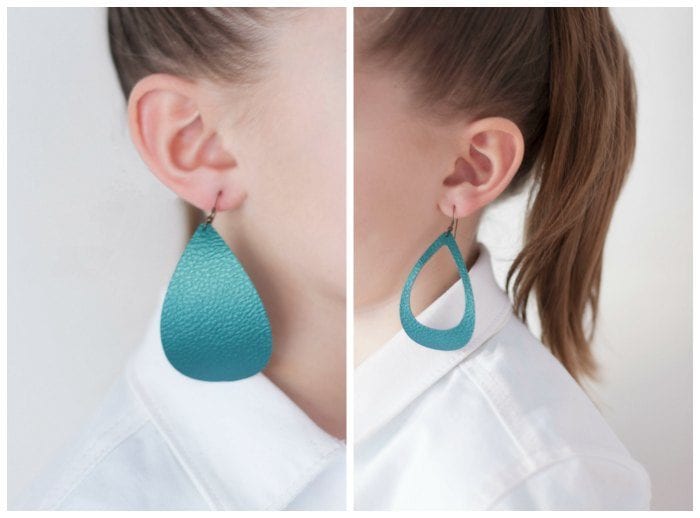
Have you always wanted to make your own jewelry? Using the Cricut Explore Air you can use basic shapes or any creative design that you can dream of. Here is a simple project tutorial that you can follow to create your own pair of faux leather earrings. Make a pair for your friends for a gift!
PIN THESE DIY LEATHER EARRINGS TO YOUR PINTEREST CRAFT BOARD!
How To Make Your Own Faux Leather Earrings
This post contains affiliate links. If you purchase something after clicking on this link a tiny percentage will go to support this site. This is at no cost to you and helps to keep this site running with free content. You can get details on the policies page here. 
Instructions:
Start by opening Cricut Design Space™ and finding a shape you would like. I used the basic teardrop shape in Cricut Access and adjusted the width and length. You can use my designs by opening each link below (it will open into design space and you can then save it to your own account). The best part? It only uses basic shapes that are FREE!
Free Cricut Cut Files:

Once the size is exactly as you want click “Go”. Make 2 copies of your project to make two earrings at once. If your shape is not symetrical (or not the same on both sides) you will want to group the two images together and cut only one copy of the project.
Place your faux leather face down on the cutting mat. Set the dial to custom and chooose Leather, Faux, 1mm (Cricut) when it asks you. Load your mat and push “Go”.
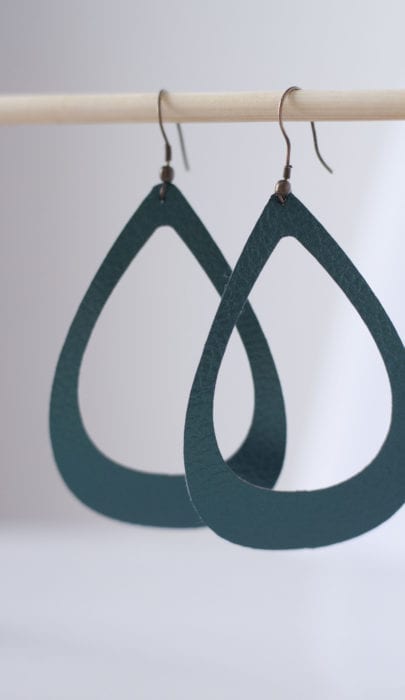
*If you are using the cut out tear drop shape file it will not show the small teardrop cut out shape as it is hidden behind the large tear drop shape. This layout allows the small shape to be cut first, which makes it easier to keep everything in place. I used a regular grip cutting mat, but if you want to cut an intricate design I would suggest using a strong grip (the purple) mat.*
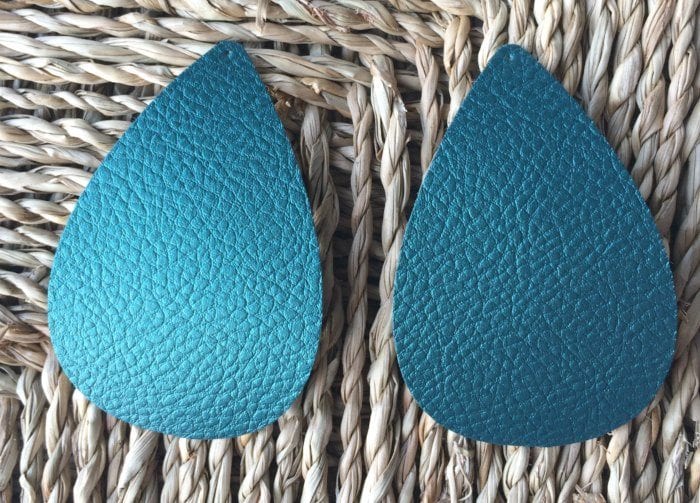
Remove the shapes from the cutting mat. 
Assembling:
Use a poking tool to punch a small hole in the top of the tear drop shape. Use the needle nose pliers to open the loop and attach to the leather earrings and close the metal loop. Thats it! Faux Leather Earrings are made.

I love the faux leather from Cricut because the material itself is very thin which is perfect for earrings because it allows you to wear large shapes without pulling on your ear lobes or hurting your ears after wearing them for a short time.


Comments & Reviews
Catina says
I can’t find the tear drop shape on my cricut app.
Brooke says
If you search the catalog of images, the tear drop I used was: Tear Drop #MFB0BF from the Bits and Pieces cartridge. You should be able to open the links I shared below to get the exact same shapes I used – I did adjust the width and height of the drop.
Brooke says
My file is here: https://design.cricut.com/#/design/57588689 but if you search design space its called “Droplet” and is available with Cricut Access.
Casey says
Where can I find more colors of this material? I’m looking for a red color
Brooke says
There are more options available in the Cricut store online. They just came out with a real leather in Red that is so beautiful (seeit here https://goo.gl/VqXKHq) and there is now a red in the faux leather (here: https://goo.gl/2E1ffi)
Megan Davis says
When I cut the cutout using the link, the larger teardrop cuts on top of the first cut and off the page cutting the mat. What am I doing wrong?
Brooke says
I just looked at it again, It should be cutting fine. When it pulls up the cut files and shows them on the cutting mat, you can drag the shape around. Maybe check there?
Megan Davis says
Thank you! It is showing it where I can drag the shape, but some are crooked after cutting, my eyes are getting old! Do you know a secret of how to get it aligned in the center once you are on the preview mat?