Lets Talk Christmas & Holiday Home Decor
I love changing out my decor for each season. I don’t change my entire house, but just a few areas in my home to bring in the holidays. The kids get so excited, and I love changing things up. For this years holiday home decor, I started with fall-ish decor and slowly add more winter and Christmas things. I know its a bit early for most people, but I find having the to-do list done early lets me enjoy the reason for the season in December. I hope my projects will give you some ideas to start your own Christmas and holiday home decor projects.
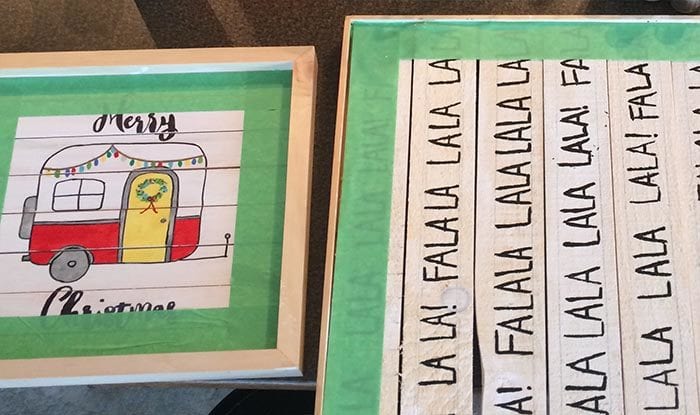
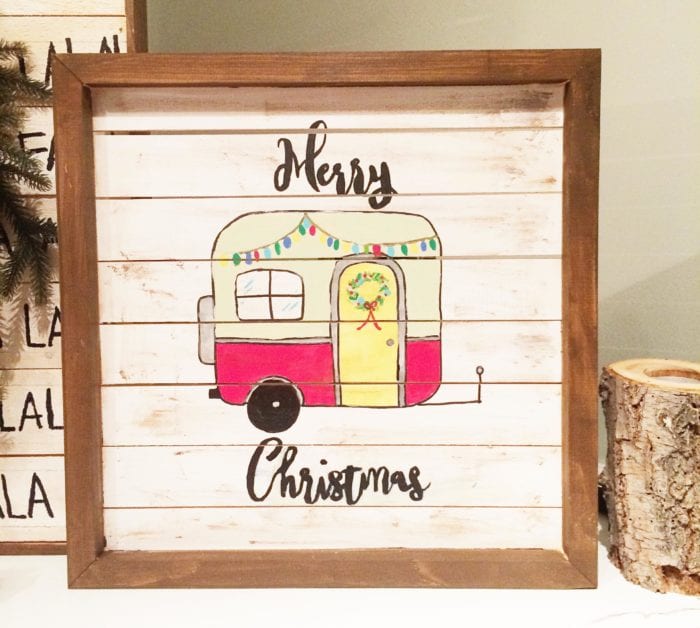
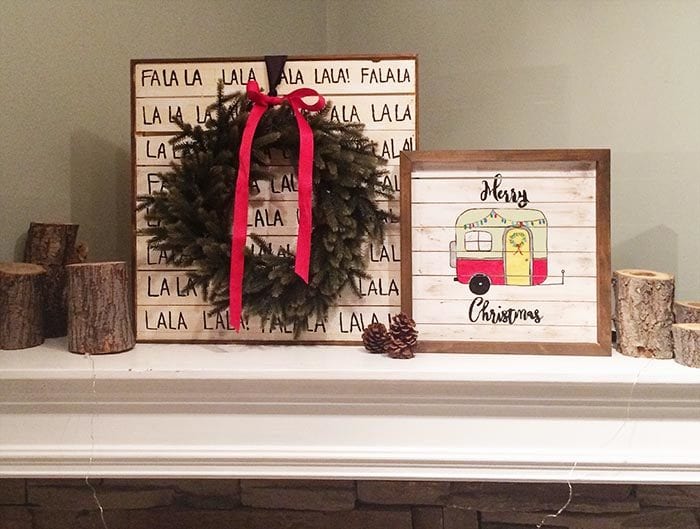
This year I decided to make two wooden pallet signs. A large size, more graphic style and a smaller Camper Christmas sign.
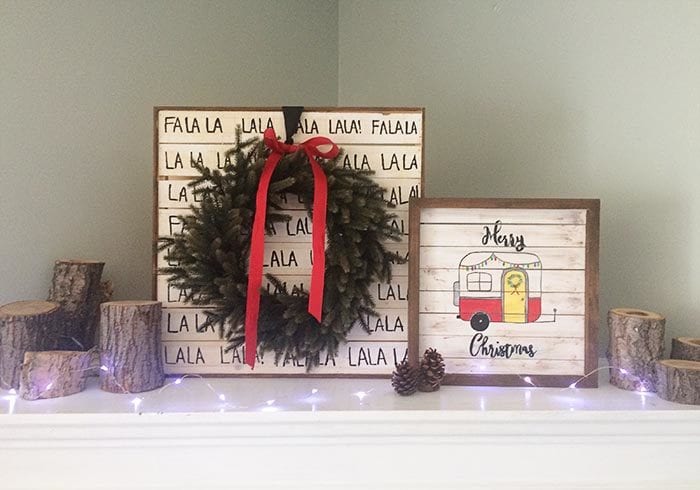
To make these signs you will need:
- Pallet signs – small and large from Walnut Hollow
- Acrylic craft paint in various colors – I used Americana acrylic paint from Deco-Arts
- large foam paint brush
- small paint brush for details
- Wood stain
- pencil
- sharpie
How to make your own pallet signs:
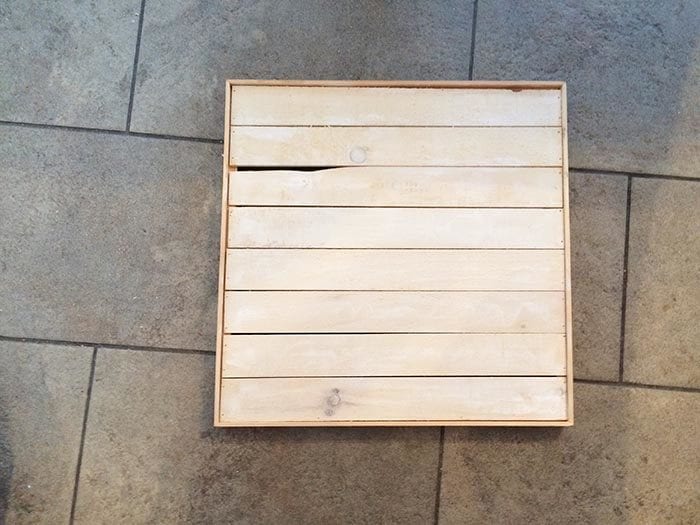
Start with a ready-made pallet sign and white wash it using watered down white paint, or use a dry brush method to leave wood grain showing below. I used a combination of both methods. The large sign is using the rough side of the sign with a thin edge frame. The small sign I made uses the flip side with smooth planks and a thicker edge frame. Both look fantastic, and from a distance you might not notice the texture on the planks. The biggest visual difference is the frame.
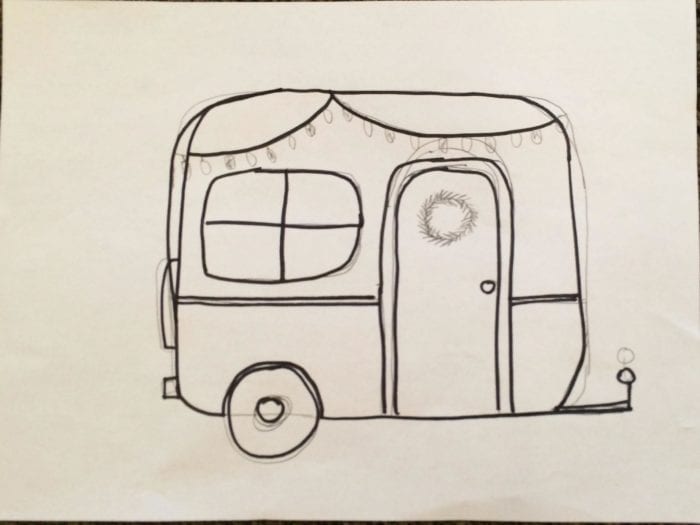
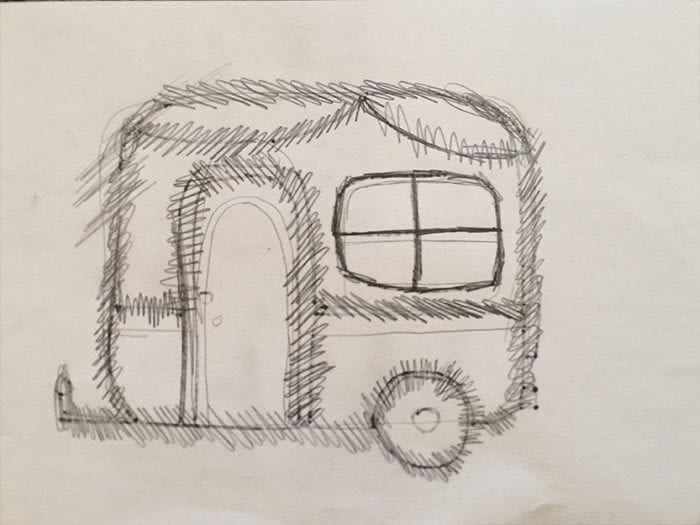
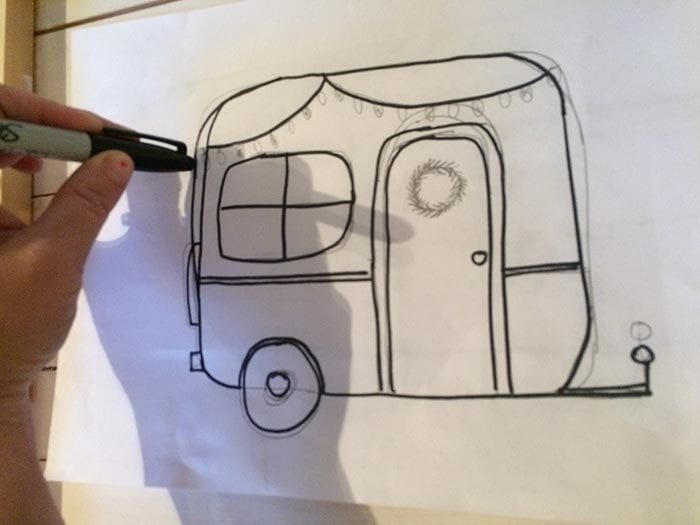
Draw out your design. For the word graphics I drew pencil guide lines and then free-handed the letters. I was happy with them not looking identical, I think it adds a hand-made and custom look. For the smaller sign I sketched out a small little camper on a regular piece of paper using pencil and then sharpie. If you want to make your own sign feel free to use this image as a template.
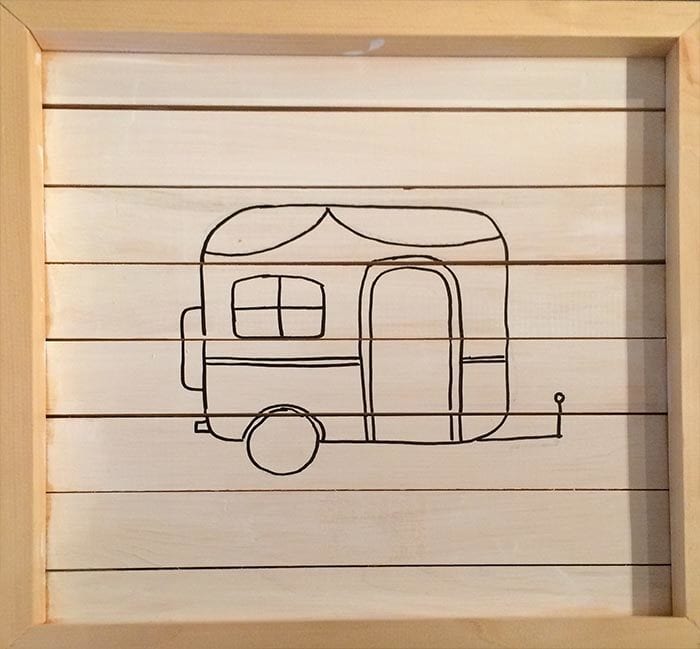
The image was transferred by drawing with pencil on the back side of the paper. Put the drawing on the wood slats and trace over it with a sharpie (with the lid on). Go over the lines with a pencil or sharpie.
Large sign – Use acrylic paint to draw in your letters. When the paint dries erase your guide lines. Small sign – paint the body of the camper first then add the wreath and string lights. You will notice I originally left my camper white and went back and painted it a very light green which required me to repaint over my string lights. Learn from my mistakes and paint the body first.
Tape off your edges and apply stain to the frame. Wipe it off using a rag or paper towel. For an added distressed look you can dry brush some stain onto the wood slats using the stained paper towel.
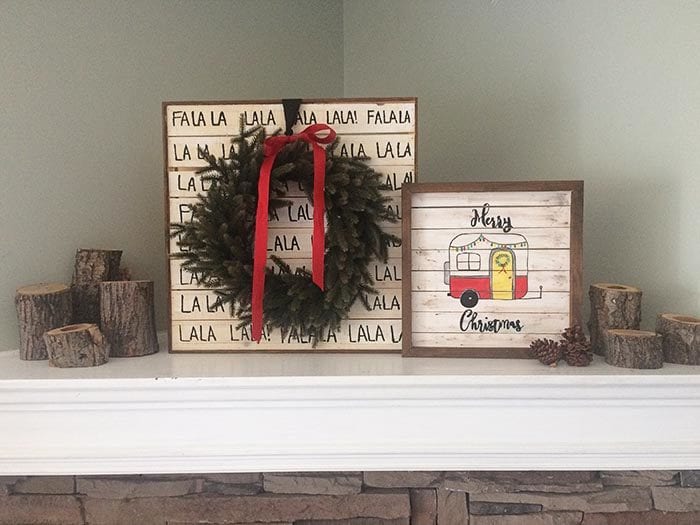
Hang and enjoy!

Comments & Reviews
Linda at Mixed Kreations says
These are both so cute! I love pallet decor. My favorite is the little camper, it’s adorable!
Brooke says
Thank you! I debated that one because I love the camper but its not obviously christmas on its own, right?
Sue LD says
Love the Fa La La background on the one with the wreath and that camper is adorable.
Christy Strickler says
Adorbale! I love how these turned out!
joy says
i love your designs only wish it was a printable;)