Learn how to print product labels at home with the munbyn printer.
If you are a small business owner or have an online store you simply NEED a thermal printer. Learn how to print product labels at home in seconds with the Munbyn thermal printer. You can also make your products stand out from the others by adding cute stickers to make them smile.
I recently got a Munbyn thermal shipping label printer and was able to test it out. I was thrilled to discover it had many more uses than just shipping labels. Today I will share how to setup your munbyn printer, load the labels, and design your own stickers.
What is a thermal printer?
A thermal printer uses a feed-through design to print a stack of labels or roll of stickers very quickly. Unlike a laser and inkjet printer, thermal printers use heat to print onto a thermal paper coated in chemicals that react with heat. These printed labels don’t use any ink or toner.
This makes it such a great affordable printer with no extra ink costs after the fact! Because of this heat method used you can only print black designs onto blank labels. Different colors can be incorporated by using different colored stickers.
Advantages of a thermal printer:
- No need for ink
- Very fast speeds – print up to 72 labels in a minute.
- Compact size – cute colors (gotta love that pink!)
- Print shipping labels directly from your retail store, via etsy or shopify.
- Compact size – the small printer fits easily on your workspace and can be carried around from room to room.
Creative ways to use your thermal printer:
- Product labels
- QR code and barcode labels
- Shipping Labels
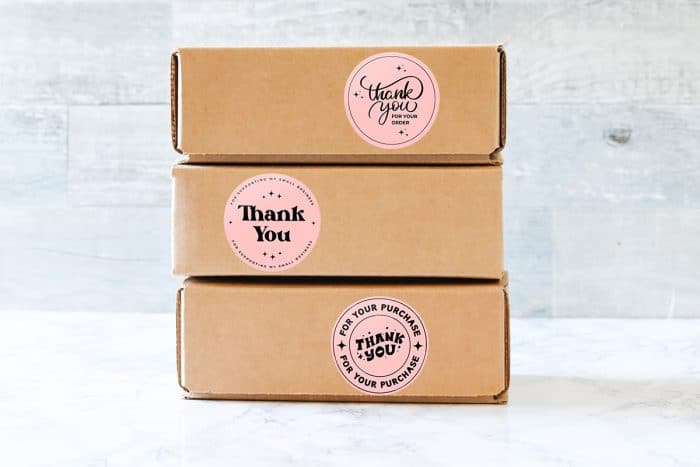
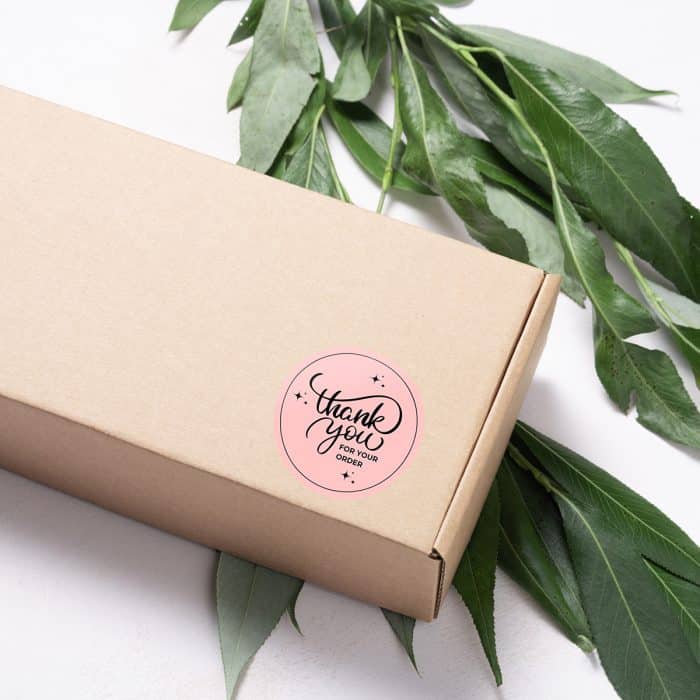
- Packaging extras – Do not bend, thanks for shopping, etc.
- Are you getting married? Return mailing address labels would save you so much time. Seal the envelope with custom labels using a monogram!
- Teachers can print out a lot of labels with each student’s name to label notebooks, folders, artwork, anything! What a way to stay organized
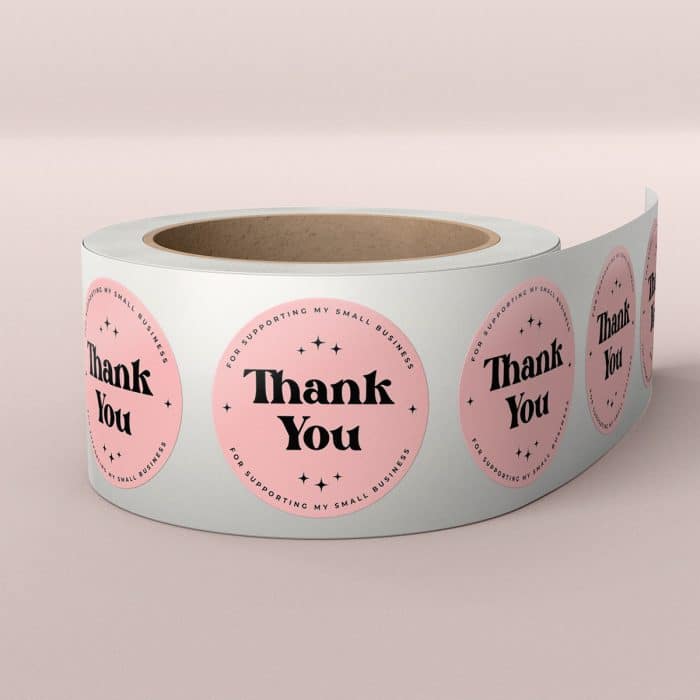
- freebie stickers for shop owners
- product care instructions
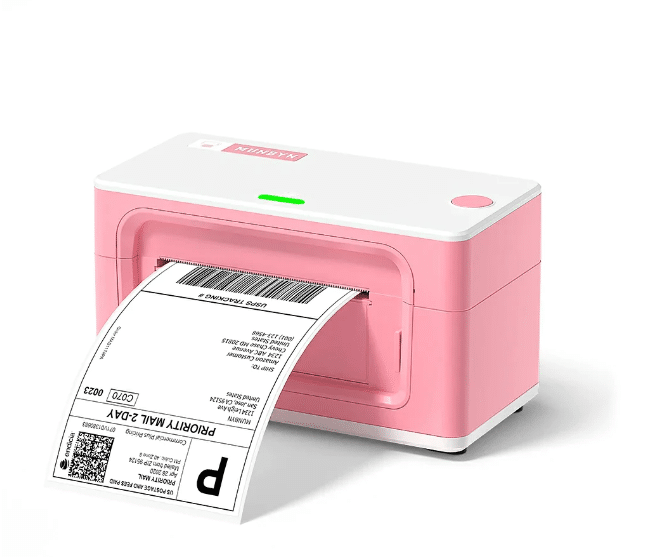
Setting Up The Munbyn Printer
The initial setup of your thermal printer is really simple! It’s practically plug and play. Here are the details if you need them:
- The first thing to do to set up your munbyn printer is to take it out of the box. You will see the printer comes in a box with a USB cable, a power cord, power adapter, USB cable, and a user manual.
- Connect the power cord to the back of the printer and plug it into an outlet. Turn on your printer by pressing the power button located on the back.
- Connect the printer to your computer with the included USB cord.
- Next, you need to install the printer driver on the laptop or desktop computer that you will be printing from. There are different drivers for Mac systems and Windows, so make sure to download and install the correct one from this page.
- Loading labels is simple, the stickers and labels are fed from the back. The round button on the top of the printer will open the printer. The guides can be adjusted to fit the width of your labels. To save your labels and not print out one or two blanks, close the lid and then load the stickers. This will save you a ton of money and a lot of materials over time.
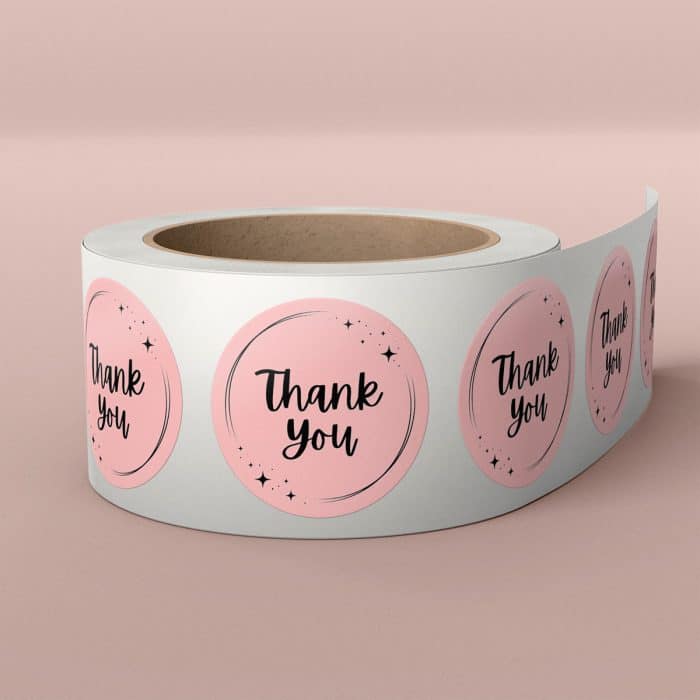
Sticker Designs
As of today, there isn’t a design software from Munbyn to use on a desktop for the USB printers. You can design your own stickers in programs such as adobe illustrator, procreate, or Canva. Just add a blank canvas that is the same custom size as your label.
Another option is to find ready made label designs online. Just make sure the dimensions match your sticker signs. You will want to do a test print of just one copy to make sure the size of your design works with the size of the label.
Free sticker Designs
For those of you looking to get started with some labels, I wanted to share 4 free designs to use with your stickers and Munbyn printer. If you would like the free sticker designs, enter your email in the box below and I will send them straight to your email.
My thoughts on the Munbyn printer
In summary, the munbyn printer is a great tool to have at your fingertips in your workspace. The ability to print directly shipping labels and bar codes directly from etsy or shopify makes your workflow much faster. I wish the printer had Bluetooth connection to print from my phone. After shopping around a bit more I see there are other options with Bluetooth, so this isn’t a con to the product so much as as a notice to look which features work best for you. A label holder for the rolls of round stickers is a nice accessory to have as well.

Leave A Reply!