Take your crafting up a notch with the Cricut Explore Air 2. This smart cutting machine makes crafting faster and more precise. Today I am sharing 5 things I love about my Cricut Explore air 2.
It wasn’t until I had small children and was staying home with them that the first Cricut Explore machine came out that didn’t require cartridges. I was so excited about that and finally felt like the time had come for me to jump on the cutting machine bandwagon. Very similar to that first machine, the Cricut Explore Air 2 has a few upgrades that ultimately make it the ultimate crafting tool.
This is a sponsored conversation written by me on behalf of Cricut. The opinions and text are all mine.
5 Things I Love About My Cricut Explore Air 2
Make Your Own Personalized Items
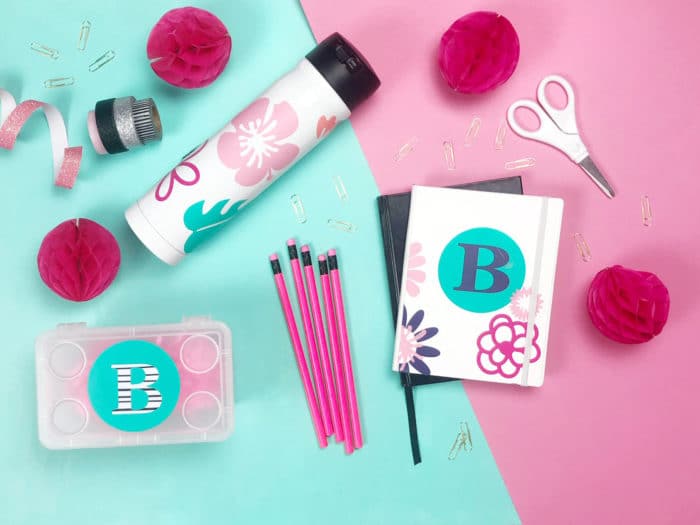
Who doesn’t love personalized items? From a classic monogram to having your name on your pencil case, there is just something fun about having your own stamp on things to claim them as your own.
Remember back in the day when we all struggled to find our own names, spelled correctly, on keychains and notebooks? With the Cricut Explore Air2 you can write any name you choose in your choice of font! Make personalized gifts for your kids and friends – even store bought items a little bit more your own.
Professional Quality Projects
The idea of a loving home made gift sounds awesome, but ideally you want the recipient to be surprised at its hand made qualities. “Wow, I can’t believe you made that” sounds much better than “You made this yourself, didn’t you?” That difference in tone is why you use the Cricut Explore Air 2. It cuts such small details and allows your project layers to line up perfectly. My first iron-on project I had to show to everyone because I was so excited about how great it looked.
Cut So Many Materials
There are so many materials that the Cricut Explore Air 2 can cut. Leather, paper, felt, vinyl, and so much more. Check out what materials the Cricut explore air 2 can cut. I like that one machine can do so much, it can replace so many tools in your craft room and gives you more space to move.
Set It And Forget It
The Explore Air machine has a dial that is turned to whatever materials you are cutting. The machine automatically configures the settings needed to cut your material. I find that this comes in handy when working on projects with more than one material and the dial can be adjusted for every cutting mat you have. There is also a custom setting for materials not listed on the mat – which brings up options on your computer for you to find the specific material you are cutting.

All The Pretty Colors
Like customizing your name, having your favorite color of Cricut Explore Air 2 just makes it even more fun to use. Its like the icing on the cake – colorful and sweet! I didn’t think that color would matter that much to be until the new colors started coming out. I want them all!

Make Your Own Snowflake Gift Tags
Gift tags are something that add so much to the presentation of a gift but are easily forgotten. Skip writing with sharpie on the wrap and make your own gift tags on the Cricut Explore Air 2! I’ll Show You How.
Supplies Needed:
Instructions:
- Open the file in design space. Adjust the colors of the snowflakes to somewhat match the colors of cardstock you want to use. This will make it easier when sorting your mats later.
- Click “Make It” in the top right corner of the screen. A new view of the cutting mat will appear and you can see them mats sorted by color.
- Starting with the first color, attach the cardstock to the cutting mat. If you want to fill the entire page of tags to cut, select more copies on the top left of the screen. Select the continue button.
- Turn the dial to your selected material. Load the mat and cut. Repeat for each color.
- Assemble by adding a glue dot or foam sticker to the snowflake and attach it to the tag.


Leave A Reply!