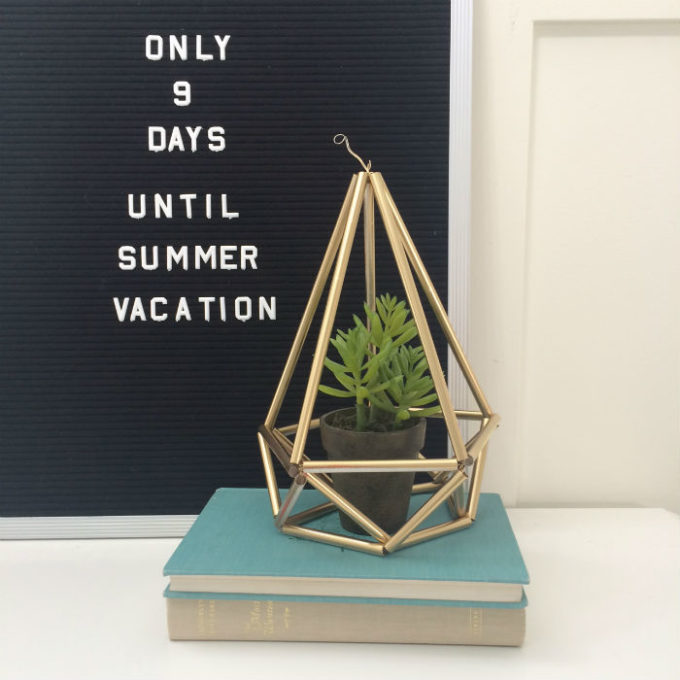
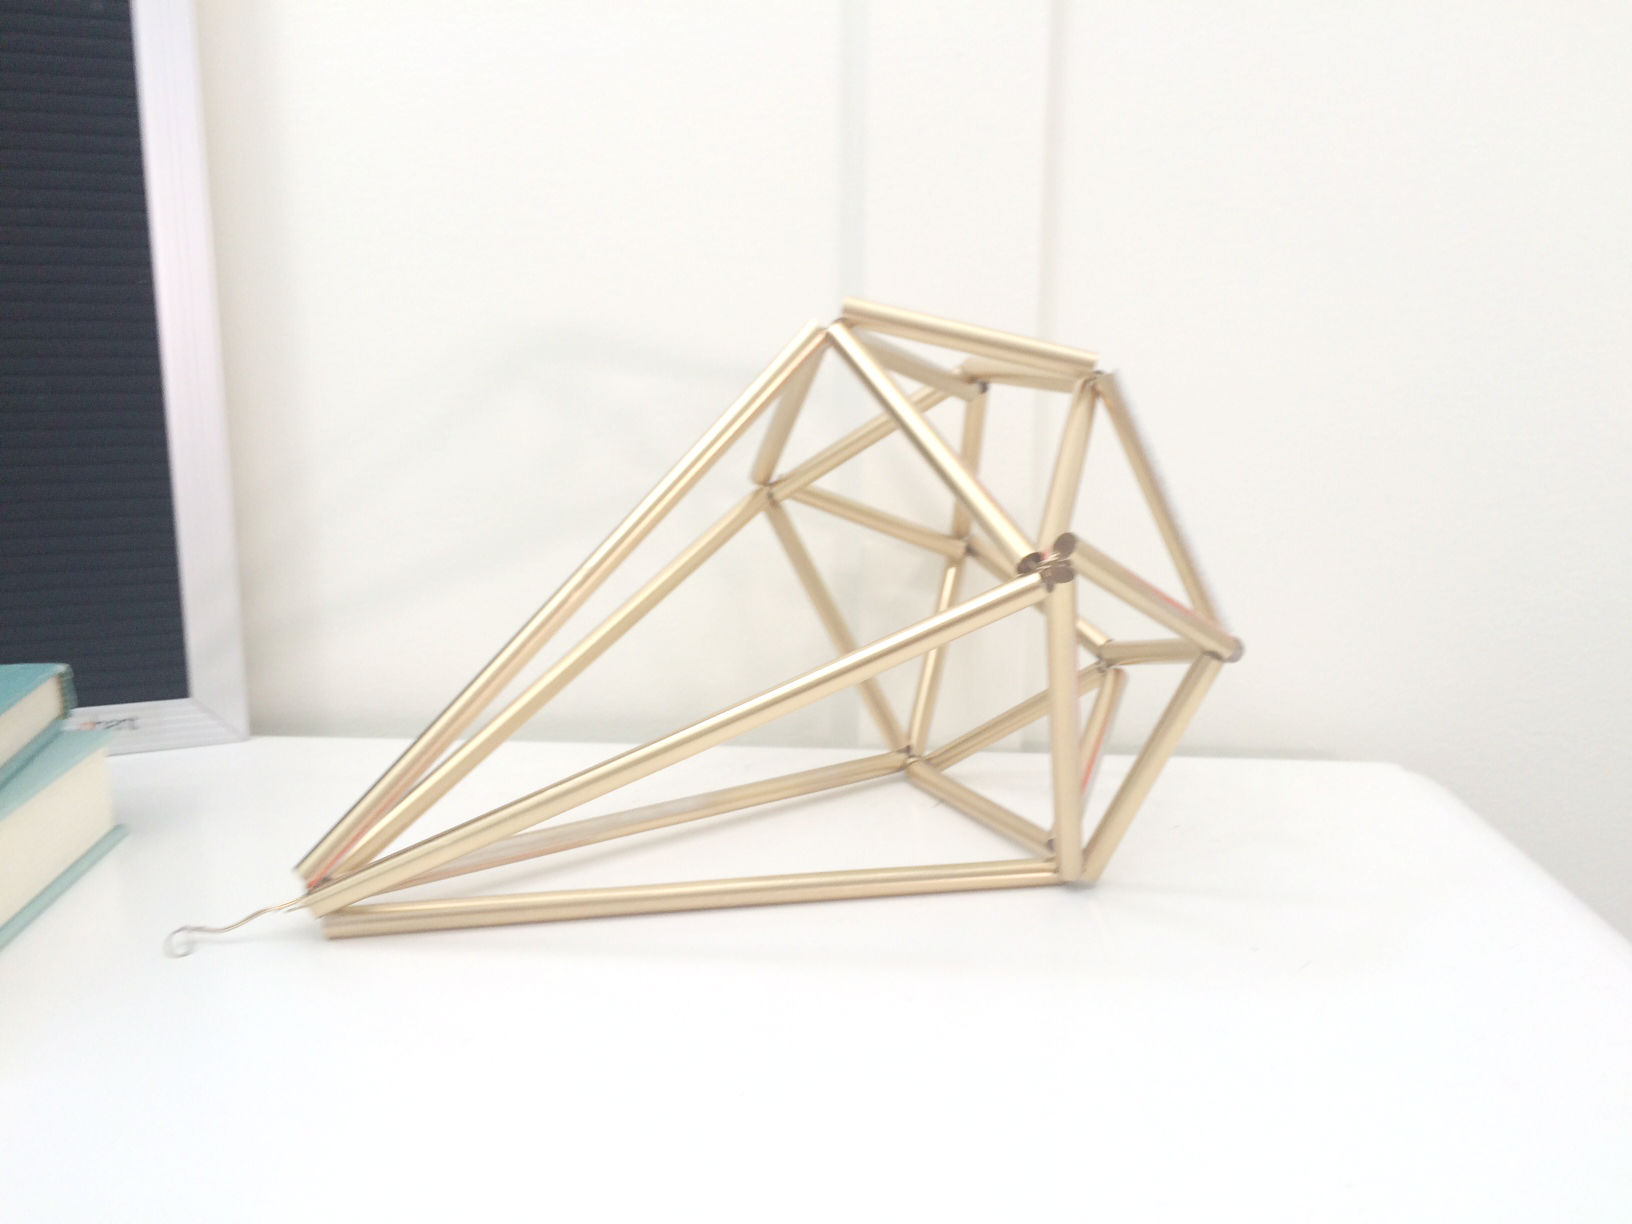
I have seen these awesome himelli projects and have wanted to make one for a long time. At my latest trip to the hardware store I bought some copper pipe and a pipe cutter. It was fairly easy to cut, but hard to get the pieces to a precise length.
While the copper was relatively inexpensive, I wanted to know what I was doing before I got too far into it. So I decided to make a trial version with straws. Thats right, plastic strawss you can grab for free the next time you take your kids for fast food. Or, you can be classy about it and buy some solid colored straws, or even some cute paper straws that are already the color you like.
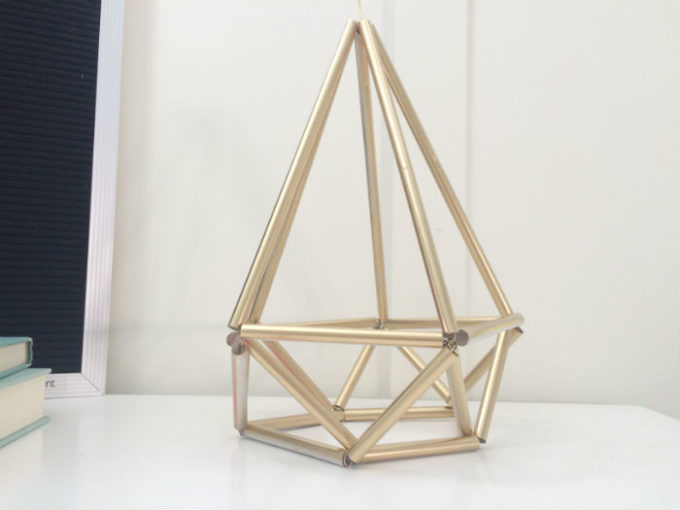
I decided to go the cheap way, and grab a handful of ugly straws to experiement with. When I was finished I simply spray painted the finished piece with metallic spray paint. It worked perfectly on the plastic straws, and not so perfectly on the paper straws. Just so you know.
To Make Your Own Himelli Diamond You Will Need:
Straws
Scissors
Wire
Spray Paint
I don’t want to confuse you with the 20 different sizes and dimensions of what I used, because I basically just made it up as I went along. So, I will do my best to explain.
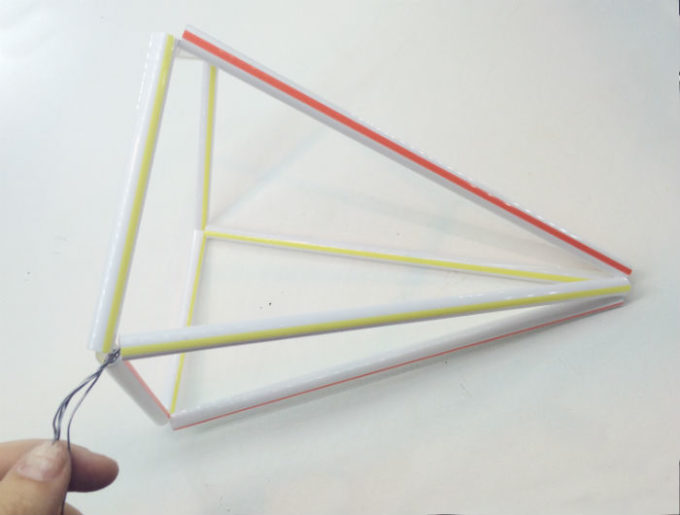
First, cut the straws according to size.
 For the flat bottom diamond I used 5 pieces at 5 inches long. 5 pieces at 3 inches and 15 pieces at 2.5 inches. If I were to make another I would have the largest pieces at 4 inches instead, but its just a preference for looks.
I made a video showing how I made this. Its my first time, so be kind to me. I realize sometimes it goes off screen, but it helps more than my descriptions do.
Here it the written tutorial:
Start with the 5 pieces that are 3″ long and string them onto the wire. Join together by twisting lightly.
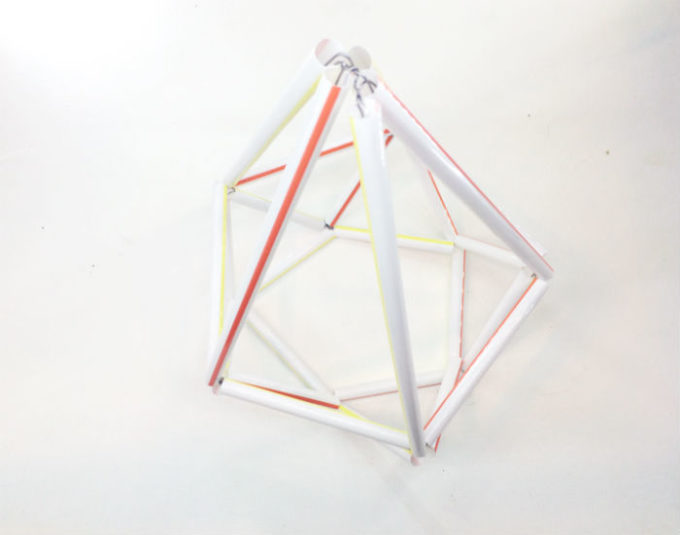
String two of the longest pieces onto the wire and attach at the next joint. Send the wire back up through the straw and add another piece. Repeat around until all 5 pieces are joined at the top.

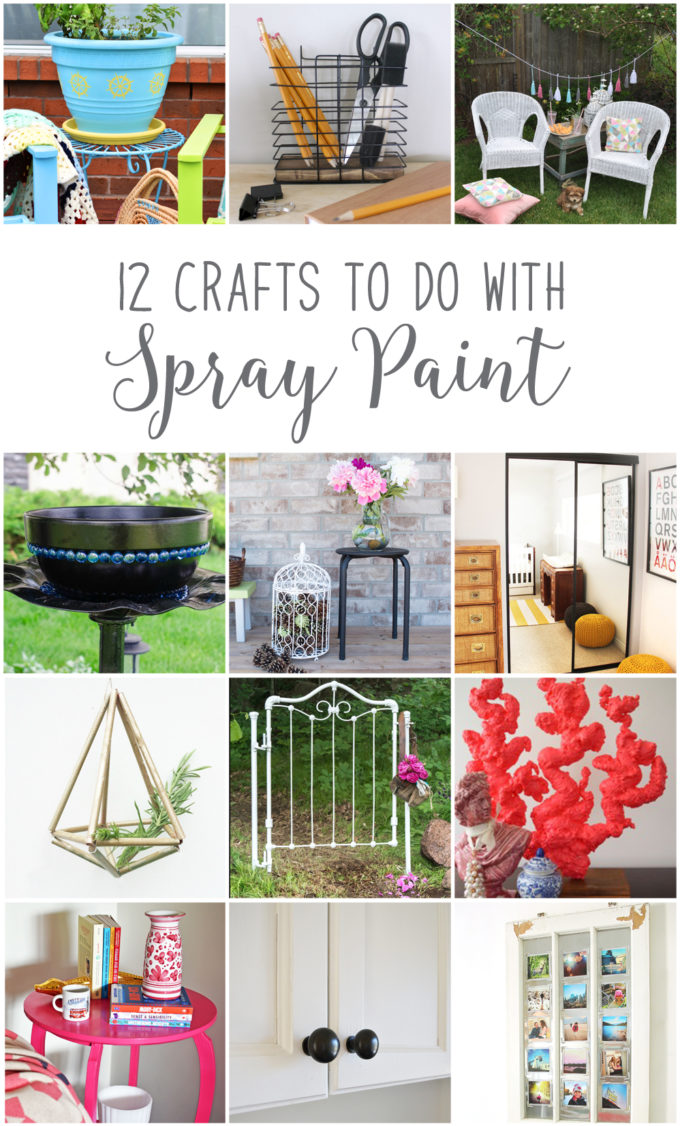
Now it’s time to see the rest of the DIY Spray Paint project ideas from my Canadian blogging friends!
Now it’s time to see the rest of the DIY Spray Paint project ideas from my Canadian blogging friends!
From the top left, they are:
DIY Spray Painted Terra Cotta Planter from Woman in Real Life
DIY Pencil Holder from Love Create Celebrate
Spray Paint Wicker Chair Makeover from Life is a Party
Recycled Outdoor Plant Pot Using Spray Paint from Time with Thea
Upcycling Outdoor Home Decor with Spray Paint from Sustain My Craft Habit
Painted Closet Doors from Fresh Crush
Gold Straw Himelli Plant Holders from Brooklyn Berry Designs
Repurposed Antique Crib DIY Secret Garden Gate from Vin’yet Etc.
DIY Coral from PMQ for Two
DIY Spray Painted Pink Living Room Side Table from Woman in Real Life
How to Update Your Home on a Budget with Spray Paint from The DIY Mommy

Comments & Reviews
Lindi says
I love this Brooke! Looks just as great as copper would, but it’s waaaay cheaper! Awesome job!
Thea says
How clever and resource. It does not even look like you used plastic! What a tasteful elegant looking DIY project.
Sonja @sustainmycrafthabit says
I had no idea you used straws to make this! It looks amazing. I’ve been wanting one for a while to hold my air plants… so thanks!
Ariel says
Such a budget friendly DIY! I love the shape and colour 🙂
Dannyelle @ Life is a Party says
I love the himelli trend, and yours looks great, awesome video too! Great project!