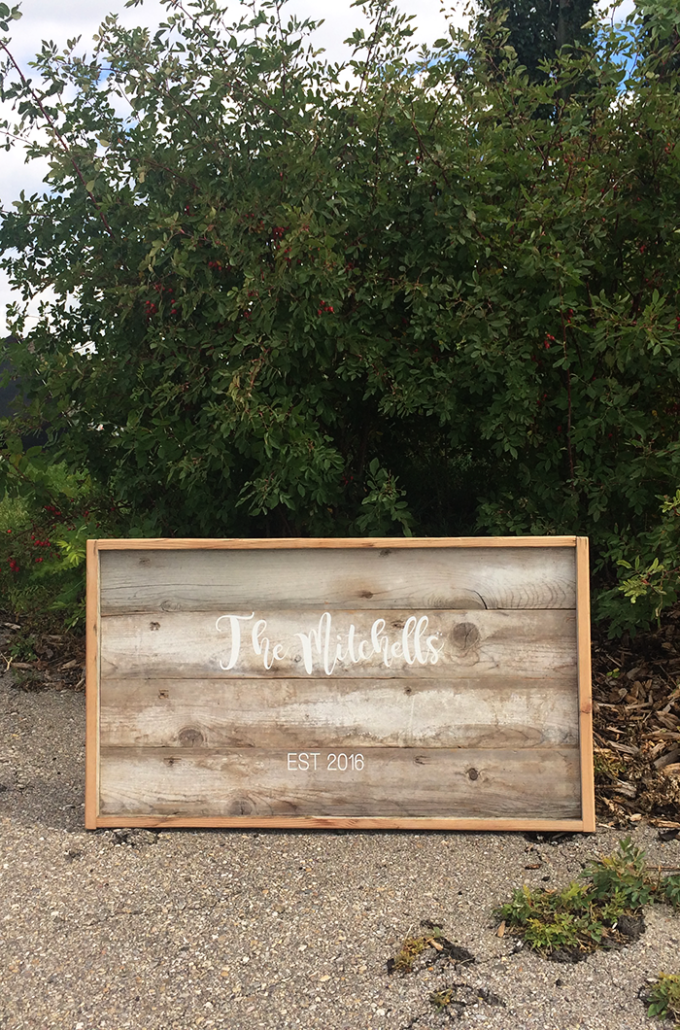
Weddings can be SO expensive, but they are also a great opportunity to flex some DIY and craft muscles. I wish someone would let me decorate and craft for their wedding. Ooooh the possibilities. To celebrate all things wedding, Cricut is having a wedding party and sharing a ton of ideas for projects to customize your wedding day. From invitations, bridal showers, ceremony decor and reception ideas, there is ideas for everyone and every style.. Its all about customizing your wedding and making it personal to the couple. “It’s Your Story, Make it Personal.”
Make Your Own ‘Hand Lettered look’ Wedding Sign

I love my Cricut Explore and all of the different ways I can use it. What I love about DIY wedding decor is that you can use the ideas for other parties and home decor too!

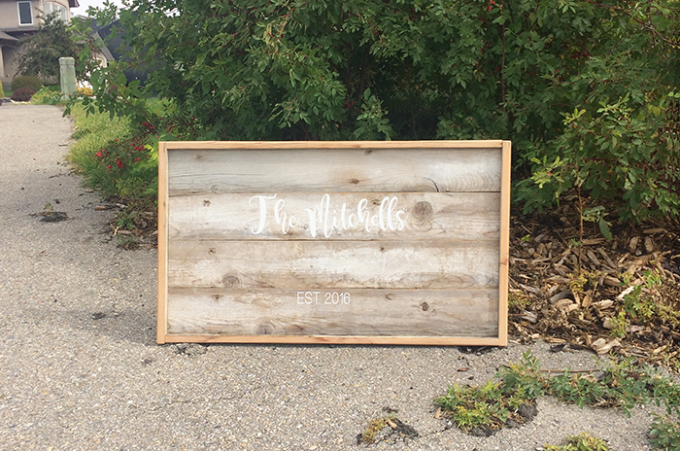
I am so excited to show you how I made this really simple yet stunning wedding sign. For my project I chose to use a last name to personalize this sign, but you could also make your own with different wedding themed sayings. This sign could point guests in the direction of the event, welcome people into a room, or grace a table top.
Hand lettering or hand writing is all the rage these days but my own skills are somewhat lacking. You know, for the right project I could draw, redraw, and perfect a loopy calligraphy looking word but I do not have the skills required to hand write any saying I like on a whim. Thank goodness for handwriting fonts. For this last name wedding sign I used the font Magnolia Sky, which is a free download. The date is in font Walkway Oblique.
To Make This DIY Wedding Sign You Will Need:
- Cricut Explore Air machine with a regular blade
- A wood sign (this one was a DIY but you can also purchase something similar like this or this)
- Polyurethane
- White vinyl
Directions:
- Coat the wood sign with a clear layer of polyurethane and let it dry. This helps the vinyl to stick to the wood.
- Chose your saying, or use your new last name! For this sign I used the fonts Magnolia Sky for the last name and Walkway Condensed for the date. Type them into design space using the text box. The first ‘T’ in ‘The’ is separate, and larger, than the rest of the word.
- Reduce the letter spacing until the letters overlap, looking like a true cursive letter.
- Weld T and he together
- Cut the file on white vinyl using the cricut explore and a regular mat.
- Weed the vinyl – meaning remove the parts you aren’t using in your design. This is the surrounding part of your word as well as the inside of a’s, e’s, etc.

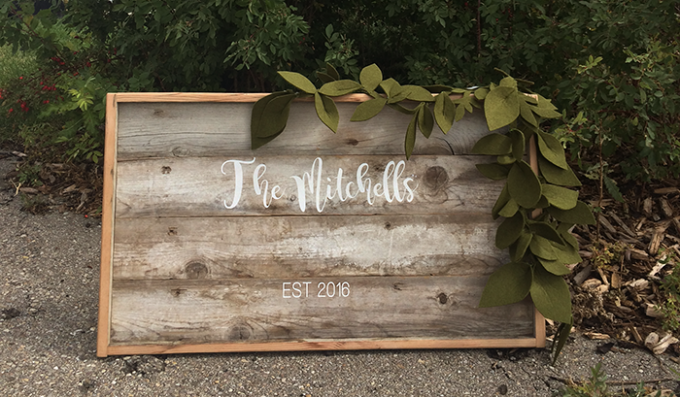
Add a DIY felt garland, some fresh greenery, and enjoy!
Cricut Contest
Are you planning a wedding? Or want to nominate someone you love to win some great wedding prizes?
For the month of september Cricut is hosting four weekly contests on their blog. Entrants will be asked for basic information including “why” they want to win that week’s prize, and what detail they would like to personalize about their wedding. Those who are not getting married will have the option to “nominate” someone they know that is getting married. During the week an entrant enters the contest, they will be entering to win that “week’s” prize, along with being entered to win the grand prize. Entrants can enter once a week. Cricut will be hand selecting the winners, and all winners will be contacted via email to confirm their entry details. Confirmed winners will be announced on Cricut’s Instagram account.
Check out the contest here
Pin for later:
