There are a lot of creative and talented women in my family, and we often get together to make new projects in my grandmas giant sewing room. Years ago we all made a faux chenille blanket – in soft colors, bold colors, flannels, cottons, baby size, and full bed size. All of the blankets I have were actually put together before any of my kids were born (over 9 years ago… man that sounds old) but I have had lots of questions from friends, family, and random passersby that I thought I would put a tutorial together for it.
Introduction To The Faux Chenille Blanket
The faux chenille blanket is made by sewing 5 layers of flannel together in small channels and cutting through some of the layers so they fray and gather together creating the look of a chenille fabric. The blanket doesn’t really require a pattern, but there are a few places where it is easy to make some mistakes, but don’t worry. They are all fixable and easily avoidable.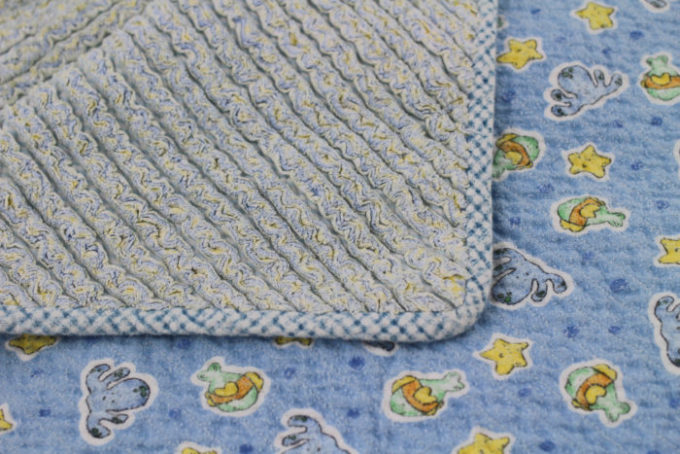
Here are the supplies you will need for a faux chenille blanket:
- Sewing machine
- ruler or grid
- scissors
- thread
- four layers of flannel – solid colors 45″ square
- one layer of patterned fabric – cotton or flannel, 45″ square
- 1/4 yard fabric (I use flannel) for binding
- (optional) chenille cutter
- (optional) Spray Adhesive (I like this one
Here is how to sew a faux chenille blanket:
Decide what size you want your blanket to be. For babies I usually make mine 45″ square – just one width of fabric. You could also make it longer, just add more length to your fabric.
Layer your fabrics together with the patterned fabric face down and the solid colored flannels face up. You can pin the layers together, or use a spray adhesive between each layer, smoothing the fabric as you stack the layers.
With the pattern side facing up, draw a line from one corner to the other (to the square if making a rectangle) using chalk or disappearing ink. You only need to mark the first line as you will use the pressure foot as a guide to keep your rows perpendicular to each other. Roll both sides towards the center.
![]()
With the pattern side facing up sew from corner to corner along the marked line. Because the faux chenille will hide any imperfections, I prefer to sew on the side that will be visible when the blanket is finished.
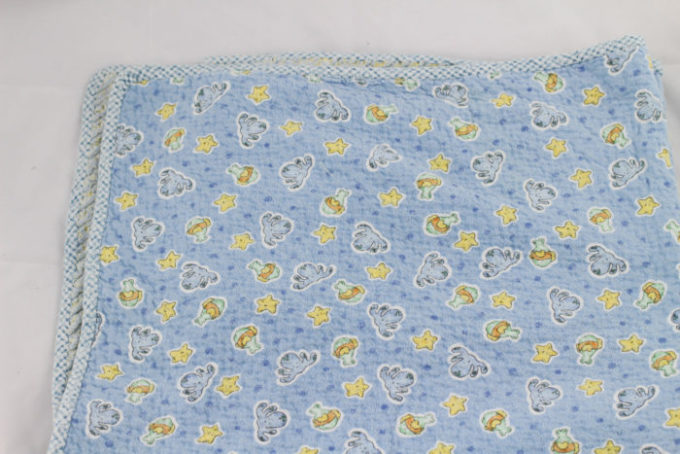 This is the back side of the finished blanket – showing the pattern on the back. You can’t see the lines unless you look very close.
Using the sewing machine pressure foot as a guide, sew a new line parallel to the first one. Continue sewing evenly spaced lines working from the middle out.
**Fabrics will shift a bit as you sew. This is normal and why I suggest sewing with the pattern / pretty side up. Don’t worry if the edges are not perfectly square.
After The Sewing
When you are done sewing every line you can use a straight edge or ruler to clean the edges up.
CAREFULLY use your scissors and cut between the sewn lines ONLY through the top 3 layers, leaving the pattern and first layer of flannel intact. I drew a sad little drawing of a side view of the fabric layers. So, the bottom two fabrics will go untouched, and you will cut through the top 3 layers all the way down the row, for every row. This is where the Chenille cutter would save you time (and your fingers some muscle cramps).
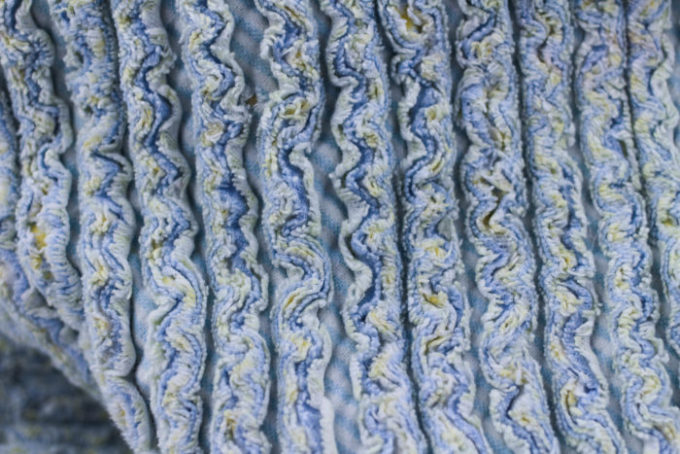
![]() When every row is cut you can add your binding. When your blanket is finished it needs to be washed. Washing helps catch a lot of the stray threads and helps the fabric rows curl into each other. The blanket just gets softer with every wash.
When every row is cut you can add your binding. When your blanket is finished it needs to be washed. Washing helps catch a lot of the stray threads and helps the fabric rows curl into each other. The blanket just gets softer with every wash.
And that is it! This blanket is a wonderful keepsake blanket that is not to precious to use. They wear and wash well. Because of the 5 layers of flannel, the blanket is very warm and works great as a stroller blanket on fall days. Sewing and cutting the small rows is a bit time consuming, so this is the perfect project to work on and watch / listen to a movie. Happy sewing!
Pin for later:
![]()

Leave A Reply!