The Basement Before
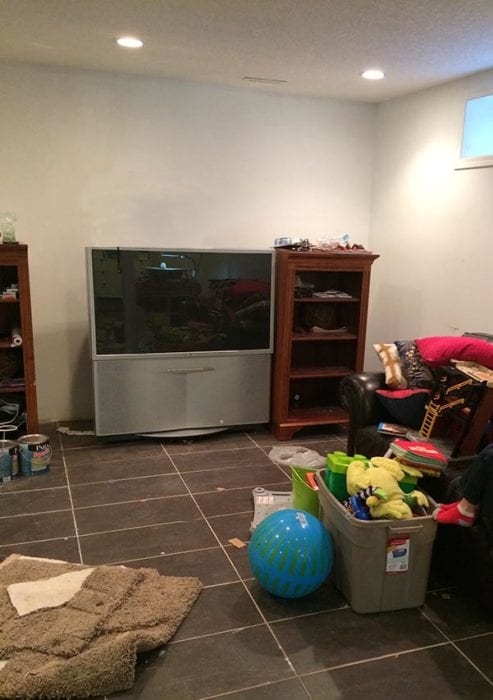
 I feel like our basement has such a story to tell. Houses typically come with a blank slate of concrete floors, framed and insulated exterior walls, and endless possibilities. Our basement came partially finished – I will let the pictures give you more detail on what I mean. There was carpet and tile flooring, but no ceiling and not to code plumbing, electrical and heating. Most interesting was the really awkward layout – a bedroom / bathroom combined room meant you could turn your alarm clock off while in the shower.
The Floor Plan
Getting this basement to have a logical floor plan took a lot of work. We wanted to utilize what was already done to save money. We added a wall to separate the bedroom and bathroom. Professionals were hired to do the electrical, plumbing and drywall mudding. (See the bathroom renovation and the updated reveal).
The previous owner installed tile floors in half of the basement which left the space feeling very cold. Large rugs were added and there was really tall shaggy carpet on the other side of the room. It worked but looked ugly for the last few years.
Ignoring The Projects
This summer we decided that the carpet was getting too gross and needed to be replaced. Mick ripped out all the carpet on a nice sunny day and nothing else was touched down here. A tile cutting station was set up while re-tiling the upstairs bathroom (that alone took forever and a post is coming once I take some pictures). We didn’t let the boys play down here because there were still tack strips (aka pokeys) on the floor. The intention was to replace it with carpet so we didn’t know if we should remove them or not. I didn’t mind not having the space for the kids because we were outside in the backyard, swimming at the lake, and walking pigs in Idaho. We had a really warm fall where I took the boys to the bike park in November so we didn’t start to get stir crazy until it snowed.
Demolition
By this time I was getting desperate to get this space finished. I felt like we were climbing all over each other in a tiny living room, which felt like sardines after having this big space to run in. While the boys and Mick were playing I snuck downstairs and attacked the tack strips with a flat edge shovel. I felt like I was making such progress. Sweat dripped down my face and it felt awesome.
Removing tiles off concrete – the stupid way
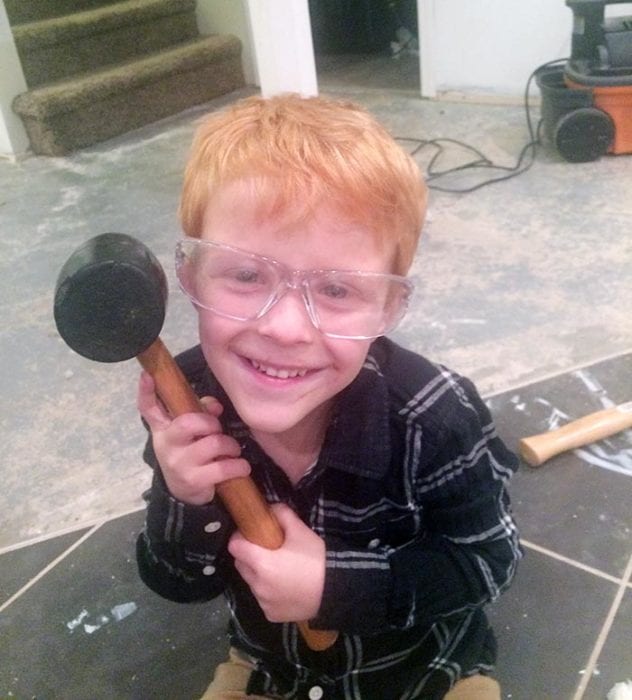
Pokey free floors meant the kids could come downstairs again. I figure 4 boys could be great manual power for construction jobs, so they better get started young. Frustrated with the lack of progress, I gave each of them a hammer (or rubber mallet) and we started smacking the tiles. Even if it takes 5 years, at least we were getting somewhere. Mick came downstairs and got all “safety inspector” on me, taking away our tools and my happiness.


 Using power tools
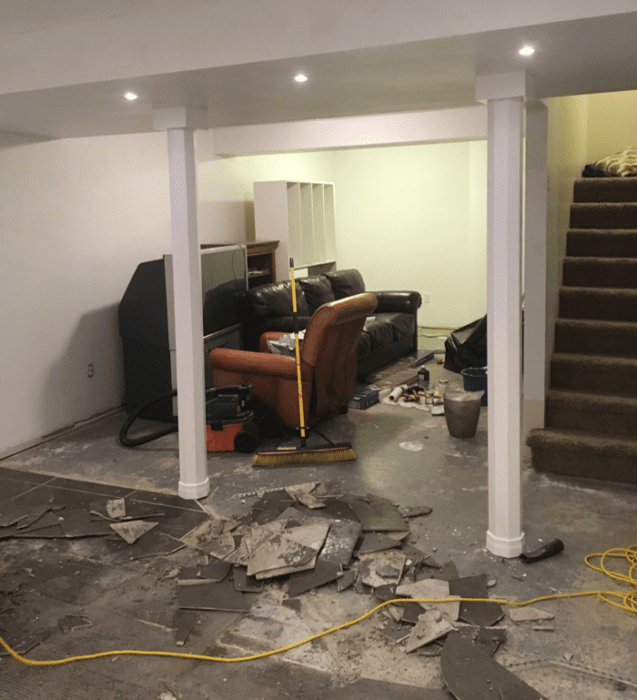
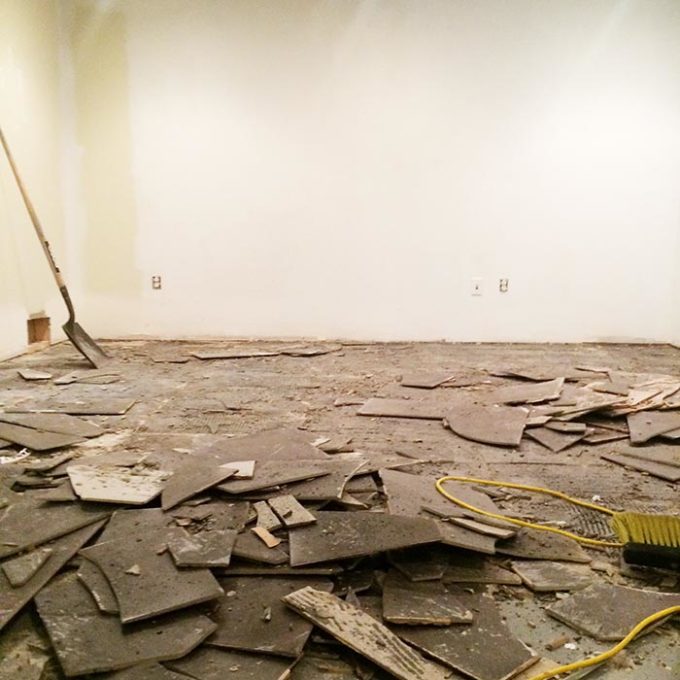
This marks the beginning of working every night to make progress on this space. We rented a jackhammer looking power chisel. We were expecting to have a really long night, renting the tool by the hour / day. Mick started and I jumped to do the rest. Chipping away at the floor tiles was the most satisfying work. We were like toddlers fighting over a toy begging each other for a turn. We ripped all the tiles out in about an hour. Again, sweaty work, but oh so satisfying.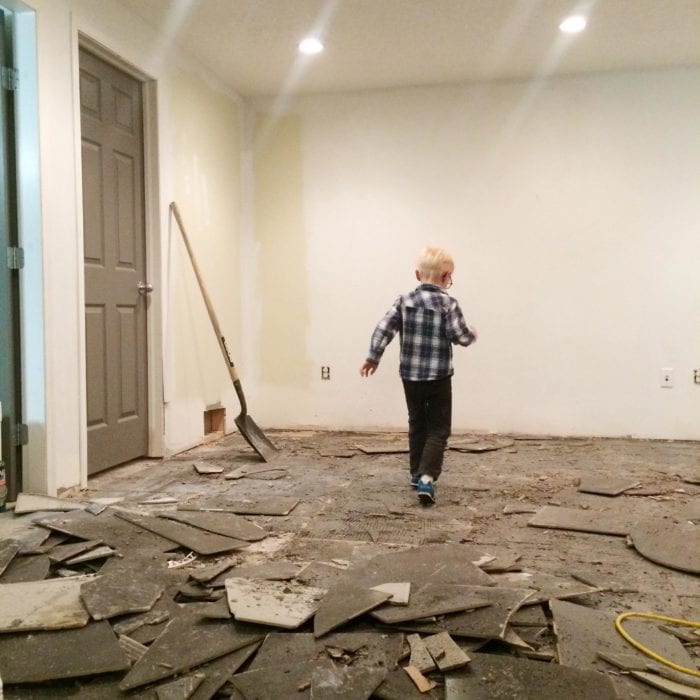
Then begins the dirty work. I thought the worst was behind us at this point but I was oh so wrong. Underneath all that tile was thinset on concrete. We had to sand it off, which created the most disgusting mess I have ever lived through. We rented an industral double vacuum that hooked up to the sander. Along with tarps blocking off the room, I am still finding dust everywhere in my house. Never again will I do this job while still living in the house. If I bought a house that needed tile removed I would do the disgusting part before anything we owned was moved into the house. SO. Gross.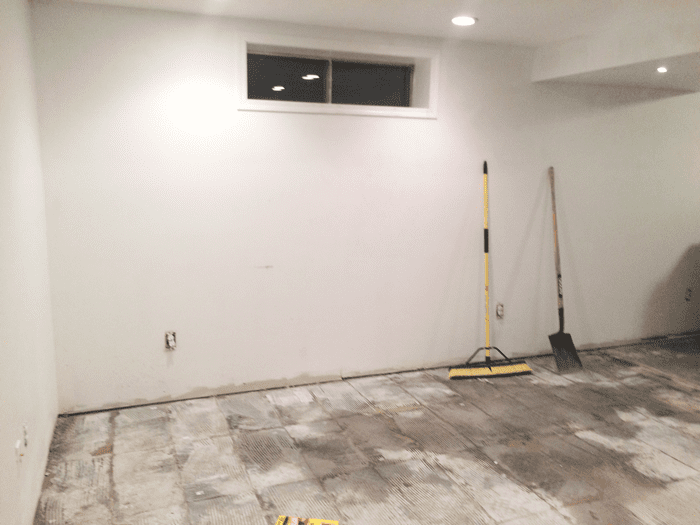
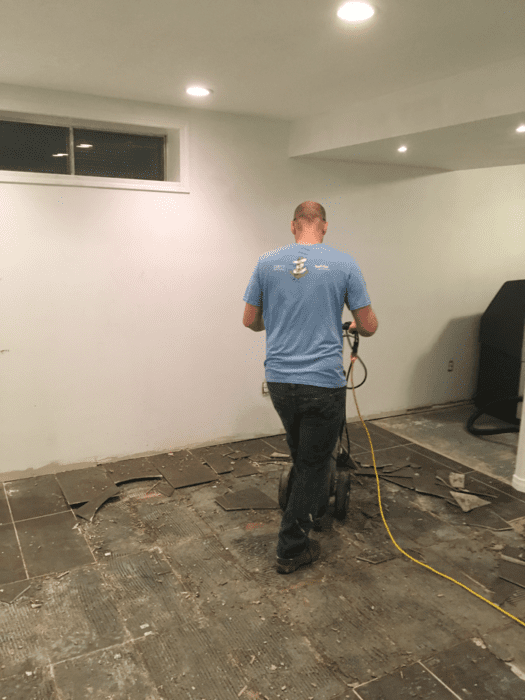
Tools Used To Remove Thinset From Tile
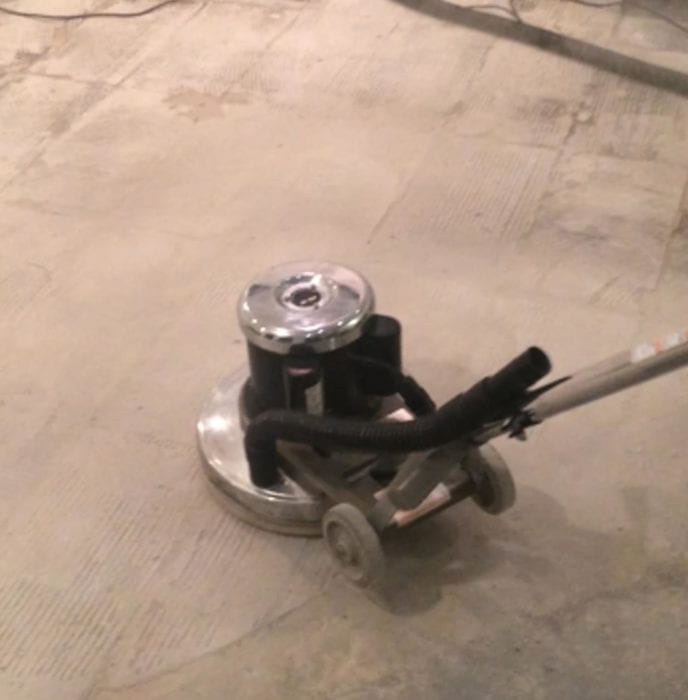
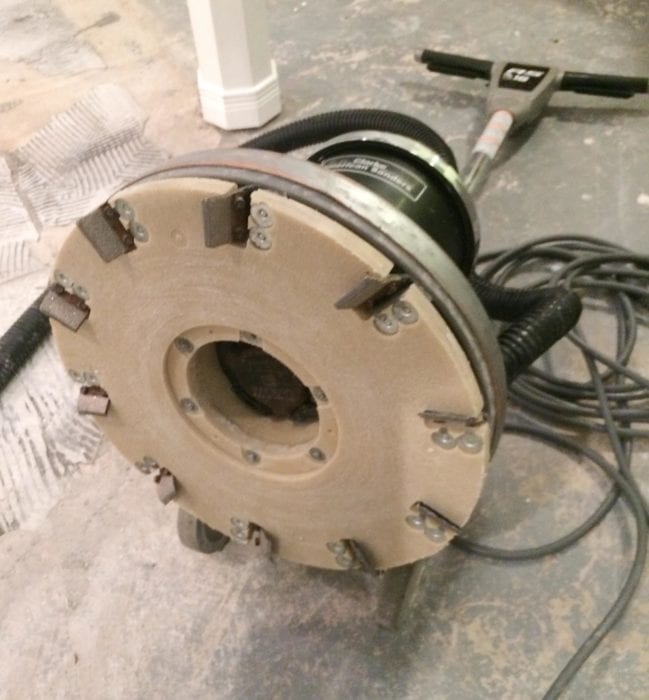
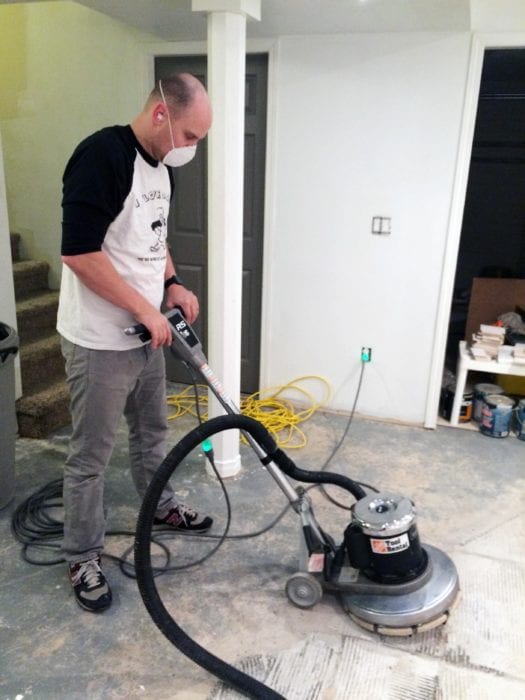
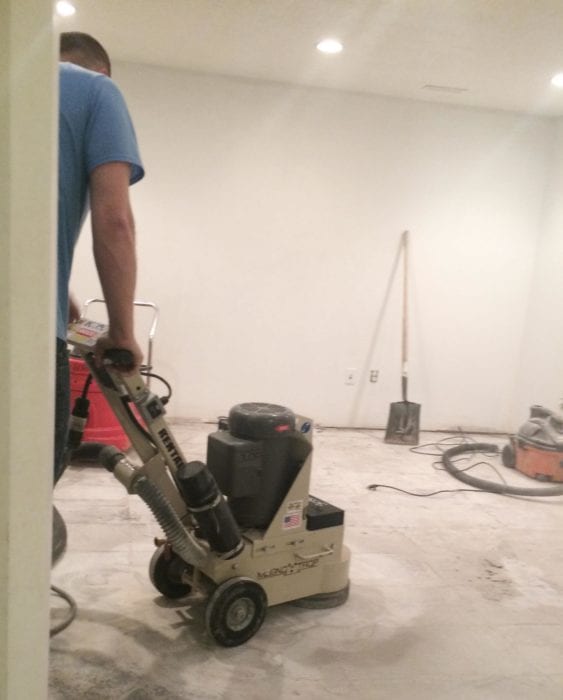
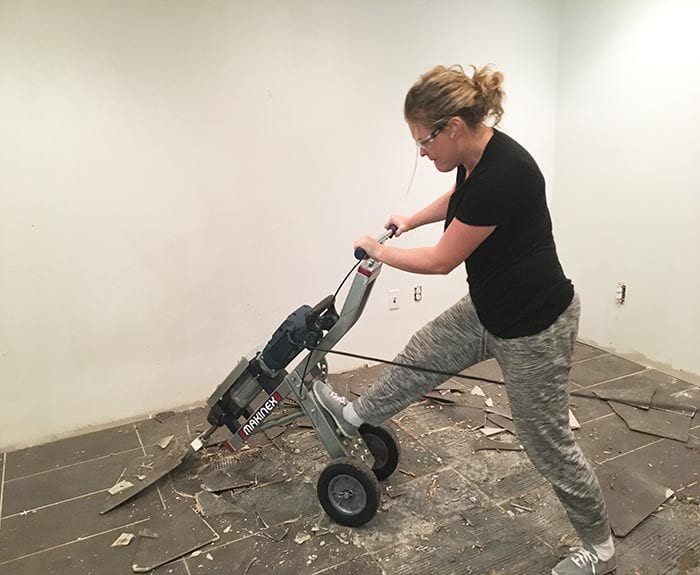
We rented an orbital sander, similar to what I have seen used for hardwood floor refinishing although this was more heavy duty (so says the tool rental man). This tool ended up being a lot of work and not very effective for removing the thinset. It went back to the store and we picked up another more stable machine. It was pretty intense, the tool had to be plugged into the oven outlet and a 100 foot extention cord ran all the way downstairs to the machine. I am sorry I don’t have tool names, but at least the pictures can show you what to look for if you are doing this in your own home.
PHEW! That was a lot of information. Congratulations if you made it this far. You win an ipad! Or, I wish I could give you all an ipad! Check back here in a few days to see progress on our basement and see what we chose for flooring materials.

Pin for later:


Comments & Reviews
Kyla says
That is seriously a HUGE job. Can’t wait to see the finished product!!!
Ashley Maxwell says
Thanks for your tip to use a jackhammer when taking part the tiles from your floor to make the manual process easier. I appreciate what you said about how using a power chisel also helped you make the floor the way you want it. My husband works all day, but we want to do floor removal in our basement so we will consider looking into someone who could do it for us.
Salem Tile Setters says
Great blog! Removing tile from concrete in a basement can be challenging but rewarding. It’s all about patience, the right tools, and taking care not to damage the underlying surface.