• Skip to primary navigation
  • Skip to main content
  • Skip to primary sidebar
  • Press / PR
    • Design Services

Brooklyn Berry Designs logo

  • Design & Home Decor
    • The Builders Bible
    • Design Services
    • Design Inspiration
    • Furniture Arranging & Decorating
    • Renovating
  • Holidays
    • Valentines Day
    • St. Patricks Day
    • Easter
    • Mothers Day
    • Fathers Day
    • Canada Day
    • Halloween
    • Christmas
  • Crafts
    • Cricut Projects
    • Cricut Tutorials
    • SVG Files
    • Printables
    • Kids Crafts
    • Crochet
    • Party Decor
  • Lifestyle
    • Travel & Family Fun
      • Calgary – Local Love
      • Everywhere Else
    • Family
    • Things I love
    • Book Shelf
  • Cricut
  • Shop

February 26, 2017 By Brooke Leave a Comment

Crafts for the Un-Crafty: DIY Sensory Wall for Babies

Pin
Share
Tweet
582Shares

This post may contain Amazon and other affiliate links. Using these links, I earn a small commission at no additional cost to you.

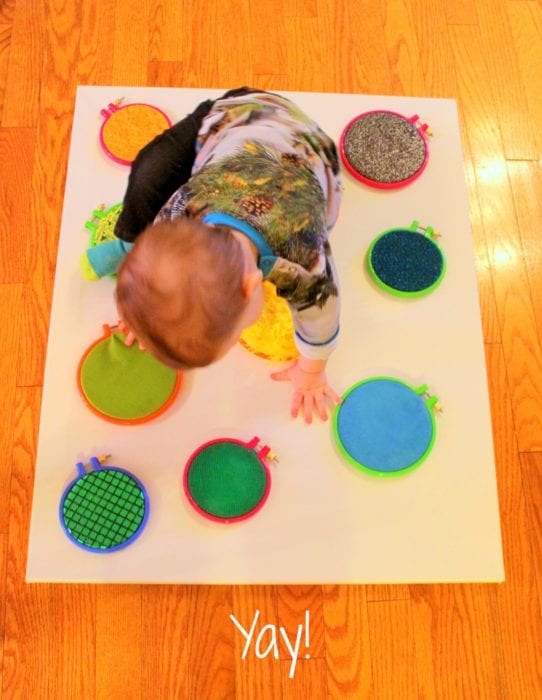
My baby loves to feel all kinds of different textures, so when I spotted this sensory wall on Pinterest, I knew I had to make it. To keep the hoops more secure and avoid hooks poking our, this sensoray board uses embroidery hoops mounted on canvas.

DIY Sensory Wall for kids

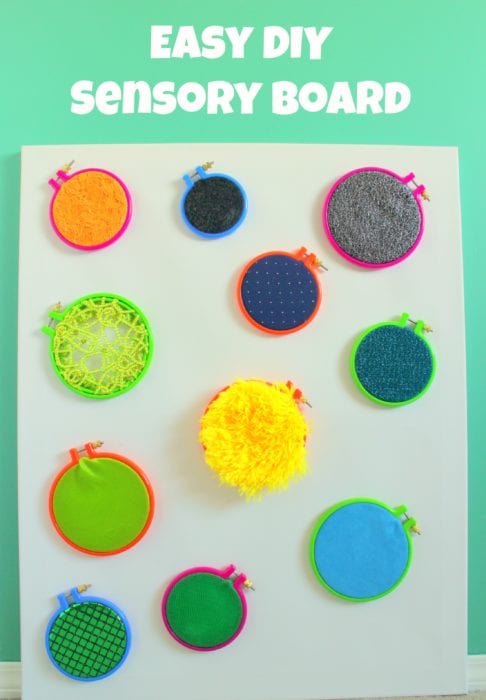
If you are looking for a creative gift for a young child, this DIY sensory wall is the perfect project. It’s super easy, but time-consuming. This probably took about 3 – 4 hours to complete, most of which was hot-gluing.

blog graphic

  • embroidery hoops
  • fabric (lots of different textures)
  • canvas
  • scissors
  • LOTS of hot glue

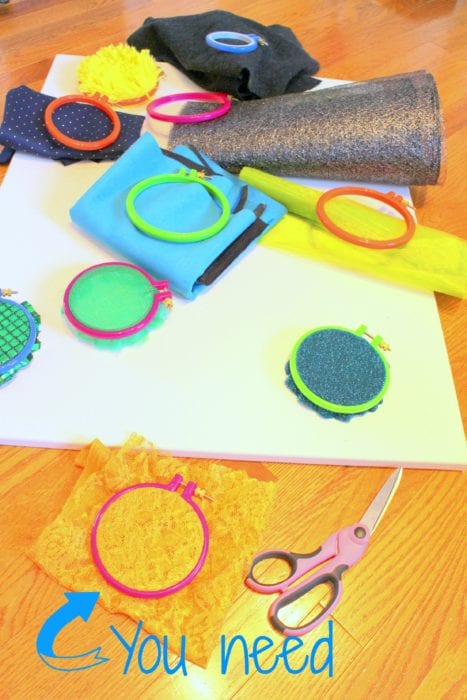
I got the canvas and hoops at Michael’s, and used coupons for both. You need a lot of hoops, and they are not cheap, so aim for a day when there is a coupon for 25% your entire purchase. I went to the fabric store too, because I wanted to have a good selection of colours and textures.
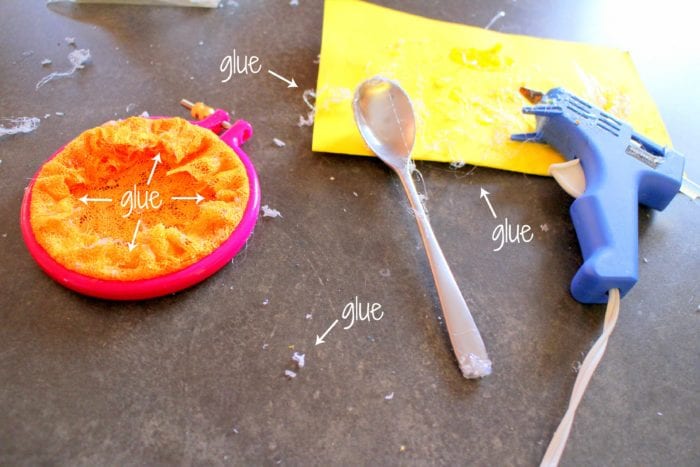
STEP 1:

Stretch the fabric across an embroidery hoop. Use hot glue to flatten the back. DON’T cut it really short like I did – that made it much more difficult. See the giant glue mess and the spoon I used to press on the fabric so I wouldn’t burn myself anymore? This step is a pain in the butt.

STEP 2:

Use hot glue to attach the hoops onto the canvas. Do this after your kids are in bed, because you will burn yourself over and over and hiss profanities.

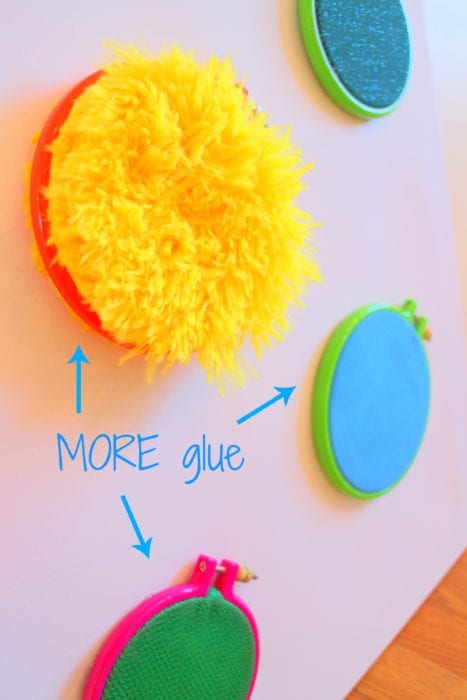
That’s it! When the kids wake up, they have a sweet new sensory board to play with!

Crafting and photography from Katie Edwards.  

Katie is a writer, librarian, researcher, and mother with a great set of DIY skills.  Check out her birthday party blog and her book reviews at Brass Knuckle Books.

Pin
Share
Tweet
582Shares

Related

Filed Under: DIY Projects, Kids Crafts Tagged With: kids crafts, sensory activity

Reader Interactions

Leave a Reply Cancel reply

Your email address will not be published. Required fields are marked *

This site uses Akismet to reduce spam. Learn how your comment data is processed.

Primary Sidebar

  • Email
  • Facebook
  • Instagram
  • Pinterest
  • RSS
Brooke - Brooklyn Berry Designs

Hey, I’m Brooke!

I am a mom to 4 boys in Calgary, Alberta.  I love learning how things are made, singing to the radio loudly, and can’t stop talking. Fueled by diet coke and chaos, I can often be found working on a project.  You can hang out here for craft ideas and tips, games and activities to do with kids, plus FREE svg files and printables.

DISCLOSURE

· Copyright © 2021 · BROOKLYN BERRY DESIGNS · Privacy policy.