
I have had a traditional Christmas tree for as long as I can remember. Red, with gold, white or silver. Last year I scored some beautiful paper on a boxing day super clearance, but the colors are totally outside my usual color scheme choices. Teal, royal blue, and white. I love the idea of matching your wrapping paper to your tree colors to create and easy store looking setup. Besides a new color pallet, this year I also faced an interesting challenge when it came to Christmas Tree decorating. I have a 4 year old that is very excited for the traditional tree decorating, but I also have twin two year-olds who want to throw, grab, and essentially destroy every ornament they can reach or throw themselves at. SO, I am looking into non breakable items, on the cheap (who knows if I will want these colors next year). I decided to make a few easy diy ornaments in bright teal and blue.
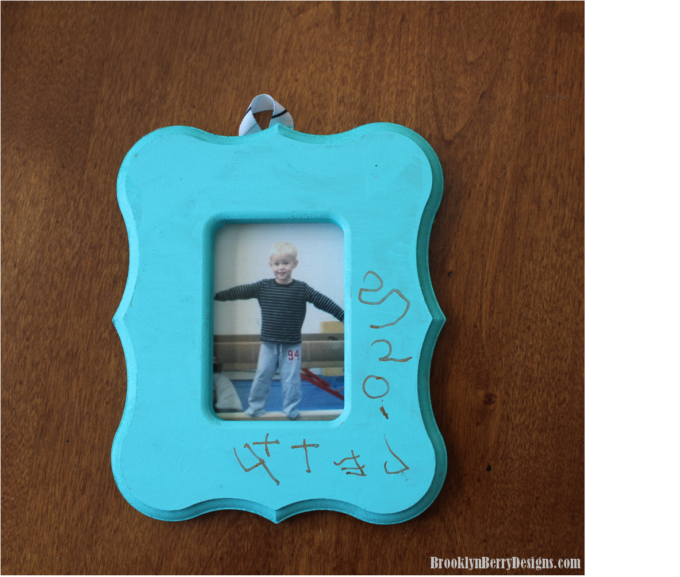
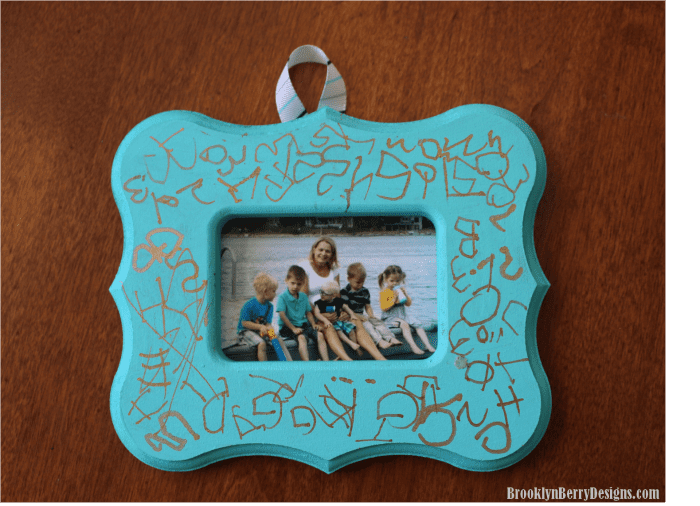
I started with some simple unfinished wood frames and painted them teal with some craft paint I had on hand. I let my 4 year old write his name, age, and the year (Jett, 4, 2013) as a special ornament to keep to remember this stage he is at. I really like the way he is writing right now, and has NO concept of the direction of writing, I encouraged him to write the names of everyone in the picture. I love the way this turned out.
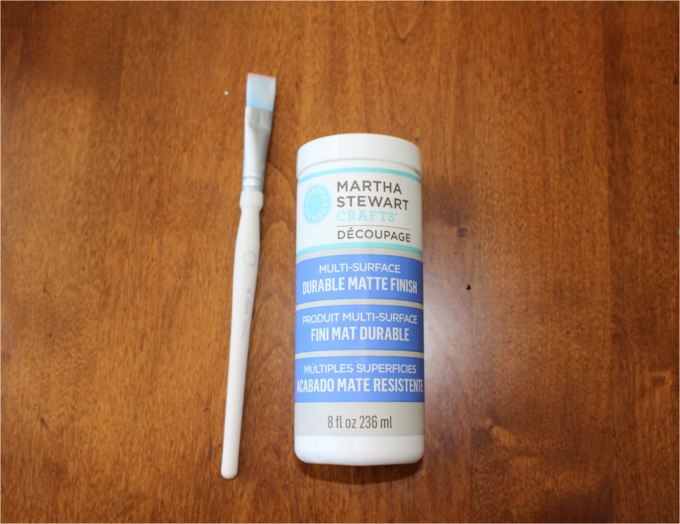
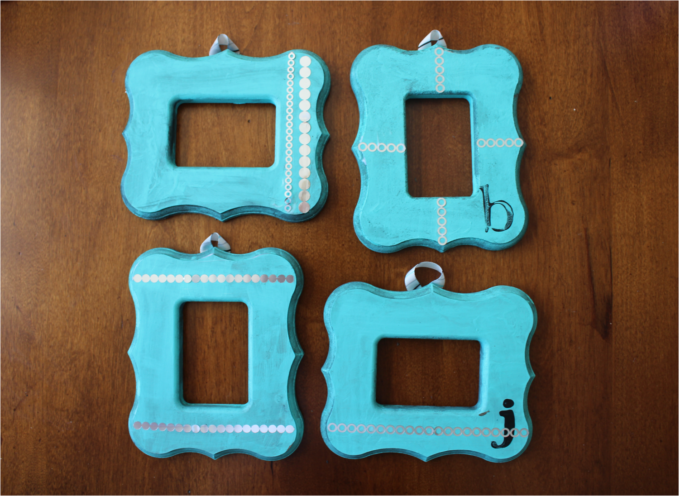
For the rest of the frames, I wanted them to look a little more elegant, less child like. I used the silver metallic trims to add some sparkle and pattern to the frames. I attached the trim using the Martha Stewart decoupage matte finish (which bonus, is dishwasher and food safe, so its great for other projects as well). I only brushed it on to the area that I was attaching the trim, and luckily the matte finish blends in perfectly with the rest of the frame and there was no need to cover the entire surface for a uniform look. I love the effect that the metallic has and hopefully it will sparkle with the lights on my tree as well.
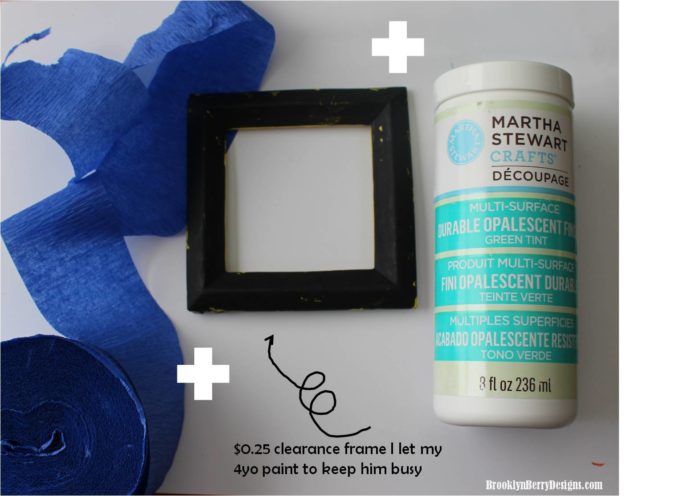
I bought some yellow square frames sometime this year, again thinking of a craft project to entertain my son. I may have 3 boys and mourn that I have no daughters, but my oldest quite likes to craft and paint with me. So while working on the first set of ornaments, I set him up painting these frames with black craft paint. This is not a required step in this process, it only allowed me to stay sane and finish the job. I glued down some party streamers I had floating around. Why party streamers? Because it was the color that I liked. I didn’t like how the white glue was working, so I pulled out some more decoupage cream, but this time in a green tinted opalescent finish. I figured I had nothing to lose, so with no set idea in my head, I winged it.
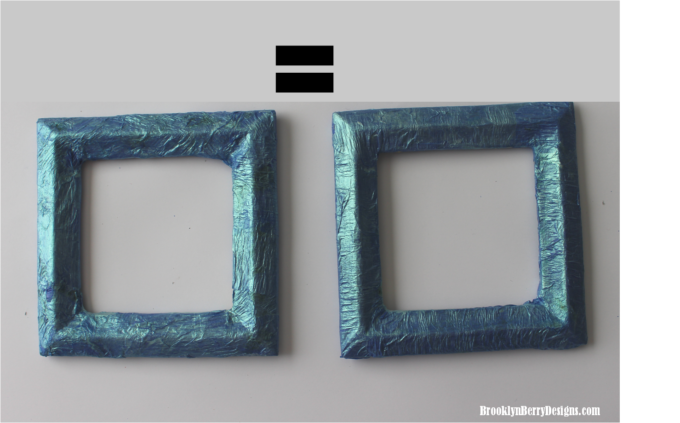
I quite liked the colors and plan on hanging some on the tree as is, and putting some pictures in some others. These are not perfect, but the main goal is to add some color to the tree. I completed these ornaments in 2 different nights, only because I had “help” painting. If you were child free in the process, you could easily finish these in one night.


Comments & Reviews
Tanya says
So pretty Brooke! I love the sparkly gold decoupage strips you used too!
xo, Tanya
twelveOeight
Tara @ Suburble says
I love that colour of teal! So fabulous with the gold! And the ornament that your kidlet wrote on!?!? So precious. He did a fantastic job (even if he’s just learning about printing)!
Alexis @ We Like to Learn as We Go says
I love this! And the color is great! What a fun idea to allow your son to decorate his own and to be able to keep it as a reminder of what he was like at 4. We have a few ornaments like that and they’re so fun to pull out every year! I’m featuring this tonight at my link party and pinning!