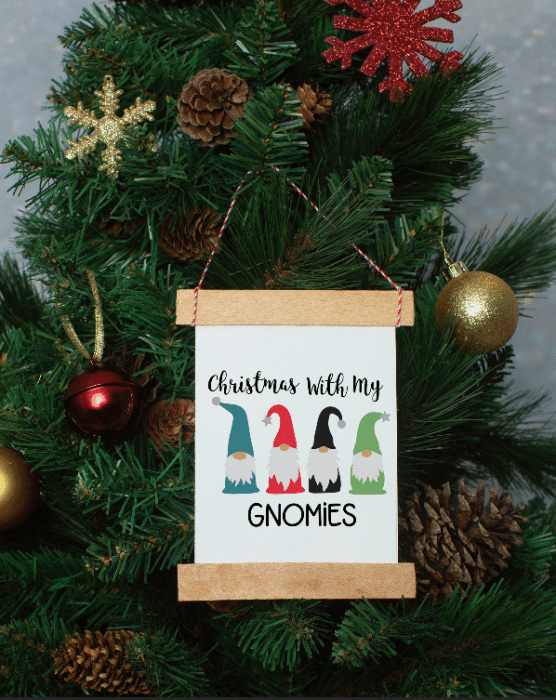
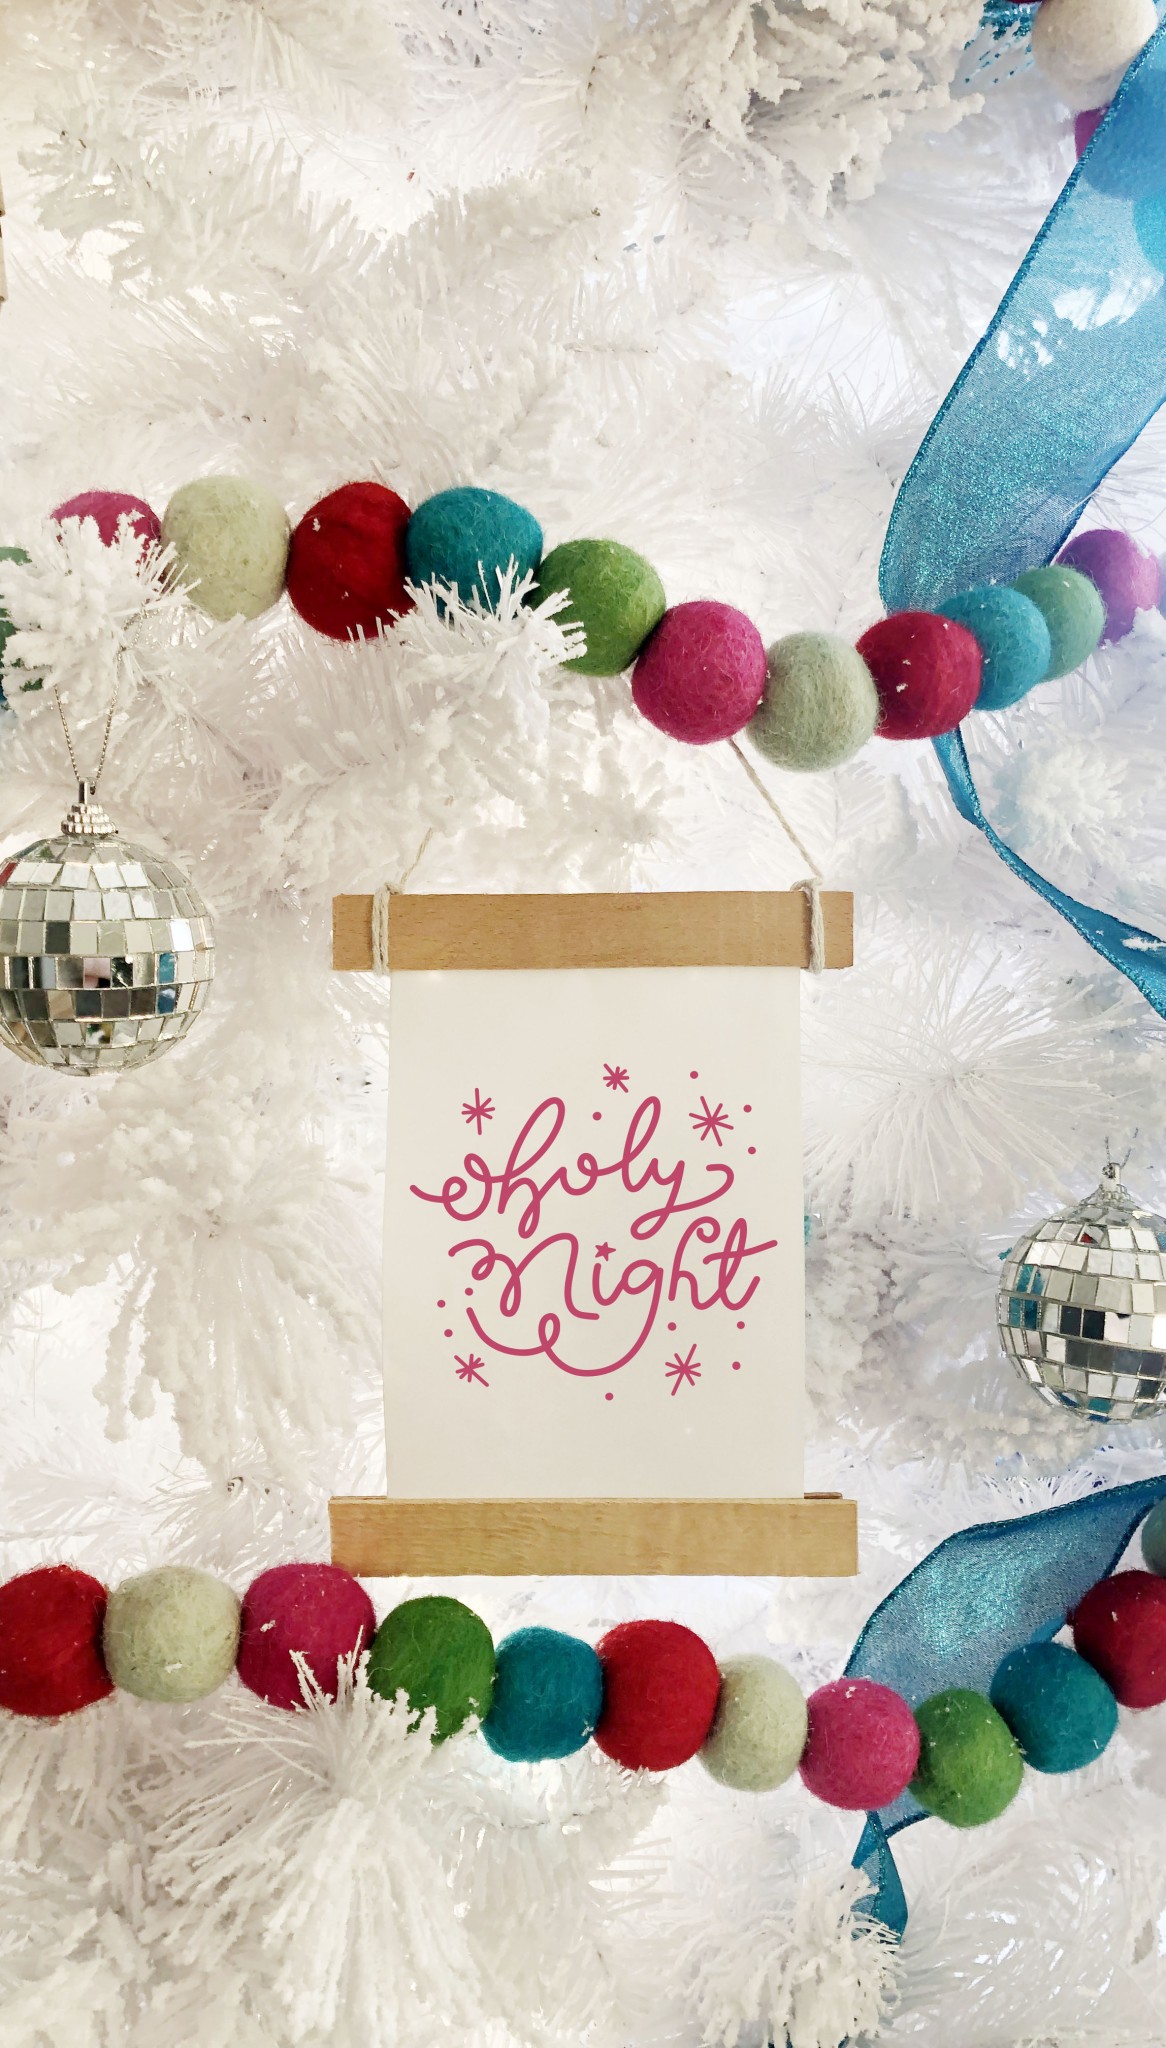
If you love farmhouse style poster hangers, you will love the mini version as an ornament for your tree! This DIY wood poster hanger ornament would be great for anyone with a farmhouse style Christmas Tree, but could also be made to match any tree decor style! Get the instructions here!
I love using wood slats to hang poster size prints in my home, and what makes an idea even better is to make it miniature! I made a stack of these mini wood poster hanger ornaments with basic printer paper, tongue depressors (large popsicle sticks) and twine. Easy and cheap, just the way I like my crafts.

*Note – I am telling you how I made this the same way I explained it to my friend. Because you can kind of make it up as you go, its not a set list of instructions to follow like a typical tutorial. I didn’t measure, and I made a few in one sitting and made a few adjustments to each one. You can choose your own adventure in this craft, so feel free to read along and wing it yourself!
How To Make A Mini Wood Poster Hanger Ornament
I will admit that I didn’t measure anything with this project. I began by getting an exacto knife and cut the ends off the tongue depressors. You will need 4 sticks for each ornament. I left mine plain, but I want to make another set and paint or stain them for ALL the options. Because why not?
Feel free to use sanding paper if your stick edges are sharp. I didn’t, but you totally could.
Choose whatever design you like and print it to size on your paper. I printed two images side by side on a piece of paper (the horizontal / portrait direction). I left enough white space on either side of the design that you could trim it to whatever size you wanted and still look good. You want the paper to be inset from the ends of the sticks, and leave enough room to tie a string outside the edge of the paper on each side. Does that make sense? Look at the finished picture and you will understand what I mean.
The designs I used are from my free Christmas Gnomes SVG and the other is from my etsy shop for SVGs. Feel free to check them out, or use your own!
To keep things lined up, use a glue stick to attach the paper behind a stick. Repeat that for the bottom of the paper too. Use hot glue all along the back side of the sticks and attach the second set to them. Its kind of like a sandwich where the paper is the meat and the sticks are the bread. Use some string and tie it to each end of the sticks, leaving some slack for hanging.

I would love it if you would pin this idea for later.

Looking For A Crafty Friend?
Mini Wood Poster Hanger Ornament
Equipment
- Glue Gun
Materials
- Image to print
- Printer Paper
- Tongue Depressor
- Glue stick
- Twine
Instructions
- 1. Using an exacto knife or box cutter, trim the rounded edges off 4 tongue depressors. You can stain or paint them to any color you desire, or leave them as is.
- 2. Print your design and trim it to size.
- 3. Sandwich your paper between two sticks on the top and two on the bottom.
- 4. Use a glue gun and hot glue to adhere them all together.
- 5. Tie string or twine on each end and hang on your tree!


Comments & Reviews
Tanis says
This is so cute!!!