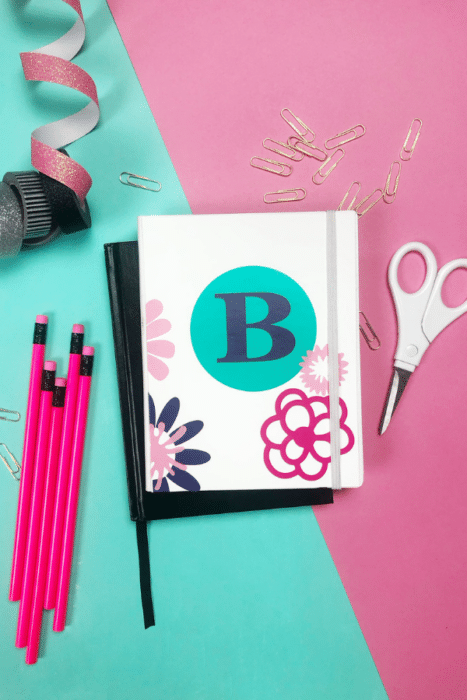
Get prepared for school to start again with these cute back to school Cricut projects to personalize your gear. Whether for kids, teachers, or just for fun – these personalized school supplies will be loved by everyone.

School supply shopping time is here! There is nothing quite as fun as fresh new notebooks, pencil cases, and backpacks to ring in the new school year. Most schools require school supplies to be labelled with each student’s name, but there is something fun about adding your favorite animal, funny saying, or custom design to make these items your own.
Make Labelling School Supplies Fun
I wanted to share with you all some easy tips to personalize your back to school supplies using the Cricut Maker. With some simple craft supplies like premium permanent vinyl you have all the tools necessary to get you back to school ready.
Name labels are a great place to start personalizing your gear. You can use the text feature in Cricut Design Space to cut out names in various sizes to label everything from pencils and notebooks to pencil cases or shoes. (Stay tuned for a future post in the works of my favorite Cricut Access fonts).
Time saving tip: When cutting out names, fill the entire sheet! Batch cutting will save you time and sanity in the long run. You can always add your name to something else!
More Than A Name
Another fun way to add personality to your school supplies is to add your own designs! Flowers, dinosaurs, robots, animals, or funny sayings. Anything that makes you happy will be sure to bring you joy as you use these items and nobody will mistake them for their own!
This is a great solution to personalize school supplies if you are worried about having your childs name visible to strangers (this concern has come up a few times when personalizing clothing or backpacks). Nobody else will have the exact same design on their stuff.

Simple Tips For Using Permanent Adhesive Vinyl
- choose a simple bold font. These will cut out faster and be easier to read for students.
- Use a larger font size – small detailed letters are hard to weed out and transfer.
- Un-stick your transfer tape – the clear Cricut transfer tape is very strong. I like to cut it to size and stick it to my shirt a few times to un-stick it. You can also re-use the transfer tape a few times (money saving tip!)
- Do not mirror your design! I so often worry about mirroring my designs for iron on that I have to make a mental note to NOT mirror with adhesive vinyl.
- For water bottles and items with a lot of use – be sure to use the premium permanent vinyl rather than the removable. It will hold up much longer! Keep those supplies looking good all year.

Supplies Needed:
- Digital Cutting Machine (get a cricut on amazon or from the Cricut shop | silhouette on amazon)
- Premium Permanent Vinyl from cricut
- Transfer Tape
- School supplies to decorate
Pin For Later:


Back To School Cricut Projects
Equipment
- Weeding Tool Set
Materials
- Premium Permanent Vinyl
- Transfer Tape
- School Supplies to personalize
Instructions
- Type out the names or designs you want to cut in Cricut Design Space. Cut out the designs.
- Weed the cut out designs (remove the excess material leaving only the words or designs on the paper).
- Cut transfer tape to the size of your design. Remove the clear plastic top layer. Unstick it if needed.
- Place the transfer tape on top of your design. Press down on the vinyl to be sure it is attached to the tape.
- Transfer the design to the school item (water bottle, pencil case, etc). Carefully remove the transfer tape, making sure the vinyl stays put.
Looking for the best deals on Cricut products, designs, and fonts? Check out my Cricut Deals Page!


