Every year I plan a craft project as part of a larger craft night our chuch hosts. The evening consists of dinner and a short program, followed by several craft projects that we (usually) finish that night.
I like to tackle a project that is fairly simple, but something most people wouldn’t attempt on their own. Usually a wood project. Previous years projects have included the Christmas String Art and Nativity Advent Calendar.
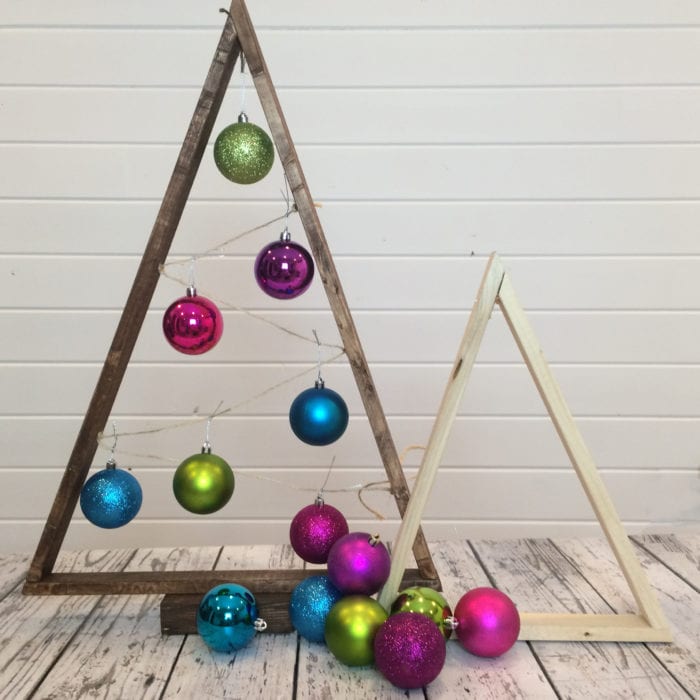
This year I wanted something that could be personalized and used in different ways, and I ended up on this wooden Christmas ornament tree. It looks great on a fireplace mantle and would also look great on a console table in a front entry.
This Christmas Ornament Tree would be a great place to display some personalized and favorite ornaments that need a more prominent place than being hidden within a traditional Christmas Tree.
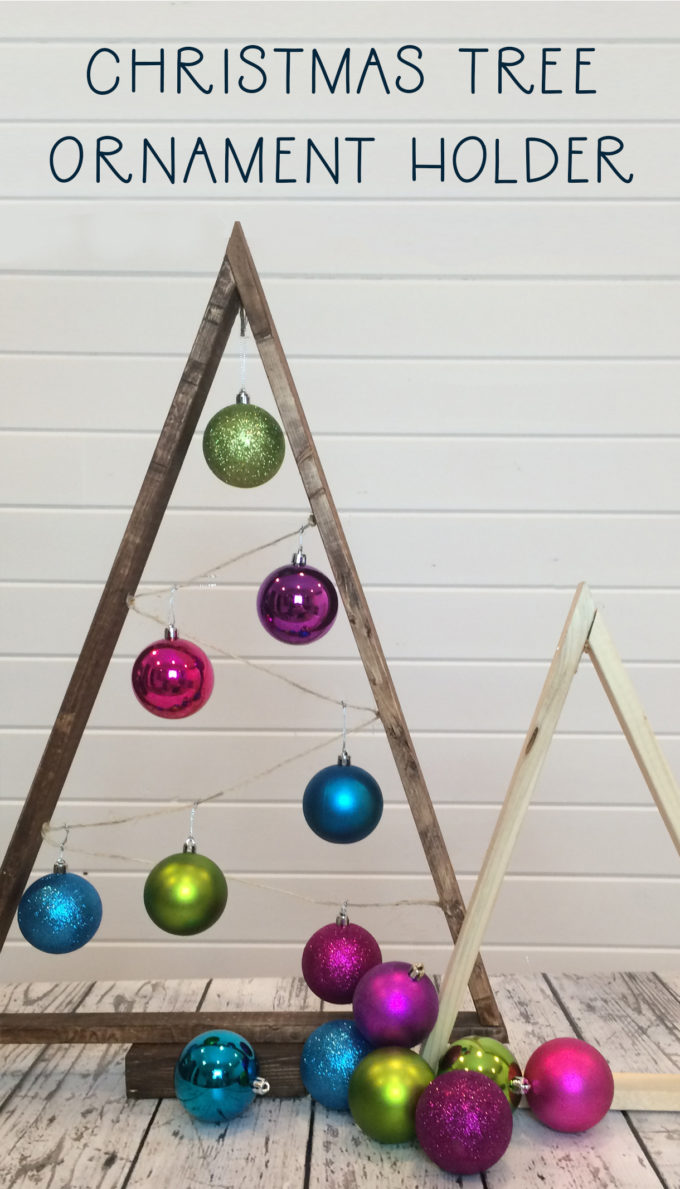
CHRISTMAS ORNAMENT TREE
This tree can easily be made for less than $5 in wood, especilly if you already have some paint or stain on hand.
Supplies Needed:
- 1×2″ wood board (also called furring strip or common board, its in the lumber section and less than $2 a board)
- 2×4″ board – this can be any scrap piece of wood you have on hand as long as its about 3 inches wide to provide a base
- Stain – I used rustoleum Carbon Grey
- Twine
- Ornaments
Instructions:
For cutting the 1×2 board I followed the tutorial at Remodelaholic here. I stained the boards using Rustoleum Carbon Grey and attached them with wood glue and my Ryobi Air Strike (my favorite tool ever).
I attached twine string using a small screw through a knot. The very top ornament I just made a loop of twine and screwed it into the very top inside of the tree.
Based on the size of ornaments you want to use, its best to eyeball this and arrange it as you go. The easiest way to attach them is with ornament hangers, but it would also look fantastic if you strung them through the attached loop on the ornament (not using any string or hanger) so that it sits closer to the string.
I am so greatful to be among a fantastic group of Canadian bloggers, who teamed up to share our favorite Christmas Crafts. Check out the Canadian Bloggers Christmas Craft hop!

From left to right, top to bottom:
- AKA Design
- Vinyet Etc.
- The DIY Mommy
- A Pretty Life
- Sustain My Craft Habit
- A Pretty Fix
- Making it in the Mountains
- The Learner Observer
- BrooklynBerryDesigns
- Country Parent
- Craftberry Bush
- Amidst the Chaos
- northstory
- Life is a Party
- Pink Little Notebook
- hodge:podge
- This Mamas Dance
- Rambling Renovators
- Suburble
- PMQ for two

Comments & Reviews
Jelica says
I love this ornament holder, Brooke! It’s so chic and modern and really distinctive. It’s often difficult to create something a little less ordinary in Christmas decor and you really did a great job with this DIY!
Ashlea says
Cute project Brooke- this would be a great idea for a tree in a kids room!
barbara says
I love this idea! I have so many ornaments, this is a great way to showcase them!
Laurie @ VinYet Etc. says
Love this craft – I would love to make something like this for those sentimental keepsakes!
Dannyelle says
Such a great modern take on a Christmas tree -love the colours of the decorations too. So cute.
Reg. says
I love this simple craft. It’s adorable.