If you are looking at adding a Cricut Hat Press to your craft room, here are all the details you need to know before making a decision on whether to buy one or not.
Custom trucker hats and bucket hats have become hugely popular fashion accessories lately. As anyone who owns a Cricut can relate, we all see them and think “I could totally make that”. When it comes to making custom hats using iron-on vinyl or sublimation projects, we crafters have always had to get creative. There are times I have used a hair straightener, a mini iron, then the Cricut easypress mini.
These craft hacks have worked great for a first time crafter, making items for your own personal use using heat transfer vinyl. However, if you want to branch into sublimation products or use Infusible Ink you will need a more precise heat setting and a curved heat plate to get the best results.
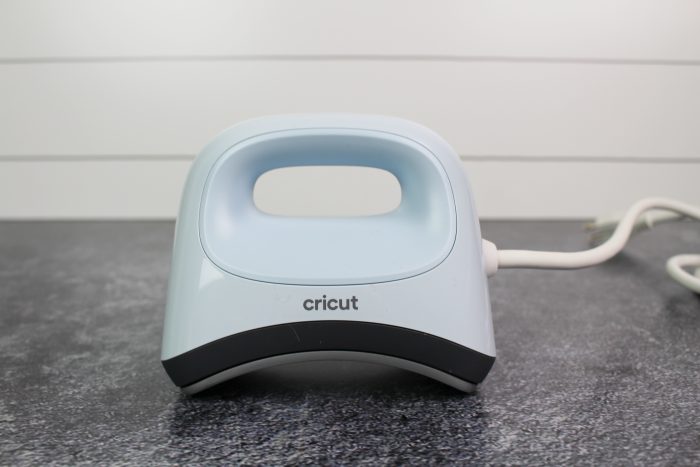
As a part-time crafter that occasionally makes things for other people or to sell, I like the option of having a hat heat press. The only downside would be the cost and the amount of space a larger heat press (with a hat press attachment) would take up in my craft room. This is what makes the Cricut Hat Press so exciting.
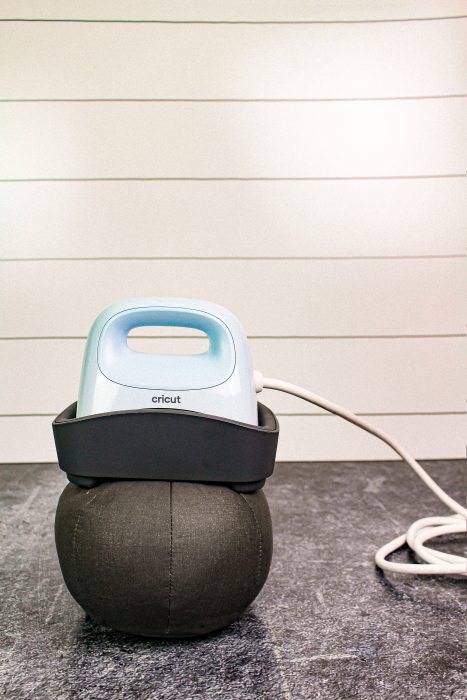
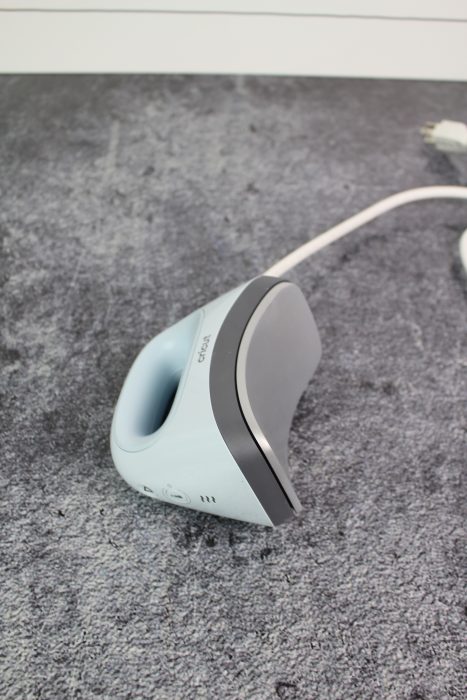
How is the New Cricut Hat Press different from other hat heat presses?
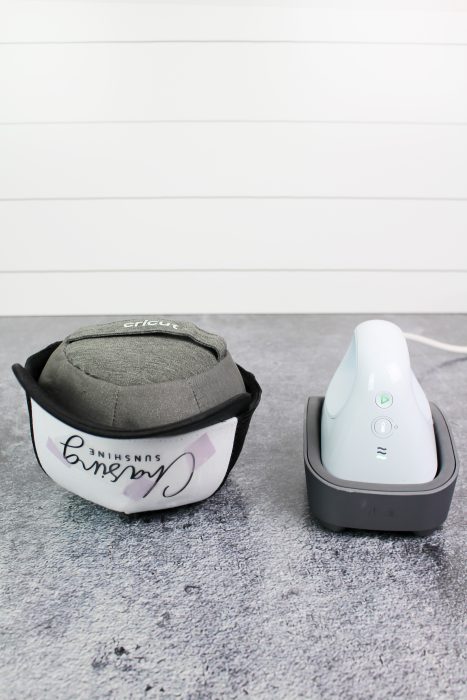
The Cricut Hat Press has all the convenience and portability of the Easypress Mini, only with a rounded ceramic heat plate and also a hat form! This curved surface heat press can be used to add designs using iron on vinyl, Cricut infusible ink, and sublimation designs to a variety of hats.
The hat pressing form is used to place inside of the hat. This helps to create the ideal pressing surface to press onto a hat.
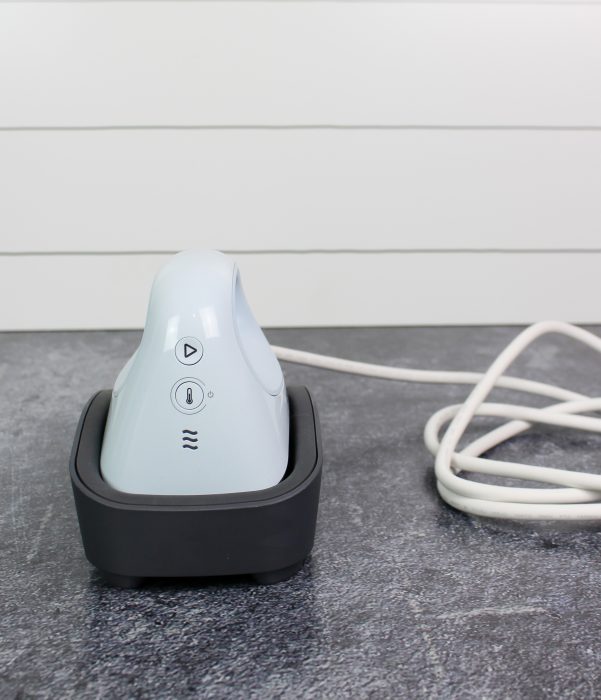
About the Hat Press Buttons
There are only two buttons on the machine, a play button that starts the timer. This button will light up orange when the press is warming up. The light changes to green when it has reached the right heat. The power button turns on the press. The three wavy lines are the same as the easypress mini. The lines indicate the levels of heat selected.
Temperature and Heat Settings
There are three different temperature settings. Low is for materials requiring heat settings of 255F to 295 F. Medium is 300F to 355F, which is ideal for Cricut brand iron on vinyl, or any other major brands of iron on transfer vinyl. The high temperature setting goes up to 400F which is the best heat temperature for Infusible Ink and sublimation. This is all controlled via the Cricut Heat app.
New Cricut Heat App
With the launch of this new hat press comes a new Cricut Heat app. This free app gives you step by step guidance and uses Bluetooth connectivity to connect with the heat press. Do I have to have internet to use the Cricut Heat app and the hat press? Yes, and no. The app is free in the apple app store, and it is needed along with an internet connection to set up the press. After it is activated you can control the heat press manually or via the app.
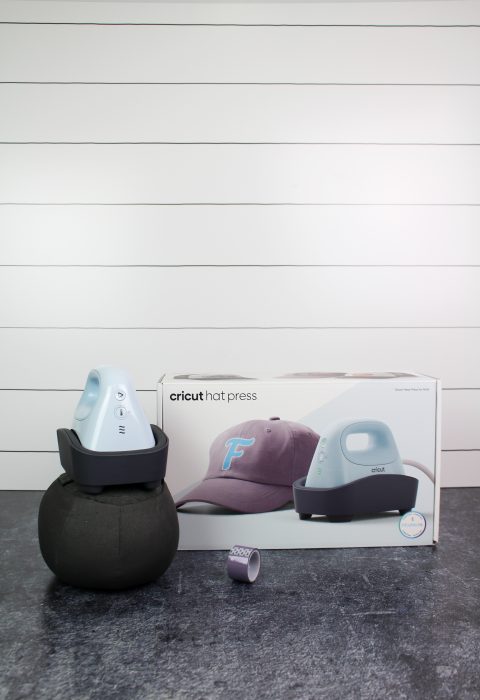
How much does the Cricut Hat Press Cost? What comes in the Cricut Hat Press box?
The Cricut Hat Press is $149 US. Included with the Hat Press are the safety base, a Cricut Hat Pressing Form, strong heat resistant tape, the quick start guide, and warranty information. Allergy warning: The hat pressing form contains walnut shells! If you have an allergy take that into consideration before using!
Safety-Conscious Features
If the idea of something burning hot and within reach of your kids makes you nervous, you can feel comfort in the Cricut safety features built into the Hat press. Crafting should be a worry-free experience!
The safety base keeps the hot surface of the press covered so you cant get burned by brushing against it. This also protects your work surface from high heat. There is also an auto-off feature that automatically shuts off your machine after 13 minutes of inactivity. There is a warning beep to remind you to pick it up before it shuts off.
How To Make Your Own Custom Hat
Supplies Needed
You can use the Cricut trucker hat blanks, Cricut Baseball caps, bucket hats, sun hats visors, etc.
- cricut trucker hat blank
- blank Cricut baseball cap
- any other brand of hat, visor, etc compatible with the project you are completing
- infusible ink transfer sheets
- iron on vinyl
- strong heat-resistant tape
- lint roller
I decided to make my own hat using the Cricut Trucker Hat blanks. The image I used is in Cricut Design Space, image #M38DF0A52 (but also debated, cut, and weeded the opposite cut of the same image #M38DF0A4E).
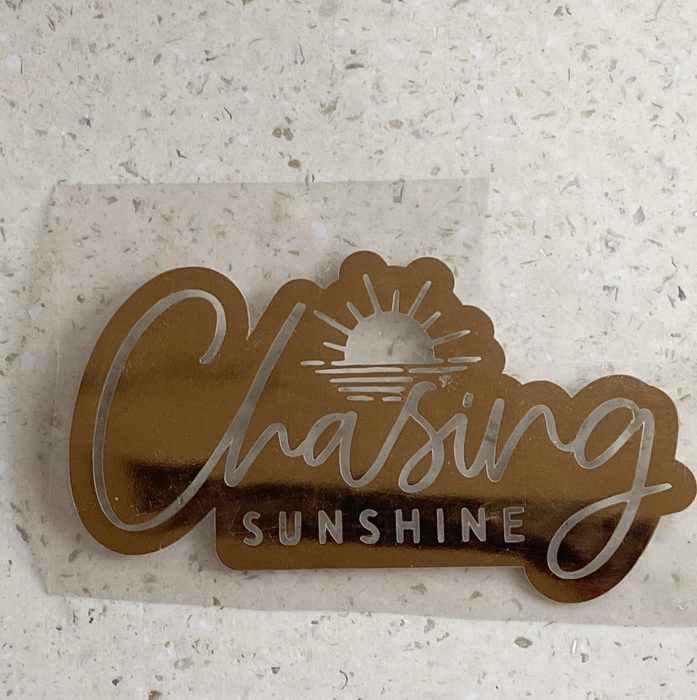
Once your image is cut out, weeded, and ready get your Hat Press ready!
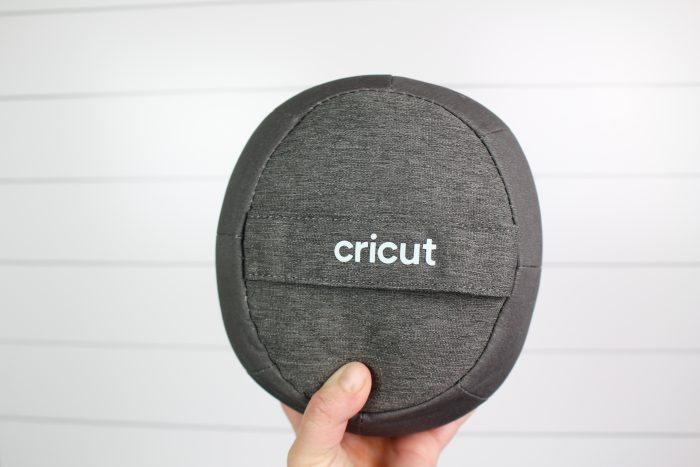
This is the back of the pressing mat – notice the strap? You don’t want that creating a seam in your design.
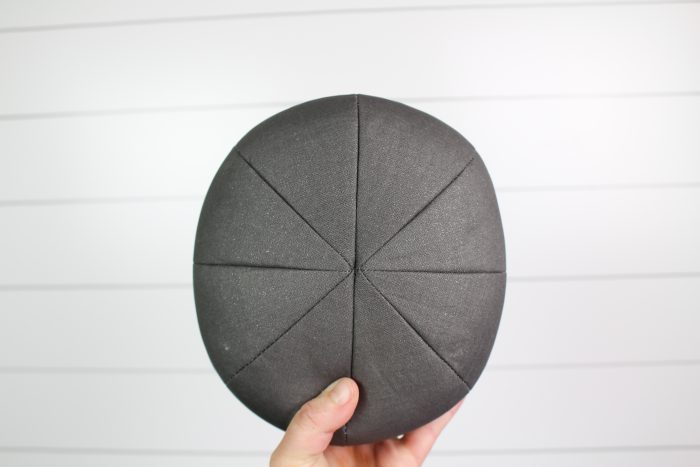
See the flat edges on the front of the pressing mat? This is what you want underneath the part of the hat you are adding the design.
Attach your design to the hat with the included heat resistant tape. Using the new Cricut Heat app, connect to your Hat Press and enter in your materials used. I love this new app because it holds your hand through every step, making sure you have the right temperature and time settings. I no longer have to look up the heat settings on the website, I just open the app!
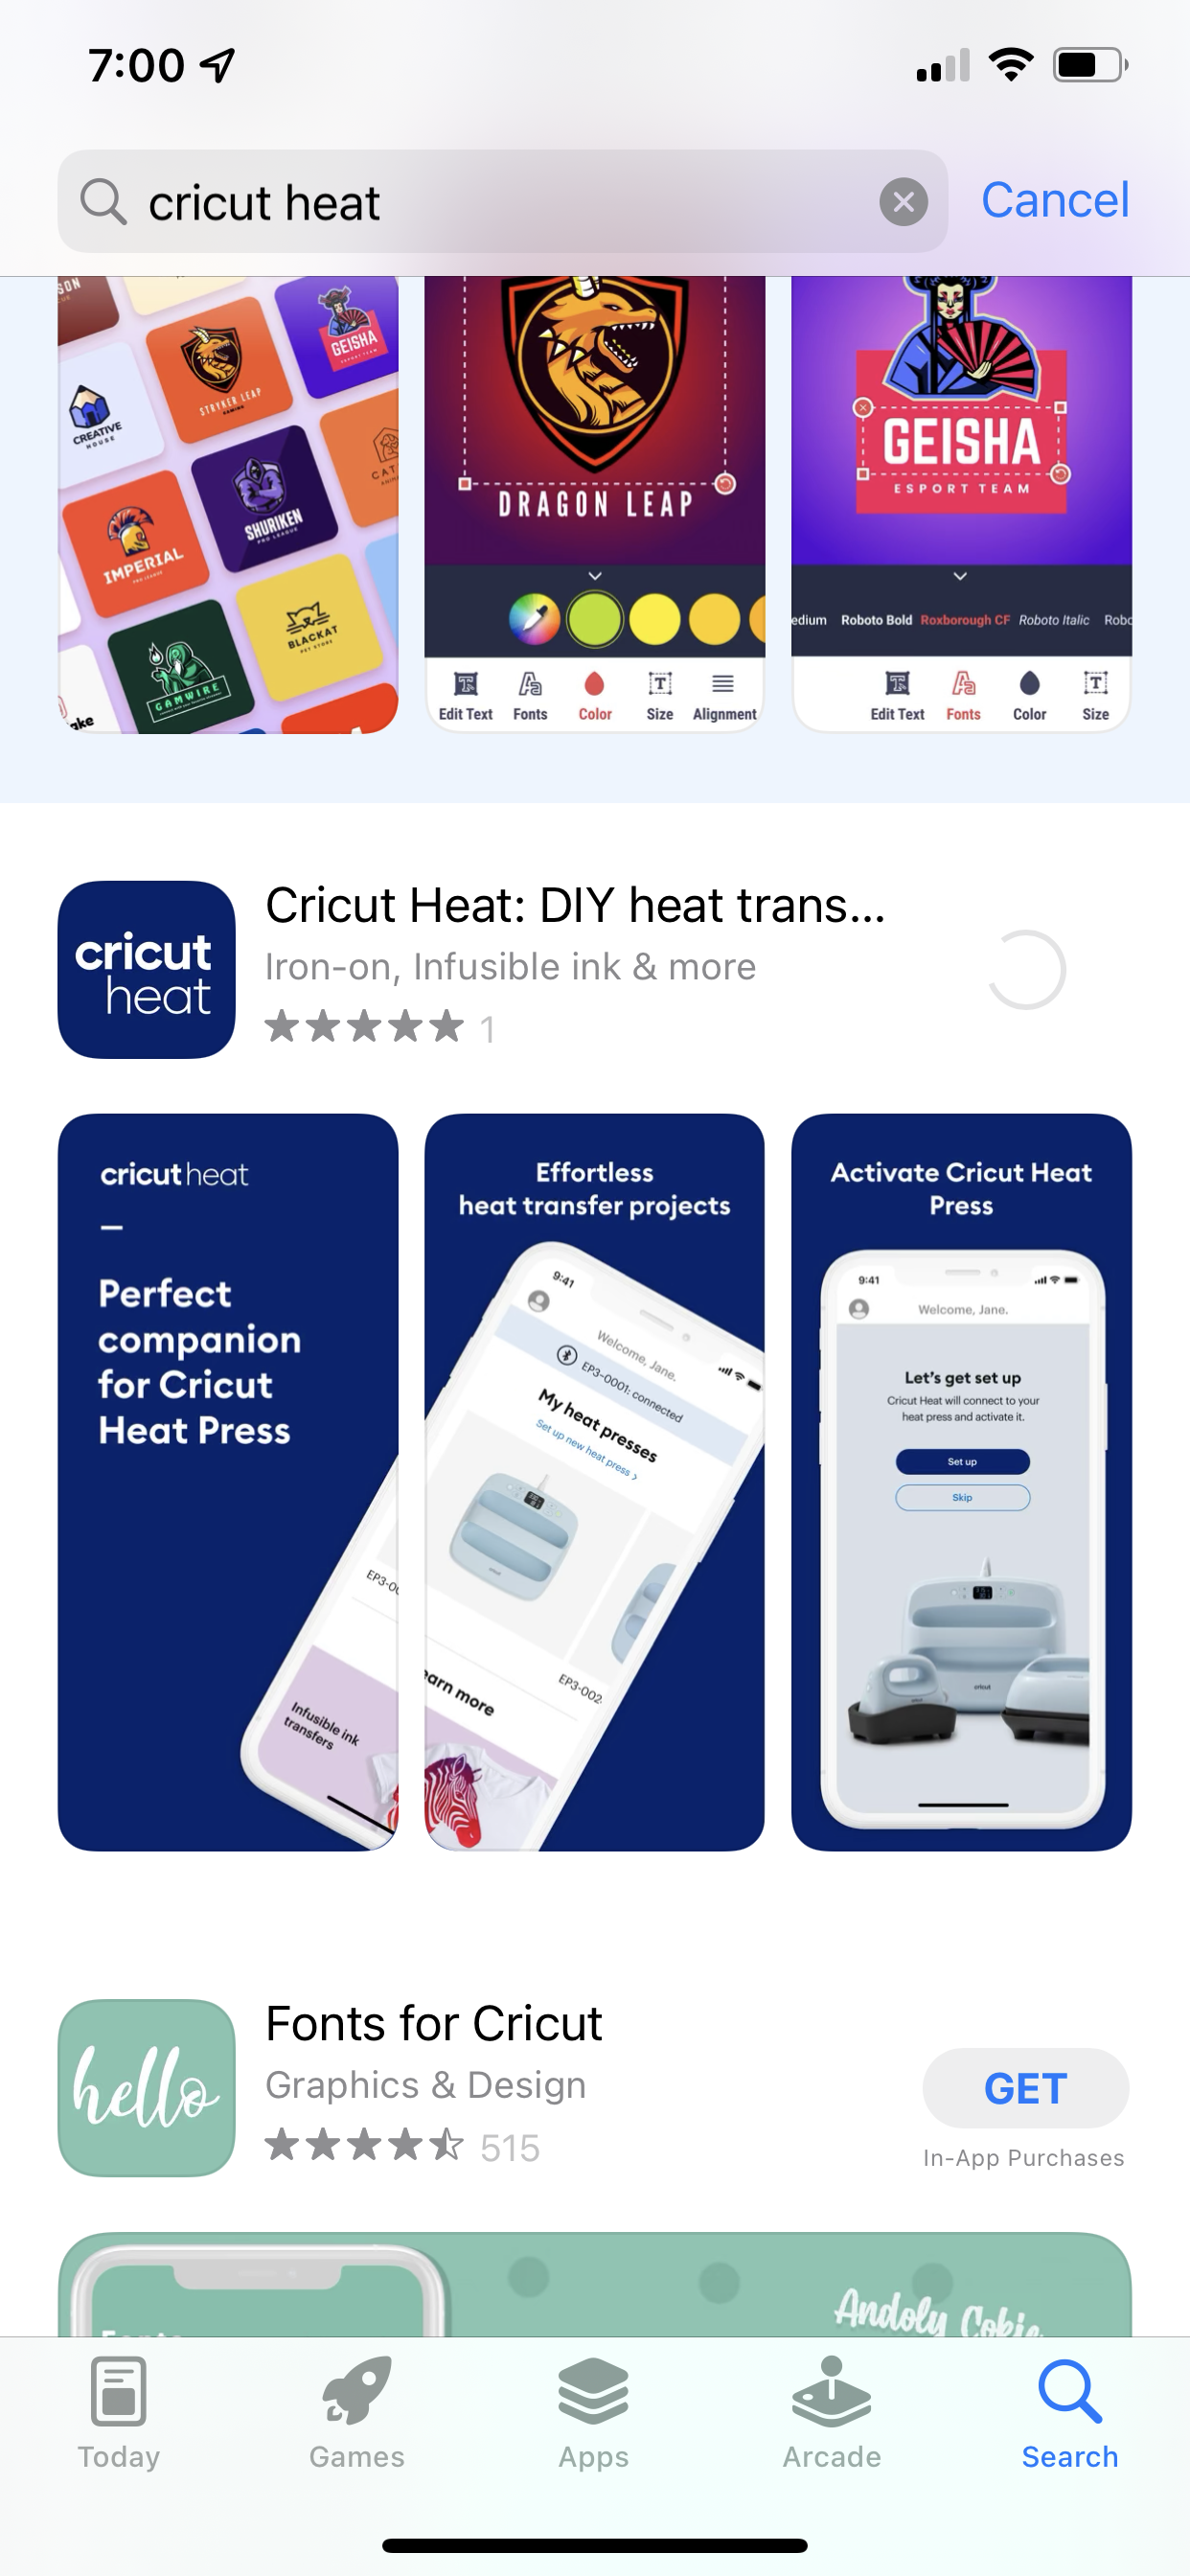
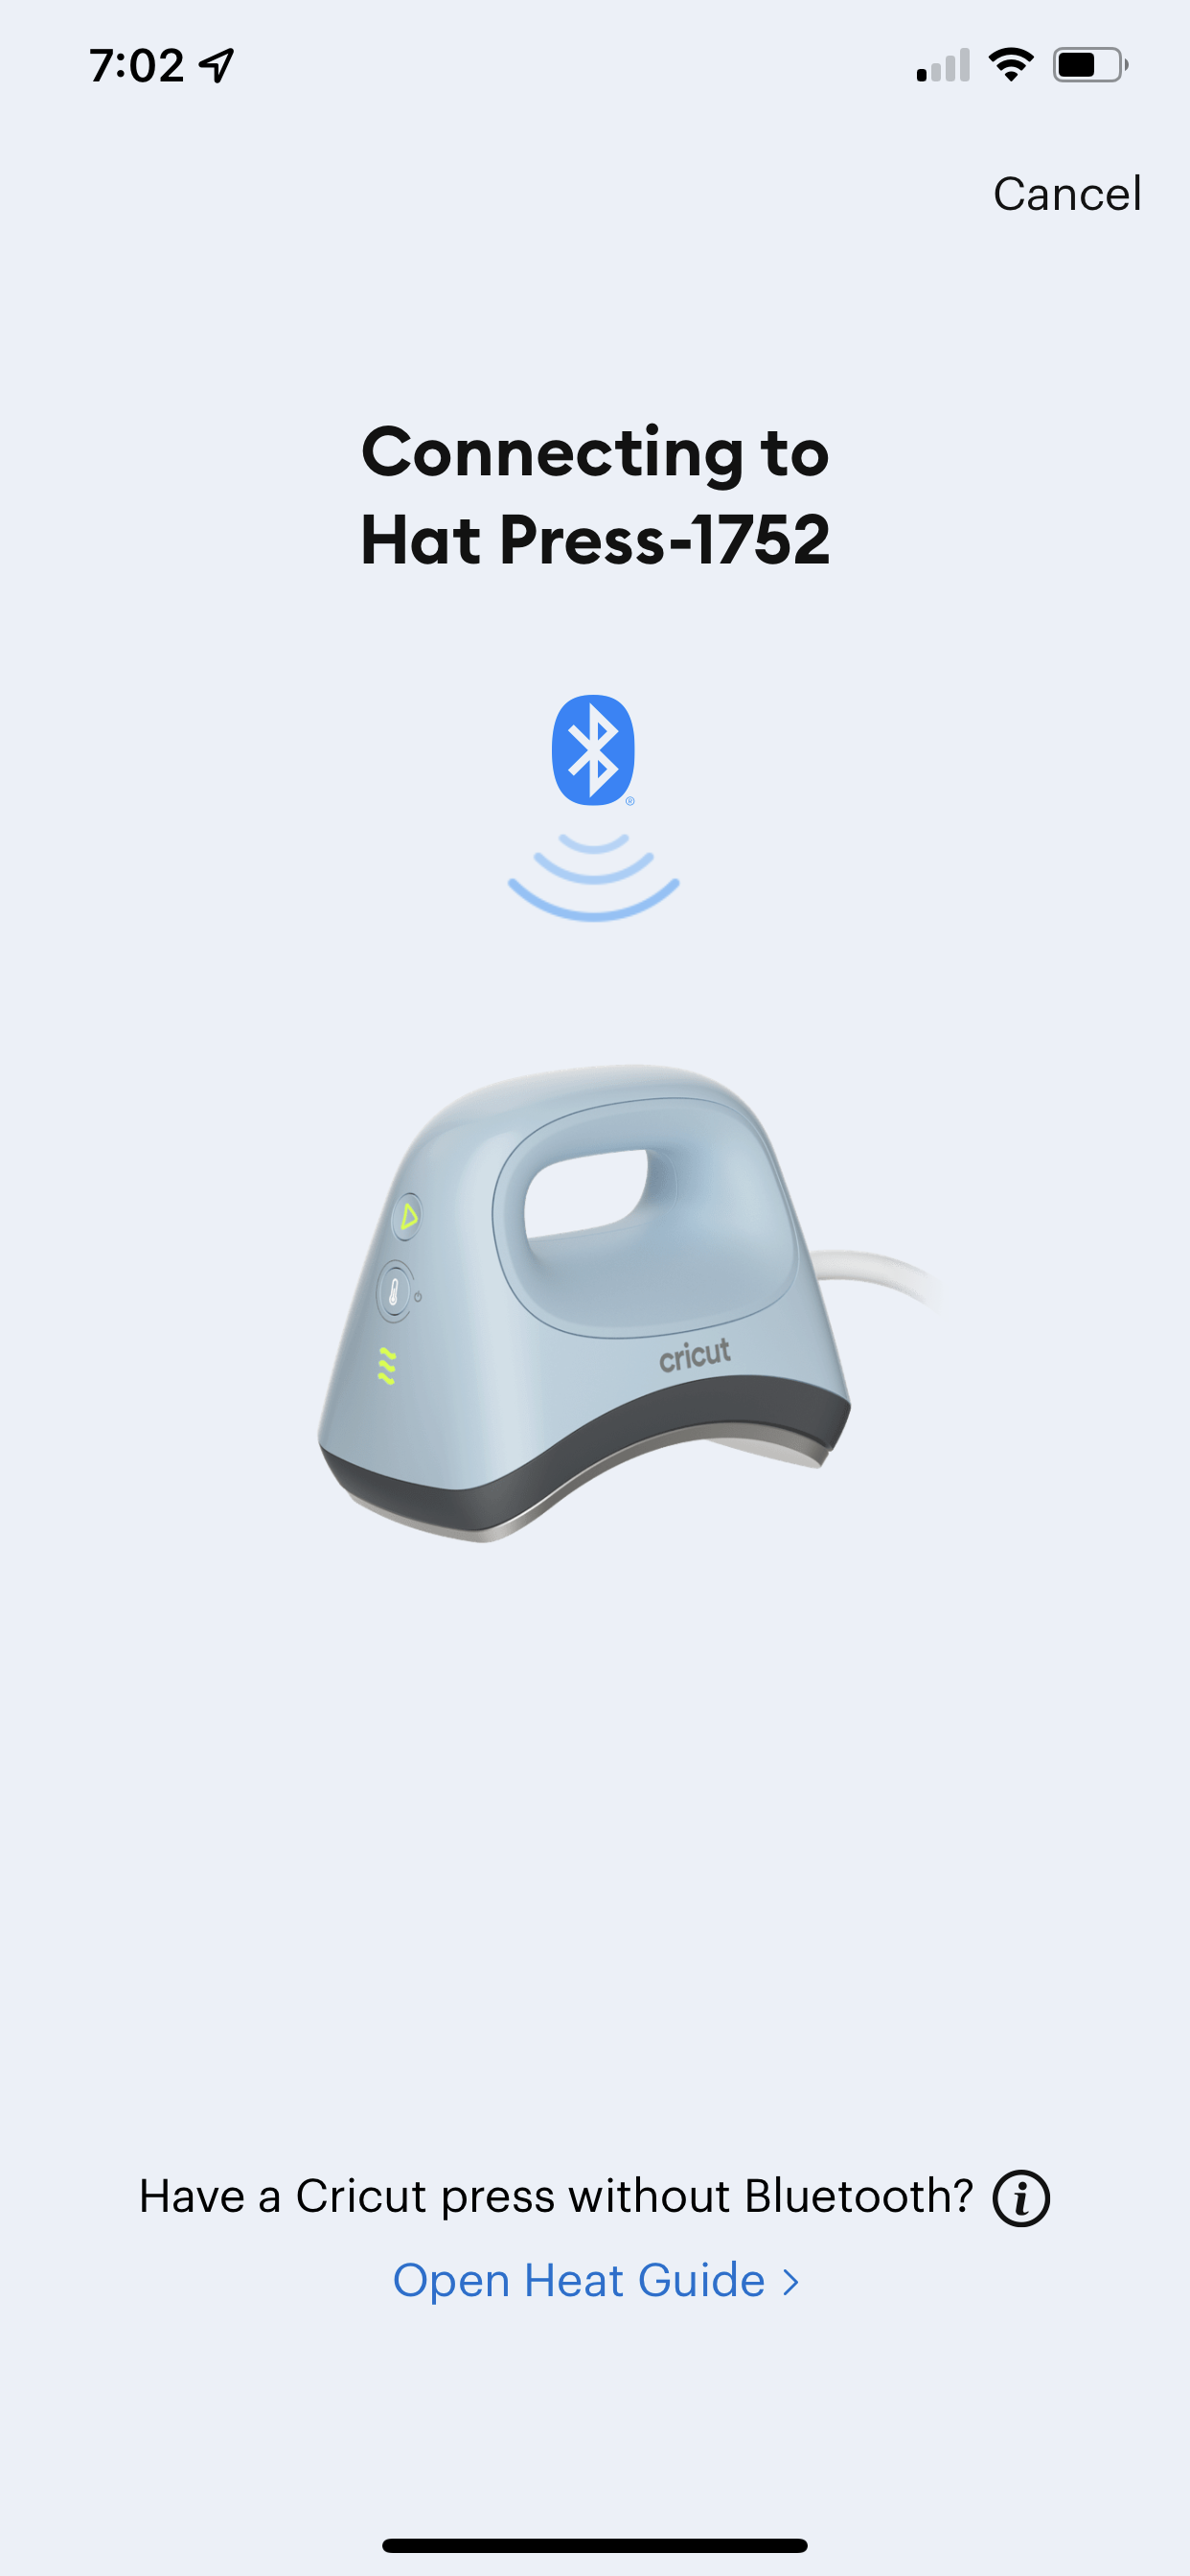
Follow the steps needed for your own hat and materials used, press, and let cool. Enjoy your new adorable hat!


I am loving my new chasing sunshine hat! Summer hair, don’t care!

Happy Crafting!


Leave A Reply!