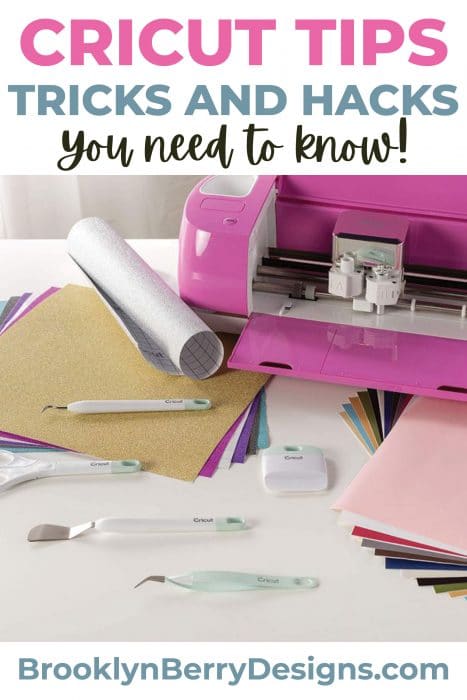
Cricut Tricks And Tips
Are you looking for little short cuts to make your Cricut experience a bit more smooth? Here are some of my favorite tricks and tips that NOBODY told me about. These small changes will save you time and money – which we can all use more of, right?
Some of these tricks might be common knowledge for any long time Cricut (or silhouette) users, but for anyone else who has had to navigate these crafting waters alone, I wanted to share some helpful tricks and tips that have made my life a bit easier.
When I first got my Cricut Explore machine I was so excited for all of the craft projects I could make, but was scared to even open the box and get started. It just seemed so overwhelming to start. Thankfully the box had a starter project and lots of help to get me going on my first project.
Cricut Hack #1 – No Curling Paper
When cutting paper or cardstock remove the mat from the material (rather that the material from the mat). This keeps your paper from curling up, especially when you have a brand new mat.
I have also tried using the spatula looking tool from the tool set (check out this post to see my favorites) to carefully pry up a corner of my cut project. I find it can lift the material without curling it as well.
Cricut Hack #2 – which side faces down?
What side of your material sticks to the cutting mat? When in doubt put the pretty side down. For iron on vinyl, place the shiny side on the mat (and make sure to mirror your image before cutting).
Cricut Hack #3 – get blades to last longer
Use separate cutting blades for each material to keep the blades sharp and the cuts precise. This will make your blades last longer.
You can use a drop of nail polish if you wish to color code them, but I just write on the blade housing with a sharpie. Vinyl and paper. Easy peasy.


Cricut Hack #4 – get your mats to last longer
Get more use from your cutting mat. If your mat is not sticking anymore there are a few things you can do to extend its life a bit more. First, you can tape down the edges of your material with painters tape or washi tape.
You can clean the mat by running it under lukewarm water. Gently tub the mat to remove any fibers and let it air dry. Do not use any spray adhesive because it will make the machine rollers sticky and wont cut properly (I did this once and it wasn’t pretty).
Cutting a piece of transfer tape the size of your mat and putting it sticky side down will re-stick your mat as well.
Just remember, a new cutting mat is less expensive than a new machine. So don’t use any glues or spray adhesives. Trust me on this one.
Need inspiration? Get tons of great vinyl project ideas here.
Cricut Hack #5 – re-cut when needed.
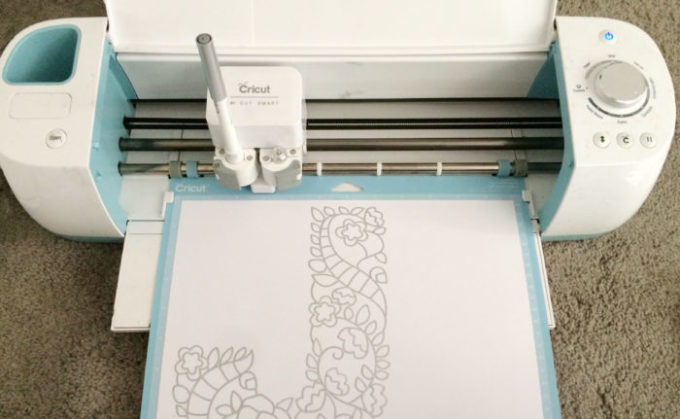
Re-cut with the Go button. If you are cutting through a thick material or any material and it doesn’t cut all the way through – WITHOUT unloading the cutting mat, hit the “Go” or “C” button and it will make another pass – cutting again in the exact same place.
Caution – if you unload the mat this trick will not work because it will cut again but not in the exact same place. So if you are hesitating at all, just hit go again and make sure it is cut all the way through.
So, have you used any of these tricks before? Are any of them new to you? If you have another trick to share I would LOVE to hear about it in the comments.
Looking For A Crafty Friend?

Pin for later:

Comments & Reviews
Julie Villeneuve says
New to me about using different blades and how to identify them. Also using transfer tape to re-stick mat….THANKS!
Brooke says
I am glad I am not alone is not knowing that! Happy it helped.
E says
Thanks I was intimidated till I read your tips.
Terri says
I don’t know how many times I have changed paper or changed setting because it didn’t cut all the way through the paper. I am so glad you mentioned the trick with the go button can’t wait to try it.
Brooke says
Me too! Although I have tried re-cutting after unloading the mat and it cut just off a tiny bit, which messed up my project. You never know when you will need it!
Kathi G says
Some excellent tips here! To use spray adhesive to re-stick your mat, first cut a stencil out of cardboard and place it over the edges of the mat. That way your machine won’t get sticky.
Brooke says
I hadn’t thought of that! Smart move.
Rosy says
I always spray my mats to re-stick them… you just have to be careful that you only spray the inside and not the edges- i wash them first in warm water and scrape off the bits of paper, let them dry, then put them under the template I made out of old file folders to cover up the edges of the mat and leave the inside exposed. I spray with a quilting adhesive (I use Quilt basting spray by Sullivan’s)- give it two light sprays and let them dry and you are good to go. If by chance they get too sticky, just pat the surface with your hands- the oil from your hands make the mat less stickY.
Yvonne says
Thank you so much.
Doreen says
I am new to using the cricut If my project has say 4 different color vinyls instead of using 4 different mats can I put the needed colors on one mat?
Brooke says
The easiest way is to cut on 4 different mats, one for each color. However, if you have an ipad or iphone you can use the snap mat feature to place 4 pieces of vinyl on the mat. The snap mat feature just makes sure that your cuts fit onto the vinyl perfectly. Let me know if you would like a tutorial on this!
Dani says
You can use adhesive spray and it works awesome! Just use painters tape along the edges before you spray and take off after. That way the rollers on the machine won’t be affected because the sides of the mat were covered when spraying.
Brooke says
That is a really smart idea with the painters tape! I will have to try it, I am experimenting a bit more with the newer style of cutting mats. They don’t have the flowers and don’t smell, but also don’t seem to last as long.
Barbara says
I have the Cricut Expression second hand, and it was given to me as a gift. I was very excited when I got, but was disappointed when some of the cardboard did not cut all the way through. I am sure these hints will help. Thank you.
Brooke says
Yes, try a new blade and you can always do a second cut!
Pat says
How do you clean the wheels on the cricut machine after cutting with leather it leaves it sticky with bits of leather on it?
Brooke says
I would use tweezers or my fingers to pull any pieces off the rollers. I haven’t really had anything sticky on the wheels after cutting leather before. I would maybe call Cricut customer care and ask what they recommend.
Sue says
The number one thing that you’ve never been told is that you can use an iPad or cell phones BUT you will really need a worktop or a laptop!
Brooke says
That is a good point! I personally like designing on the computer better, but I love the snap mat feature on the phone. I will also use the phone to send designs to the machine, especially if I am assembling something while cutting another sheet.
Jude says
I cant get the friday night lights to download for me.
Thank you
grant clay says
can you please send me cricut downloads
Keith A Milson says
Brooke, why does it take so long to cut my custom designs (for applique)? Each piece on fabric takes sooooo long! I can cut them faster by hand.
Brooke says
HMM it is hard to say without seeing the design. I know for cutting squares and straight lines, I prefer my rotary blade and acrylic ruler as it is much faster. But smaller pieces I like the precision of cutting on the maker.
If you want, send me and email with the image and I can look at it?
Shirley says
Painters tape along the edges is a great tip. I hang my mats from command hooks on the wall. I put painters tape (on both sides) over the hole and cut the hole out…makes it so much easier to see to hang on the hook.
Jane M Barnett says
Perfect! Just found your descriptions for cutting twice. Thanks!