Oh how I love a quick and easy craft! Another one of my great loves is FOOD! Combine these two loves of mine and you get the inspiration for my latest weekend afternoon project. I am a Foodie. I spend far too much time thinking about, making and eating delicious food. My kitchen is my favourite room in my house. I am currently waging a war on my kids’ picky palettes and insisting they help in the food prep process. My kids actually love measuring and baking, chopping and cooking… just not so much the tasting and eating part.
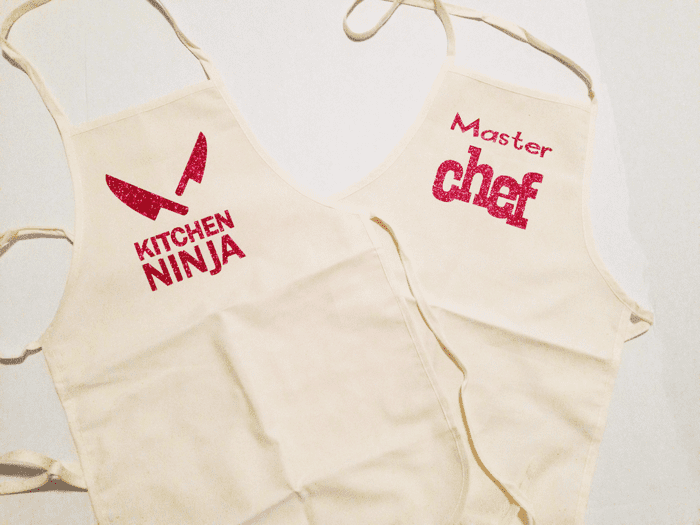
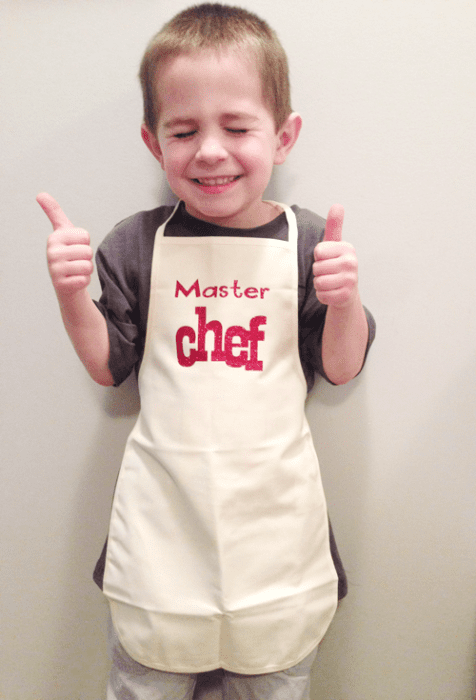
My youngest really REALLY wanted his very own apron (which I think is pretty funny since I don’t even own an apron… must be due to all that Food Network we watch) so I decided to make him one. A quick trip to the craft store found some blank white aprons in kids size, ready for personalization.
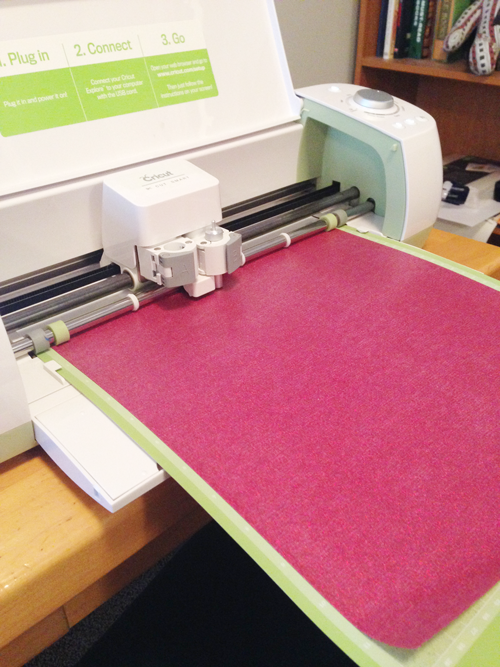
Once I got home all I had to do was pull out my Cricut and some Iron-On vinyl (glitter because that’s what he wanted) and get to work. Cricut had TONS of super fun images related to food in Cricut Design Space. Seriously, the longest part of this whole project was choosing which one to use. After that it was simple.

Tips For Using Iron-On Vinyl
- Cut out the image – make sure the mirror image box is checked!
- Iron-on vinyl comes with a clear backing that holds your designs in place. The lining is a little sticky which helps to keep your design in place before ironing it on
- Use the hottest setting you can for your material
- run the iron over the material to warm it
- hold your iron in place – DO NOT move it around
- if your design is bigger than your iron, work in sections
- let the design cool before removing the backing
How To Cut The Image With A Cricut Machine

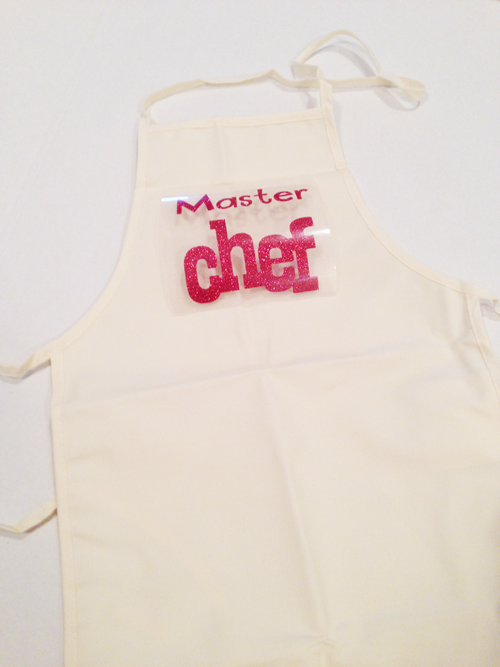
 Have your Cricut cut out the image you want from the Iron-On vinyl. But make sure you click the Mirror image box before you cut it out… Ugh I forgot and was super annoyed… but at least I noticed before I ironed it down. One thing I love about Iron-On Vinyl is that it comes with a super handy clear backing. This little added layer is AMAZING. It holds your design in place. I was nervous that I would have to line up all the letters and that was stressful for my OCD brain but thanks to the lining that was all done for me! Plus, the lining is a little sticky so you can lay it down right where you want it and not worry about it sliding out of place before you get the heat to it.
Place your design where you want it on the apron, sticky side down.
Put a small towel (I used a dish towel) over the design and firmly hold your iron over the spot where the design is for about 30 seconds. Just hold the iron in one spot.. don’t move it around… if your design is bigger than your iron (which mine was) lift the iron and then reposition it over another section
Let it cool completely before removing the clear backing. Remove the backing slowly. If you notice any edges of your design lifting you can put the backing back down and then run your iron over it for about 10 seconds.
Cute Kids Aprons Gift Ideas
My store I got my aprons from only sold them in packages of 5. I decided to do up all 5 and it took me 20 minutes (not counting the choosing a design because I am indecisive). But really who needs 5 aprons?!?! HELLO Birthday gifts! I am going to roll up the extra aprons and put them in a cute mixing bowl with cupcake liners, wooden spoon and cake mix to make a unique birthday gift for some little people in our lives. Who knows maybe if I’m feeling extra crafty I’ll even make up a cute recipe book to go with it!

Crafts and text by Amanda Pisko
This is a sponsored conversation written by me on behalf of Cricut. The opinions and text are all mine.


Comments & Reviews
Katie says
OMG I want a Cricut. These are adorable.