Flooring In A Basement
Last week you read all my basement saga and just how difficult it is to remove thinset from concrete. To summarize, its a whole lotta work. Once we had bare floors I just wanted to do snow angel like movements on those floors. I was ready and excited for the next phase of the project – flooring choices and installation. Keep reading to see why Vinyl Plank floors are the best option for a family with 4 kids.


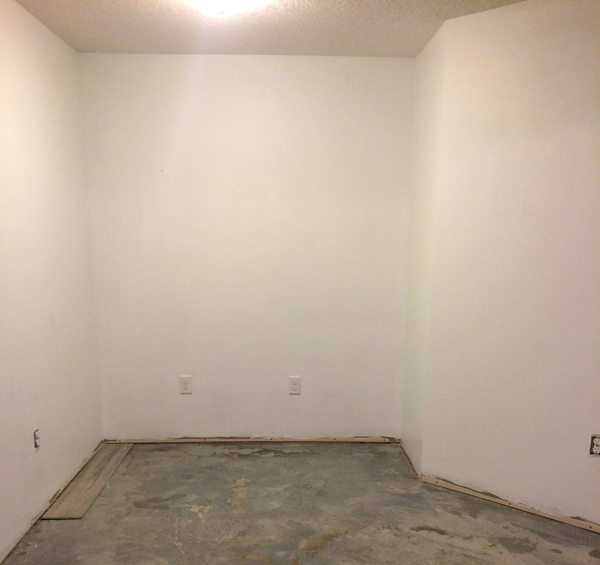
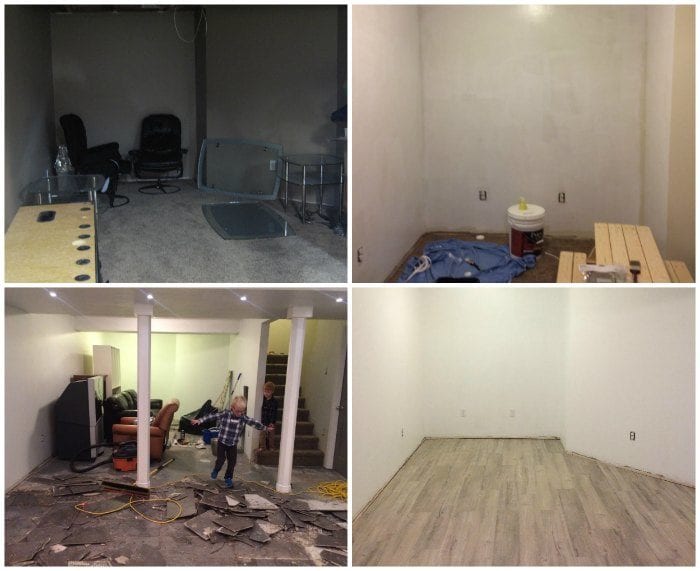
This is the basement when we first walked through the house. From walking down the stairs and standing in the middle of the room. Looking to the right is a dark cave with just carpet and walls. To the left is the odd floor tiles and what could be another kitchen?
Flooring Choices
After looking at flooring choices, I really wanted one flooring type across the whole floor which meant ripping out the existing tile. Wall to wall carpeting seemed like the least expensive choice. Having 4 young boys in the home, it seemed like I would be constantly cleaning carpets. This room will function as a the main family hangout room – with both a family / tv room and a play room. Cleaning is not how I wanted to spend all my time with my kids.
Tile is way too cold on the feet in a basement. In-floor heating would be a great option to keep tile floors warm, and would be perfect for the bathroom floors (small areas are the affordable way to do this). I saw a few clearance laminate floors while walking through Home Depot but they are not recommended for basement spaces. An employee in the flooring section talked floors with me and recommended vinyl plank flooring. While the product cost was a bit higher than laminate, vinyl planks are easy to install yourself and are completely waterproof. Saving money on installation allows for investing more into the product quality.
Choosing A Luxury Vinyl Plank Floor
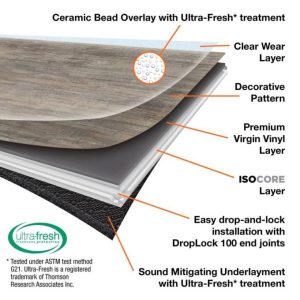
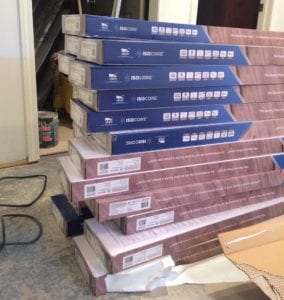
The product we ended up choosing was the Allure Isocore vinyl planks which are available exclusively at Home Depot in Canada. The features that I loved that sold me on the product: its waterproof. It has a built-in underlay which also has an Ultra-Fresh treatment for anti microbial properties. I felt comfortable installing it myself after reading the instructions on the blog DIY Genius and watching their videos.
I actually chose the color from the website, not having seen it in real life. The colors available were all great, I quickly narrowed it down to 2 great colors and finally decided on the lightest option, Grey Sawn Oak.

How To Install Your Own Vinyl Plank Floors
Materials Needed:
- Broom
- vacuum
- laser level or chalk line
- safety glasses
- 1/4″ spacers – we cut a 2×4 into shims
- square
- utility knife
 Tools:
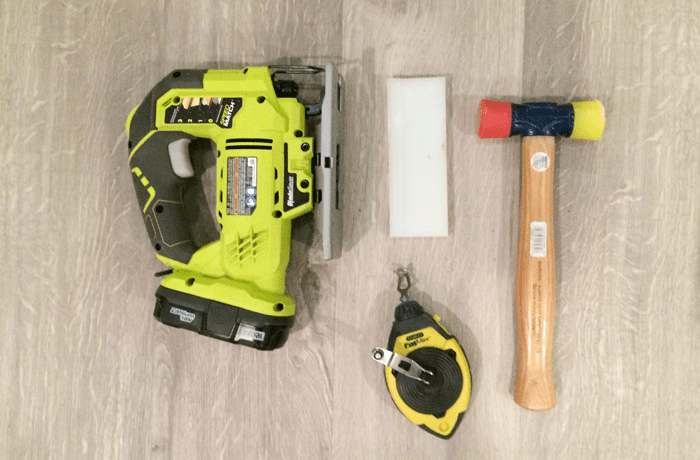
- Jigsaw (I have the Ryobi that uses the same battery as my drill and its great)
- Mitre Saw (optional)
- Razor Blade and Straight Edge
- Tapping Block
- Rubber Mallet
- Pro Pull Bar

How To Install A Vinyl Plank Floor In A Basement
 Gather materials
 - Prep the floor – remove any existing flooring, sweep up any debris.
- Fix any large unlevel spots in the floor.
- Decide which way the flooring will run. Starting in the left hand corner, working to the right. Vinyl planks should be installed against the longest wall (so running in the direction the long way).
- Begin with a 1/4 in spacer against the wall. Start with the tongue side of the planks against the wall. Lay out the planks without attaching them to make sure you aren’t left with a piece of plank less than 8″ against the wall. Make any adjustments to the initial plank so no cut end pieces are less than the 8″ recommended.

- To cut planks you can either a straight edge and razor blade or a miter saw. To use a razor blade, make sure your line is square then score and snap. You will need to score on the top section and repeat on the underside padding. Make sure your blade is sharp and have extra blades on hand. If you are comfortable using power tools a mitre saw is perfect for this. I personally found the mitre saw much faster and provided straighter edges, but do whatever is more comfortable for you.
- Join two planks together by clicking the ends (small sides) together. Use the rubber mallet to lock the planks together.
- Begin the second row with a plank that is a different length than the previous row. After finishing our room, we decided we liked the look of more random lengths rather than cutting the boards into perfect 1/3’s or 1/4’s. Its more of a preference, but we liked the more random lengths to hide the seams more.
- Attach the plank to the previous row by using a tapper block along the edge of the tile and rubber mallet to tap on the seam. After a few rows into the room we found the secret to removing the gap the easiest and quickest was to kneel on the plank you just connected. Applying your body weight helps to prevent all the other rows from shifting (the Allure Isocore planks are attached to the concrete, they are floating on the concrete).

- Use a pencil and painters tape to mark out a template around odd-shaped walls, door jambs or posts. Cut any odd shapes with a jigsaw.
- When you reach the final row there is not enough room to use the mallet to attach the plank. We picked up a pull bar to be able to connect the final row to the rows before.


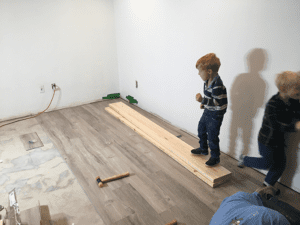
Flooring After:

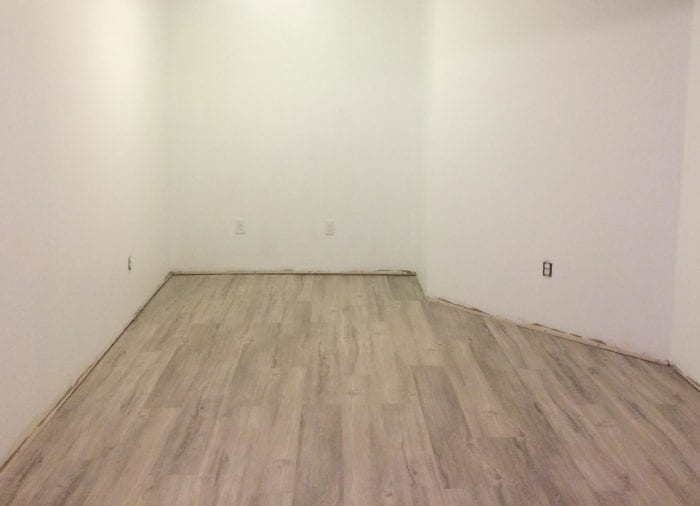
Now we just need to install baseboards and it is finished!
Check out the time-lapse of our flooring installation:
If you are looking at flooring for a basement and want something that is both beautiful and durable, you need to check out Allure Isocore at Home Depot. Vinyl plank floors are so easy to install yourself, its a great project to add value to your home that can be installed in a weekend. With 4 kids running around ‘helping’ it really was so easy to install.
Our boys were so amazed that we were ‘building’ the floors ourselves they talked to their teachers at school about how Mom ‘built the floors herself’.
We have come such a long way! Thank you to Home Depot Canda and Halstead International for helping with the Allure Isocore vinyl plank flooring.
You need to see all the projects we have done to our house! Check out projects in my house here!

Comments & Reviews
Jessica says
This is awesome! Just what I needed. We are thinking of installing Vinal floor throughout our home!
Debbie Johnson says
Wow what a transformation! It is absolutely beautiful. Big improvement. Looks lighter and more modern
Sabrina @ Pink Little Notebook says
Wow this flooring is gorgeous! I have a basement project that I have to eventually tackle as well. Thanks for introducing me to vinyl plank flooring. I didn’t know this was a great option for basement flooring and it looks exactly like hardwood!
Brooke says
Thank you! Yes, the vinyl looks just like wood but is 100% waterproof, so if it ever has moisture issues or flooring the floor is ok.
Jane @SustainMyCraftHabit says
Oooh love these! We’re thinking of some options for our cottage bathroom which is on concrete floor. Will definitely look into this! Great video too – just subscribed to your channel.
Brooke says
I think the vinyl planks can go over existing floors as well. We just ripped the tile out because I didn’t want the level change. It would look great in your cottage bathroom!
Ariel says
Looking good! I feel like if we tried, it would also end up with my husband on all fours carefully measuring things. I have neither the patience or attention to detail for that !
Brooke says
Hahahaha. Ariel, I don’t have the attention to detail either, but I have the hustle to get it done already. His measuring for squareness was going to drive me crazy, but luckily I know the projects I start he will come behind and finish the detail stuff. It works out eventually!
Laurie says
How did you deal with the basement drains? Is there a way to trim around the drains that retain their function?
Brooke says
Hmmm. The drains in my basement are in an unfinished storage room with concrete floors, so we didn’t need to work around drains. I am not sure what the best option would be, but let me do some searching and get back to you about that.