• Skip to primary navigation
  • Skip to main content
  • Skip to primary sidebar
  • Press / PR
    • Design Services

Brooklyn Berry Designs logo

  • Design & Home Decor
    • The Builders Bible
    • Design Services
    • Design Inspiration
    • Furniture Arranging & Decorating
    • Renovating
  • Holidays
    • Valentines Day
    • St. Patricks Day
    • Easter
    • Mothers Day
    • Fathers Day
    • Canada Day
    • Halloween
    • Christmas
  • Crafts
    • Cricut Projects
    • Cricut Tutorials
    • SVG Files
    • Printables
    • Kids Crafts
    • Crochet
    • Party Decor
  • Lifestyle
    • Travel & Family Fun
      • Calgary – Local Love
      • Everywhere Else
    • Family
    • Things I love
    • Book Shelf
  • Cricut
  • Shop

September 23, 2016 By Brooke 1 Comment

DIY Wedding Table Number

Pin
Share
Tweet
21Shares

This post may contain Amazon and other affiliate links. Using these links, I earn a small commission at no additional cost to you.

wedding-table

To make this DIY Table number you will need:

  • Cricut Explore
  • Chipboard or thick cardstock
  • Skewers
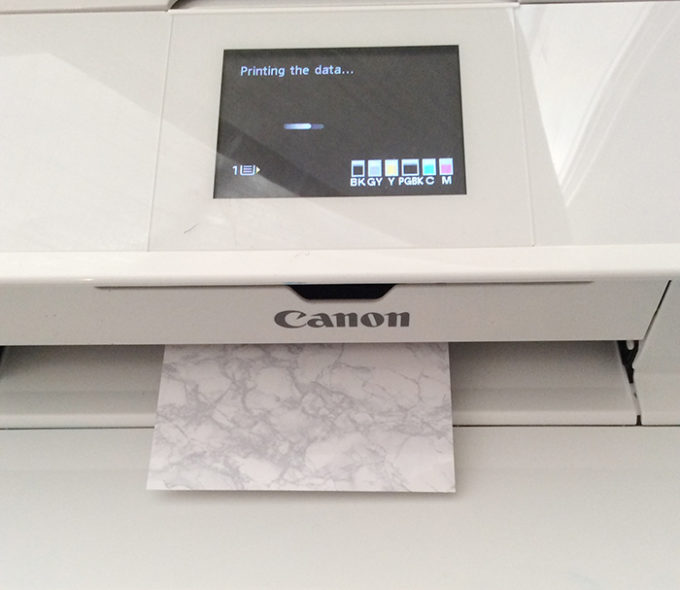
  • Marble design to print on cardstock (I used my new Canon printer, but you could send to the print shop too)
  • Plant or other base for the skewers

Directions:

  1.  Find a pattern of marble that you like.  There are tons of options and wallpapers available online or in specialty paper stores.  I chose to print my own on my Canon Pixma printer using photo paper.

canon-print

2.  Write out numbers using a script font in the Cricut Design Space.  I chose my favorite font right now, Magnolia Sky.  On a computer I like to adjust the letter spacing so they overlap and weld them together.  On the Cricut Design Space app on the ipad you can choose to separate the letters into individual layers.  That way you can just drag them together and then attach.  This allows you to cut out the word in one solid shape.

img_0390

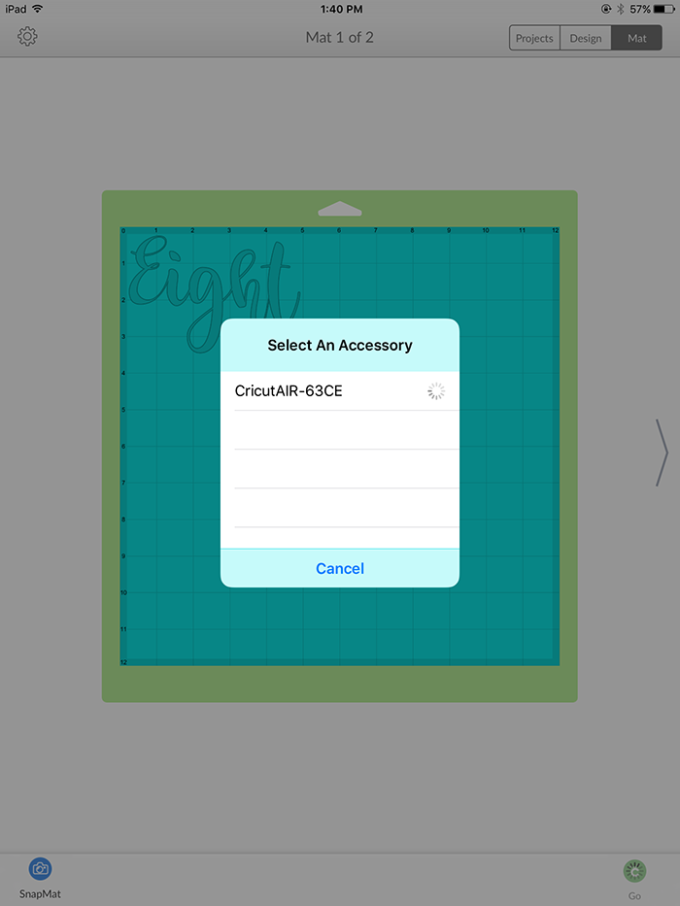
3.  Place your marble paper on the cutting mat and hit go! Cut multiple layers on cardstock or chipboard to make the final product more sturdy.

4.  Attach to skewers using tape and push the skewers into the plant.wedding-table-number

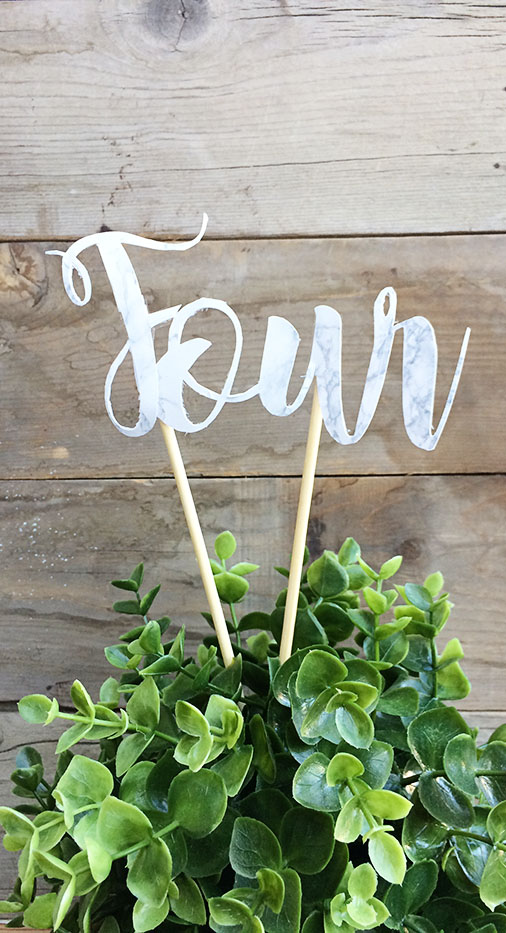
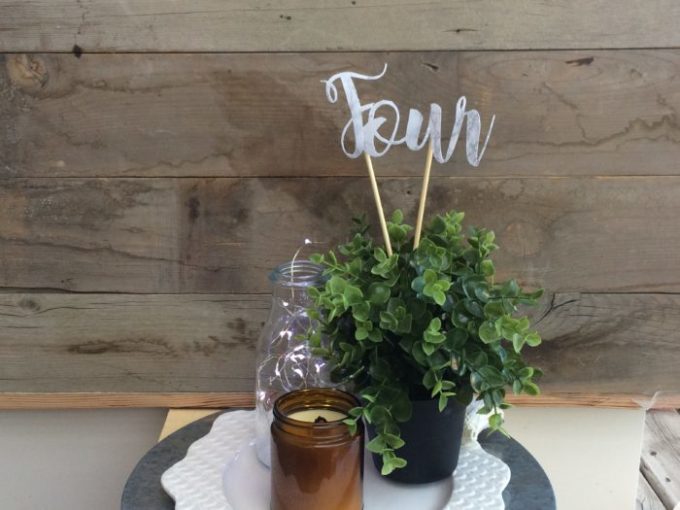
Arrange your plant with accessories of your choice and enjoy!

mlsk9009-1

img_6949

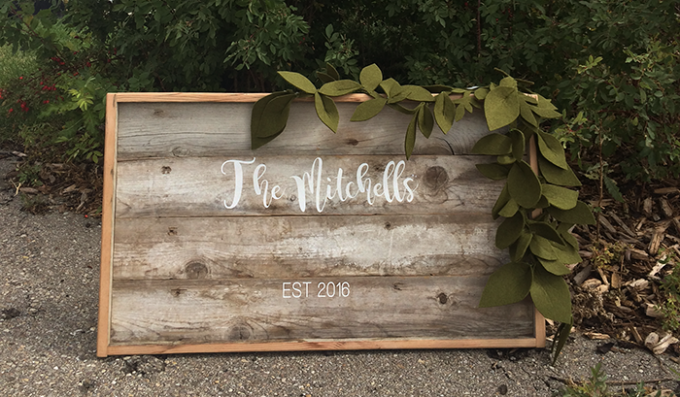
Looking for other DIY Wedding ideas?  Check out this personalized wedding sign and a huge Cricut giveaway here:

wood-wedding-sign-w

Pin
Share
Tweet
21Shares

Related

Filed Under: DIY Projects Tagged With: cricut, cricut wedding, DIY, diy project, diy wedding, wedding

Reader Interactions

Comments

  1. Kyla Cornish says

    September 27, 2016 at 9:13 am

    I LOVE THIS!!! LOVE LOVE LOVE LOVE.

    Reply

Leave a Reply Cancel reply

Your email address will not be published. Required fields are marked *

This site uses Akismet to reduce spam. Learn how your comment data is processed.

Primary Sidebar

  • Email
  • Facebook
  • Instagram
  • Pinterest
  • RSS
Brooke - Brooklyn Berry Designs

Hey, I’m Brooke!

I am a mom to 4 boys in Calgary, Alberta.  I love learning how things are made, singing to the radio loudly, and can’t stop talking. Fueled by diet coke and chaos, I can often be found working on a project.  You can hang out here for craft ideas and tips, games and activities to do with kids, plus FREE svg files and printables.

DISCLOSURE

· Copyright © 2021 · BROOKLYN BERRY DESIGNS · Privacy policy.