We partnered with BEHR® for this project. All project ideas, statements and opinions are my own.
The kids’ playroom is down in the basement of my home. I love having a place for them to play and burn energy but found they always wanted me in the basement with them. I decided to give the room some minor updates to make it feel comfortable for both adults and kids and function for the entire family.
This room has always felt awkward to me. I have rearranged the furniture so many times and nothing ever really worked well. After a few years and many different pieces of furniture, I learned that the space always felt like a dingy basement, and I just didn’t like being there. It was time to transform this space into a cozy place where I happily wanted to spend my time.
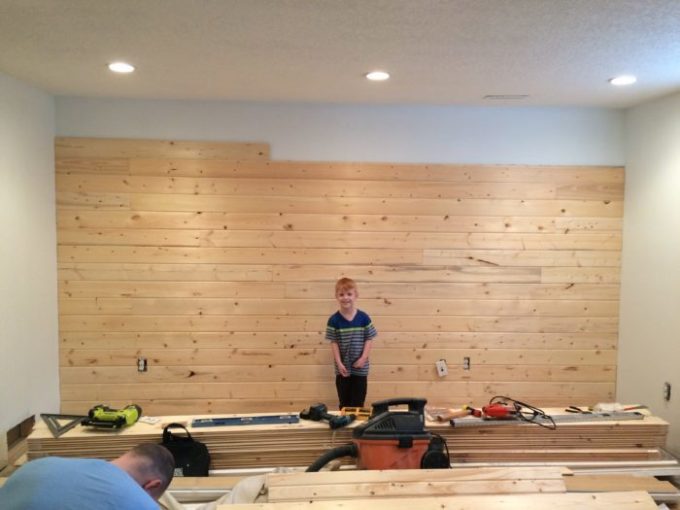
Shiplap is a great way to add some texture and warmth to a space. We added faux shiplap planks made from plywood on our kitchen island and this time I wanted the look of real wood planks. I bought some knotty cedar tongue and groove planks from Home Depot that are 6 inches tall.
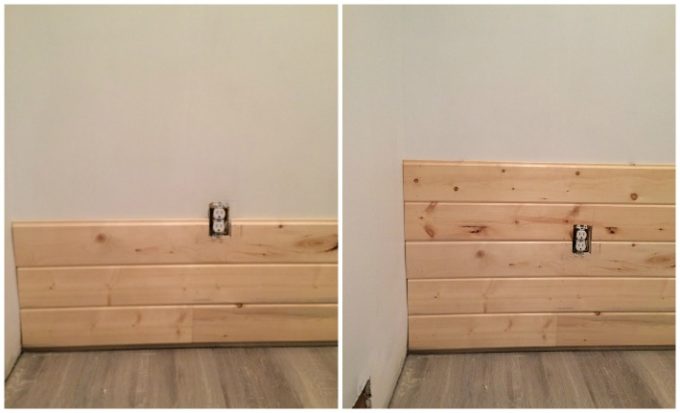 Starting at the bottom of the row, I made sure the first board was level and attached rows and rows of planks with a cordless nail gun, the Ryobi Airstrike – no air compressor required.
Tip: Use a plank lying flat on the floor as a spacer to begin your first row. This gap will be covered by the baseboards later.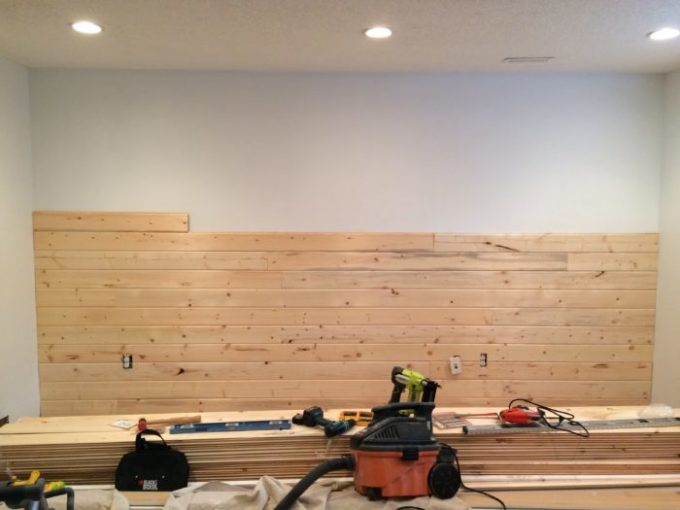
Painting The Planks
After filling the knots and nail holes we brought out the paint. I knew I wanted to use the BEHR Premium Plus Interior paint because it has low odour and no VOCs, making it the perfect paint to use in a room meant for small children. Now to just settle on a paint colour.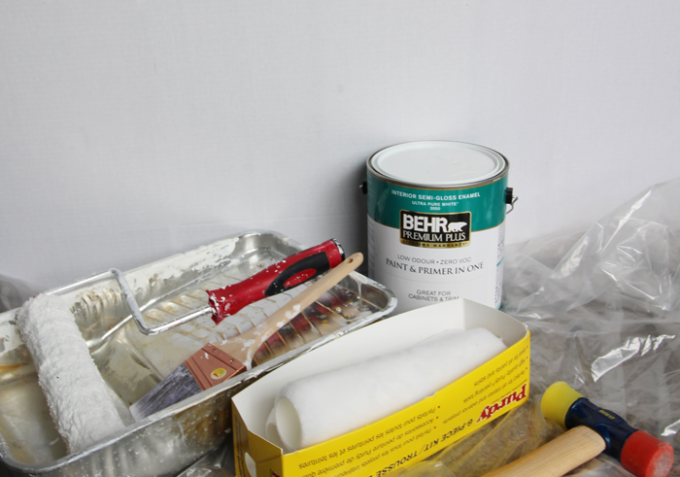 Dark hunter green has been big in interiors lately. I was thrilled to see BEHR’s colour “In The Woods” from the Colour Currents collection for 2017. After a lot of debate and internal struggle (tell me I am not the only person who worries about paint colours) I decided to save that gorgeous paint colour for an accent wall in a room with more natural light. I am making plans for an accent wall in the master bedroom, so we will have to wait and see.
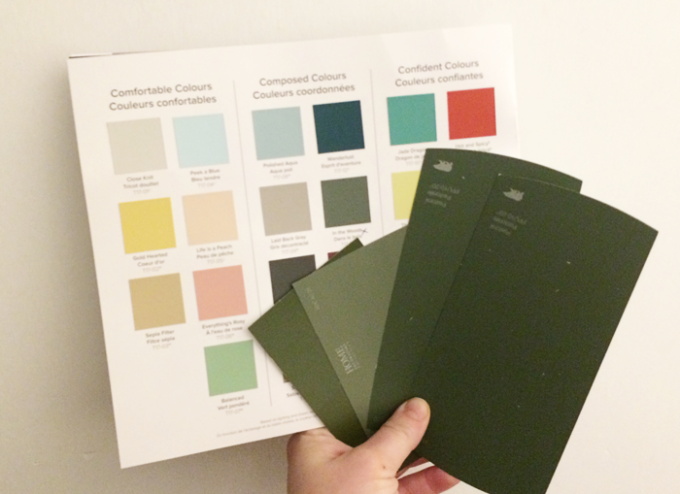
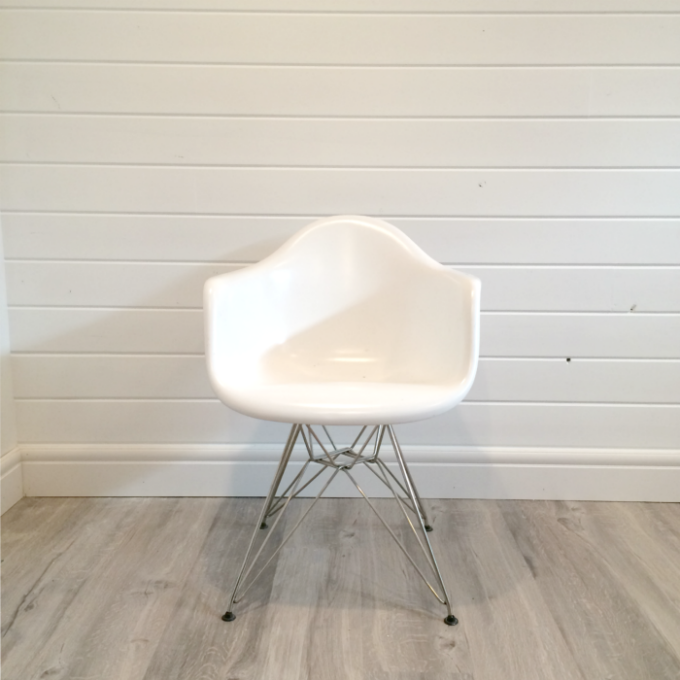
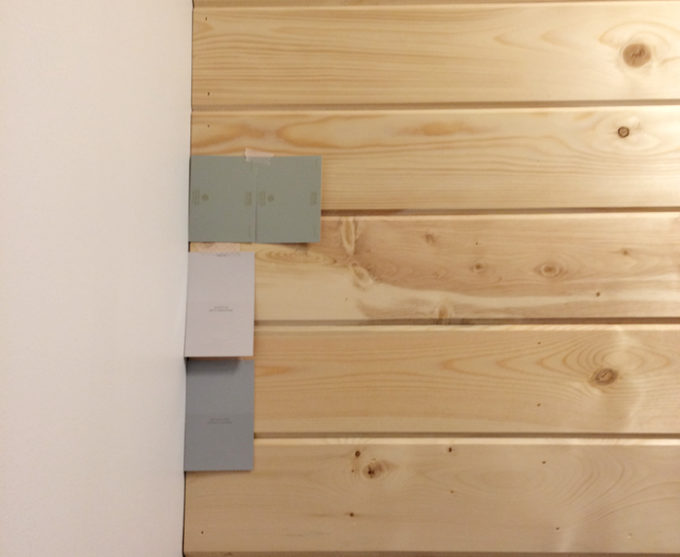 To keep the space feeling bright, I chose to use the Interior Semi-Gloss enamel paint in BEHR Ultra Pure White – yes, the colour straight out of the can. The lines of the shiplap make the room feel larger. With only one wall being painted, it is not an exact match to the side walls, but because it changes colour at a break in the wall your eye can’t see a difference.
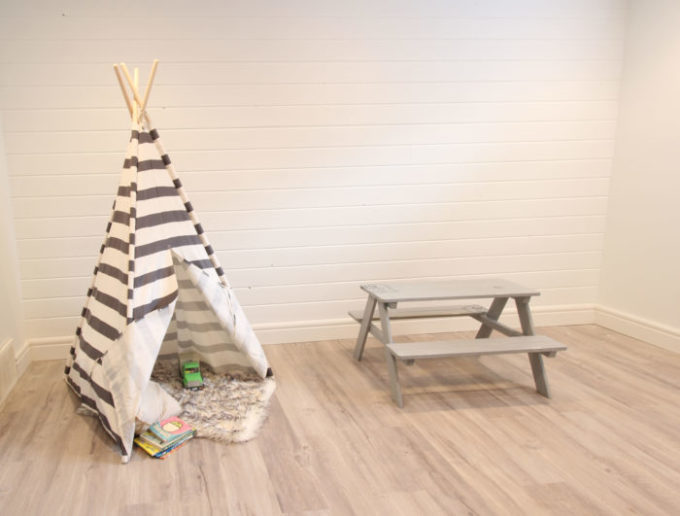

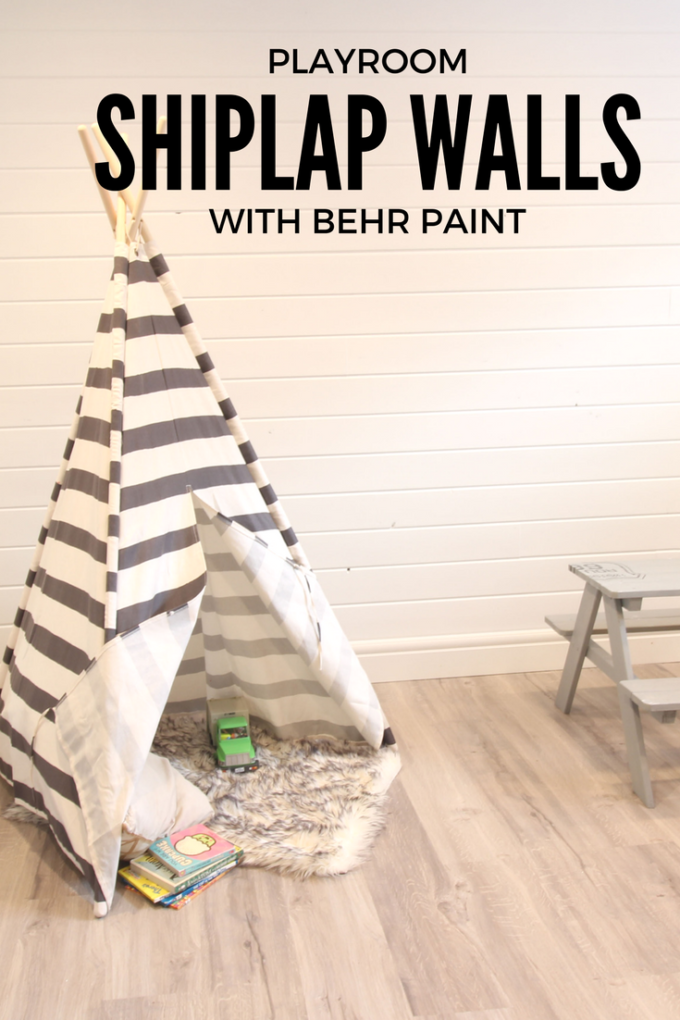
 With the room finished, the basement playroom feels bright and cheery. A weekend makeover to add shiplap and fresh paint made all the difference in the space. It feels like thought and effort were put into the décor, and the difference is amazing. Once the space was cleared out the kids couldn’t wait to play in their teepee and picnic table, and I like being there with them. Plus, it makes the perfect background for adorable Instagram pictures!

Pin for later:

Comments & Reviews
Aeryn Lynne says
Oh wow, that looks like all kinds of awesome! LOVE your colour choices, and that tent is so cool too! I kinda want one for myself. 😉
Kyla says
Wow. That looks REALLY nice. Wishing I was more handy.
Brooke says
Aw, thanks! I am willing to visit with tools if you ever need me.
paula schuck says
OMG Brooke I love this. How perfect for the boys!! I am still at a loss for what to do with our basement. It is mostly a catch all and a media room for us. I had plans of making the back portion of the room into an exercise area/ dojo for the kids to practice and my husband too and I could use it for yoga and workouts but that has yet to happen. Also I have a blank space roughed in with plumbing like for a sink back there so I need that to happen or become a sort of bar area because what the heck can be done with that otherwise?? Anyways these are amazing ideas. Love the paint and I wondered what shiplap even was until you explained it beautifully.
Brooke says
AW, thanks Paula. You are so kind. We had a similar issue with this space – it has so many options but its hard to make it work really well for just one or two. We ended up with one side couch and toys, and the other rotates around. Sometimes the teepee, sometimes I pull out the craft table to spread out and create. You should check out HGTV Joanna Gaines – she does amazing trasnformations and uses shiplap all the time.
Heather Lynne says
This turned out SO GOOD!! I seriously love it, what a great result!!
Brooke says
Thanks Heather! After reading your post on BConnected and seeing your new profile picture you look so familiar. Did you go to BYUI by chance?
Debra says
What a big improvement and it seems so clean and bright. I love the floors and the wall is so cool. Doesn’t feel like a basement. Good job
Lian says
This is such a fun idea! It is great that this project is easy to do and would take a weekend to complete. It also makes this space feel so open. I love it!
Jessica says
This is beautiful!!! I am so jealous! I wish I had an open space to do this, because I absolutely would! Great job and I LOVE the tent! sooo cute! I love all your things actually! You have just a great eye for stuff!