We finally have one room in our house that is finished and clean enough for photos! This is a very real-life process of the room two of our four sons share. If you like seeing more than just before and after photos, you will love seeing the entire process of how this room transformed.
I will probably break this journey into a 3 part story so its not too long. I hope you will follow along for the whole thing, and let me know what you would have done!
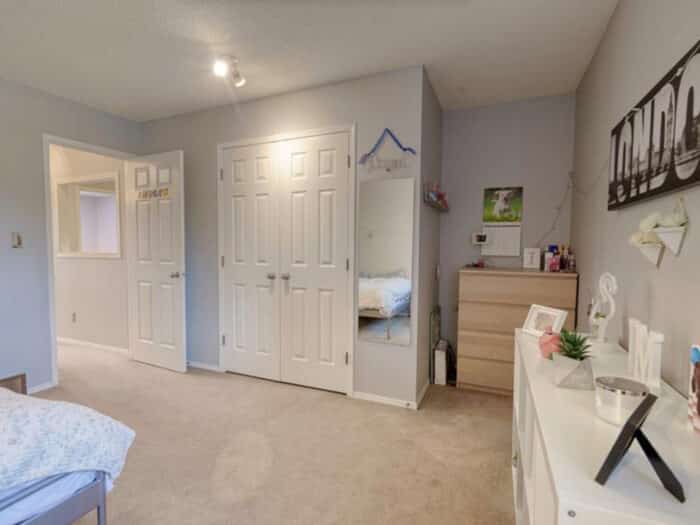
Teen Room Before
This room was known to us from the showing as ‘The Big Room’ as its the largest room, equal in size to the primary bedroom. There are 3 kids bedrooms and we have 4 sons, so whoever gets the largest room gets to share it!
This is how it was set up by the previous owner, this photo is from the listing:

Looking at it from the other side you can see this deep nook area beside the closet that became a struggle to work around. Stay tuned for a whole project to work on this space.
The First Layout
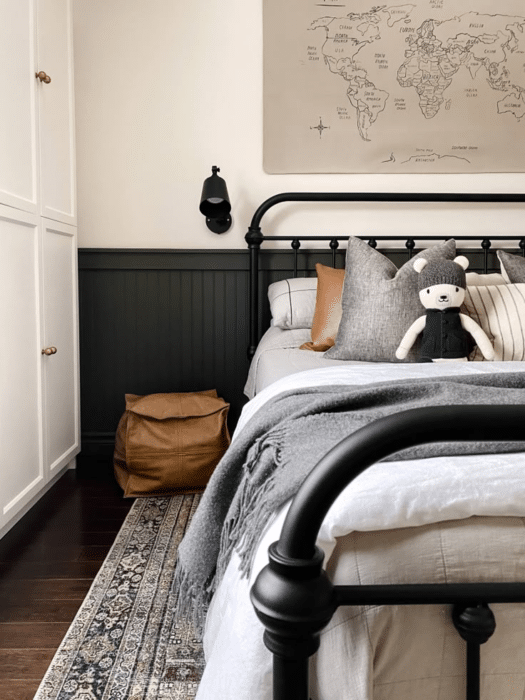
When we first moved in I used this queen size bed we had from our last house. I had Jett, my oldest (11 at the time) and Hayes, our youngest (5 at the time) share this bed. We let our twins each have their own room, seeing as how they shared the first 9 years of their life we assumed it was time for it to be their turn.
Two boys sharing one large bed rather than two twins wasn’t ideal, but it was using the furniture that we had. After a few weeks we realized nobody was getting any sleep, we ended up shuffling again and got two twin beds.
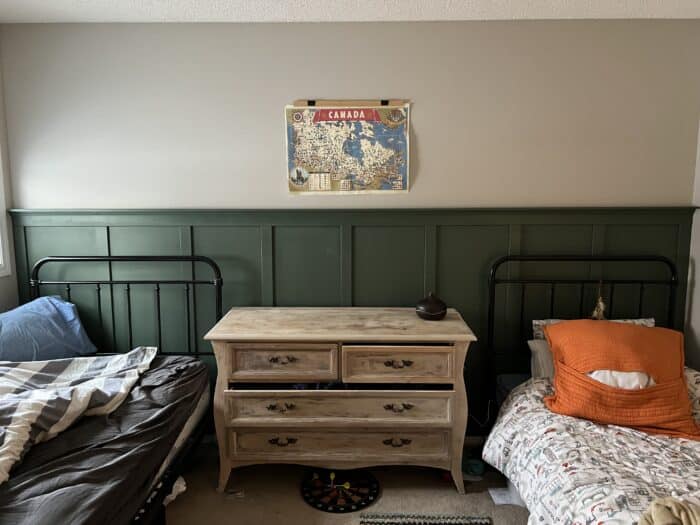
Second Furniture Layout
Ignore the messiness of our real life in this photo. I only seem to get photos when I am moving furniture around, vacuuming the room as I move large items, and everything gets dumped onto the beds. Real life here!
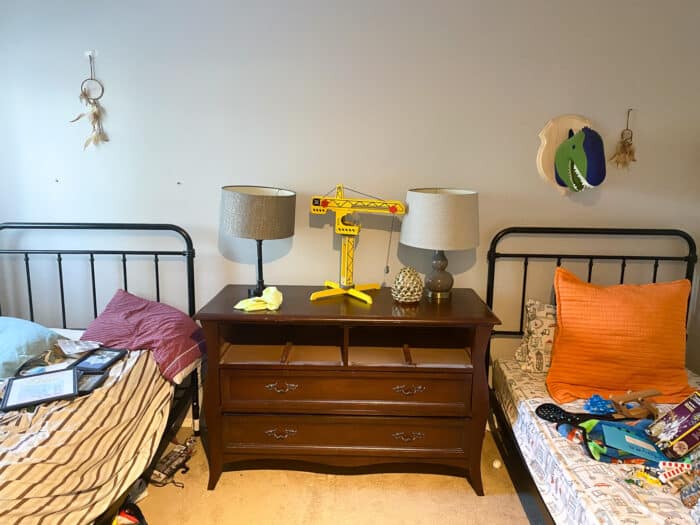
We ordered two black iron industrial style twin beds. I put a dresser between the two beds as a shared nightstand option. I knew I wanted matching bedding, but didn’t want to choose that until other design decisions had been made.
The dresser got its own makeover – I stripped the stain and finish, hoping to leave it a natural wood only to discover that the top is solid wood but the sides are veneer. We made it work, you will see it in the final photo.
Design Inspiration
Here are the ideas I have collected on Pinterest for many many years.
Board and Batten Feature Wall
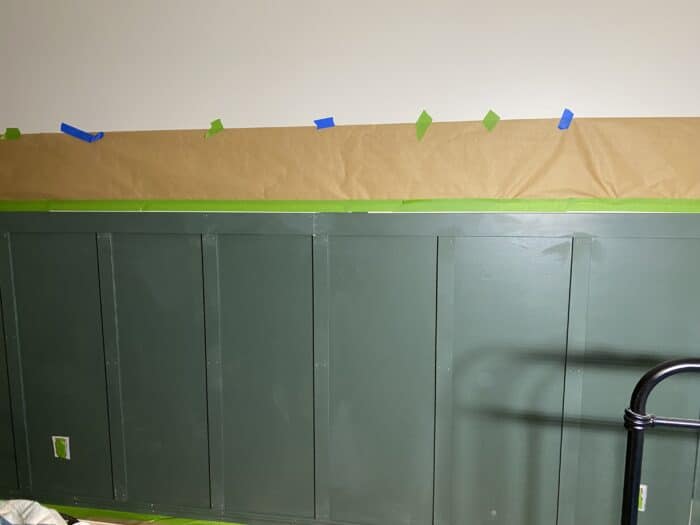
The next project was painting the lower 2/3 of the wall a hunter green and adding board and batten panelling to the walls.
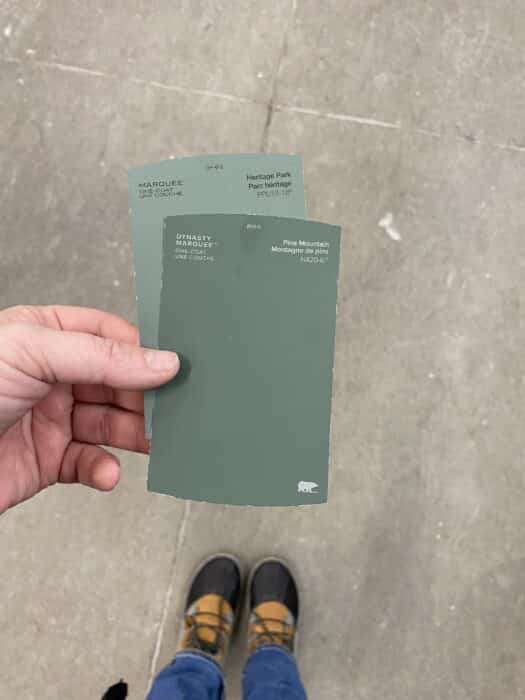
How dark is too dark? This 90’s built house has terrible lighting, with only 1 ceiling light in the room, over by the closet. I worried that the lighter color would still feel so dark all day.
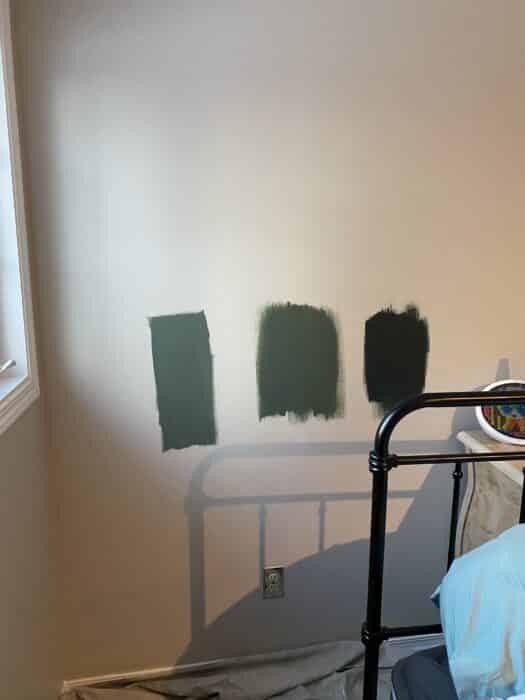
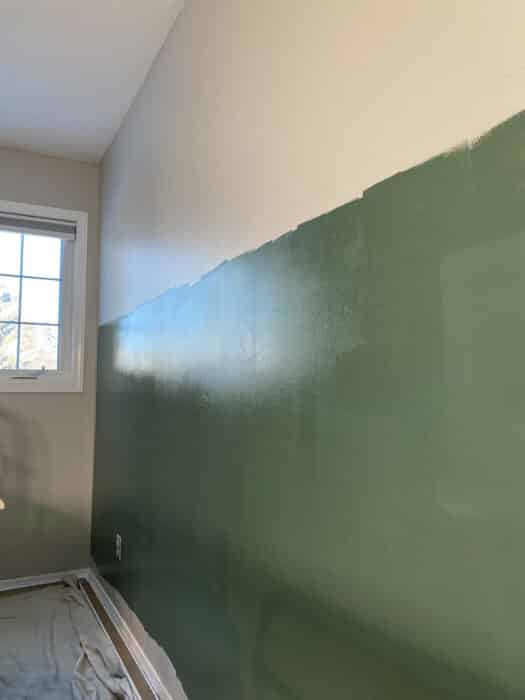
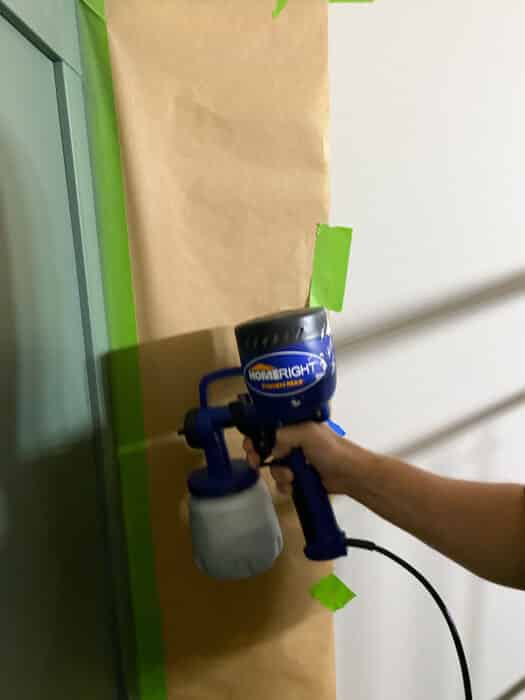
We ended up using the paint sprayer to get the last coat of paint on the walls. Our homeright finish max is my favorite tool!
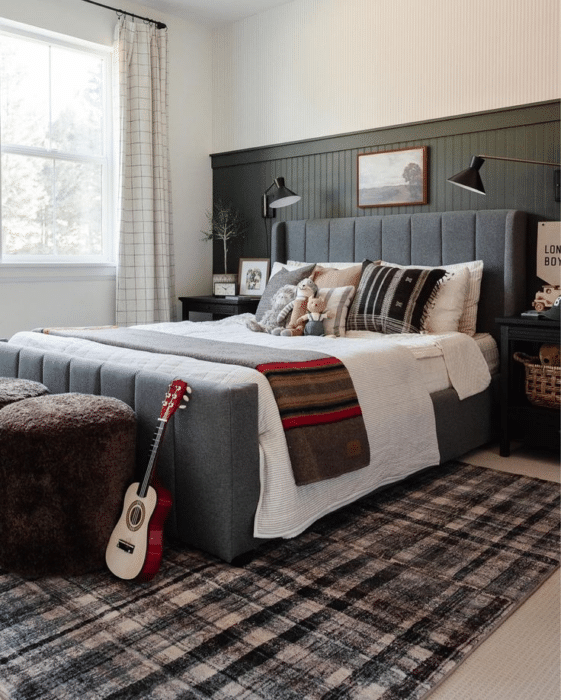
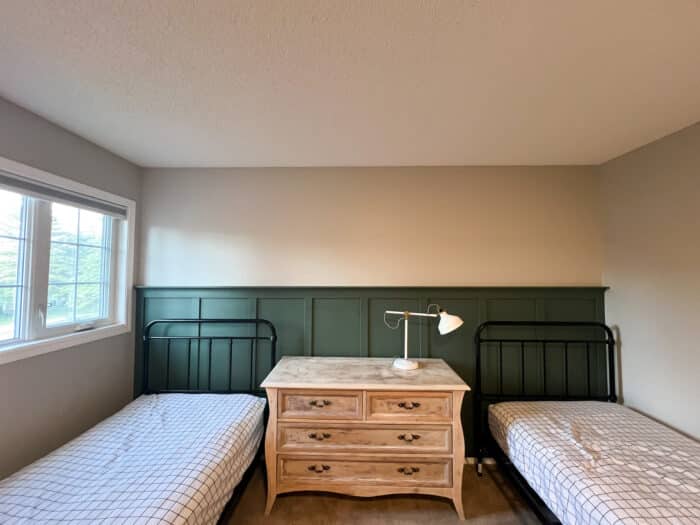
Shared Teen Boys Bedroom After – ISH.
After all that work, this is what our boys’ shared bedroom looked like. We added a 2″ deep ledge to the top of the panelling so it could work as a picture ledge to display art.
Now for decorating this room.
When will I learn to quickly make the bed and close the dresser drawers before taking a photo? In all honestly I was probably taking this picture to send to my mom and ask her opinion on whatever idea I was thinking of at the time.
At this point I began to struggle with art – that ledge stuck out too far to hang a picture over it. Stacking picture on it made the room feel too bottom heavy? I just couldn’t get it to where I wanted it. I began thinking of wallpaper to add some visual texture and allow me to leave more simple artwork on this wall.
Continue this shared teen boys room makeover journey here!


Leave A Reply!