Adding Trim To An Island
When we first moved into this house I immediately wanted to tackle the kitchen. I had dreams of painting the cabinets, adding bead board trim to the island, and painting it (see my sketches and kitchen ideas). As most real projects tend to go, this kitchen facelift has been a really long time coming.

Changing Cabinets To White
Rather than painting the existing cabinet doors white they were replaced with brand new doors on the same frame. This one decision was the best decision we have made, saving us thousands of dollars. The door profile is so much more modern than the original arched panels.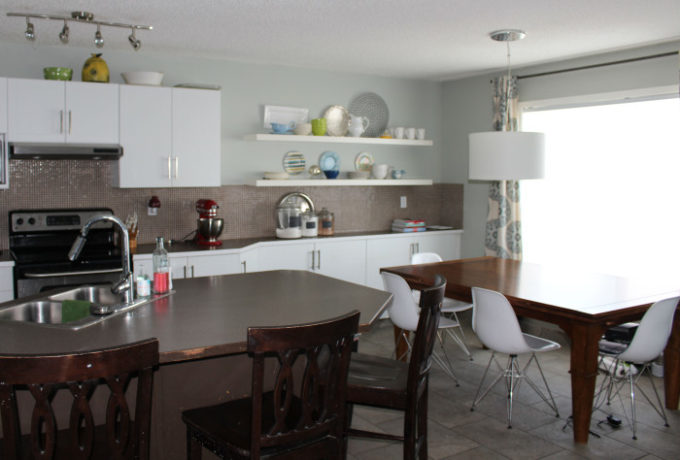
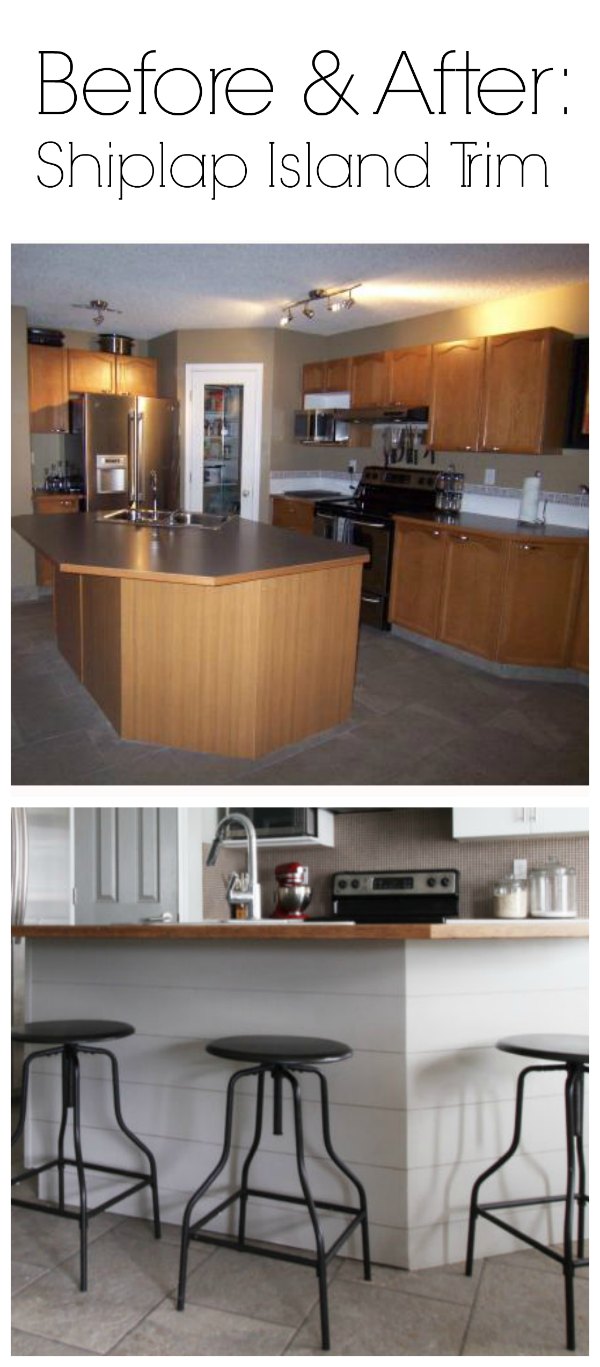
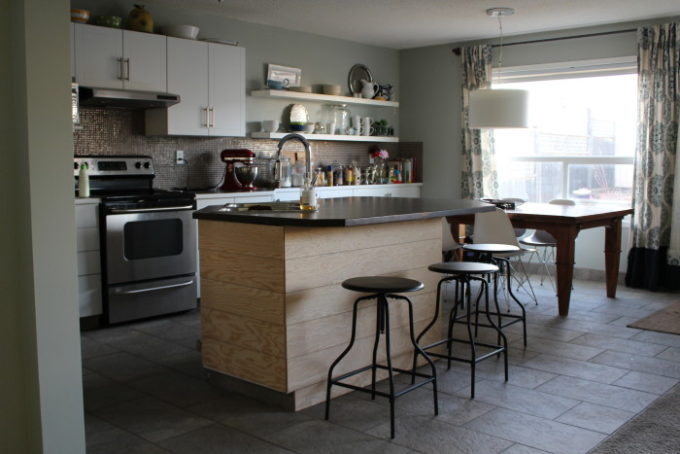
The island got new cabinet doors and was painted a dark brown. It was just how I thought I wanted it to look, but I hated it. It was so dark and it looked really basic. I lived with it for a while and debated what to do. First it was beadboard. Then board and batten to match the entry. But then I decided to add planks, also known as shiplap trim. I read a couple of tutorials (mainly this one from House of Smiths) and got to work.
How To Add Shiplap Trim To An Island
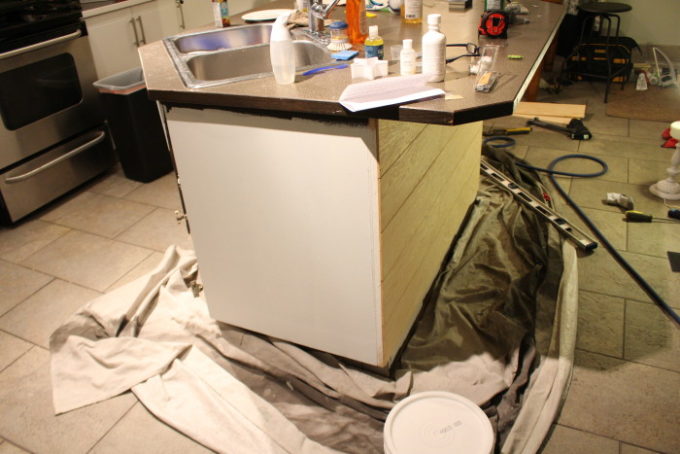 The first step was painting over the dark paint so it didn’t show through the spaces in the planks.
Paint ready plywood. It comes in 4×8 sheets and we had them cut down to 6″ wide planks at the lumber store. Because it isn’t perfectly level, we started at the top with a level plank and worked our way down, leaving the bottom plank to be trimmed to fit.
Corners – on the 90 degree corners we added corner trim to hide the rough edges of the wood. The tricky part on our island is the odd angle nearest the dining table. We had to miter the corners there to line up perfectly smooth.
This corner with the baseboards drove me crazy. The tile is on the bottom of the cabinet, but it doesn’t wrap the entire way around. I wanted to add a tall baseboard around the base, but I couldn’t think of what to do with this corner. Even worse, it’s the first angle of the island that you see when you enter the room. 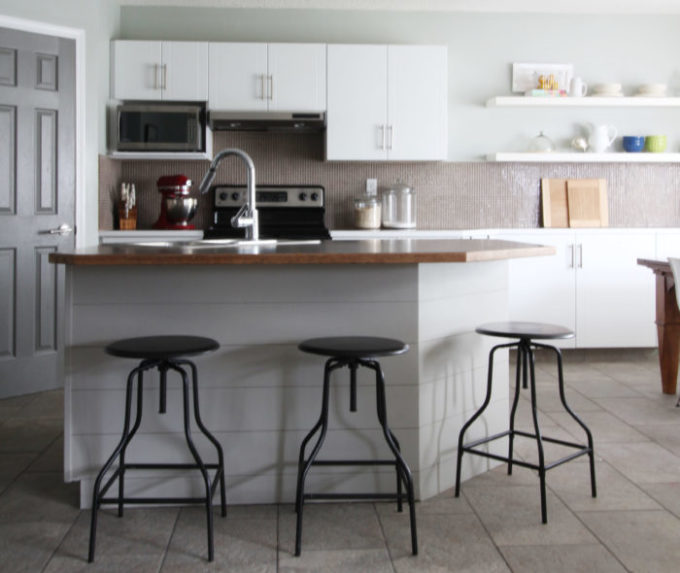
Paint
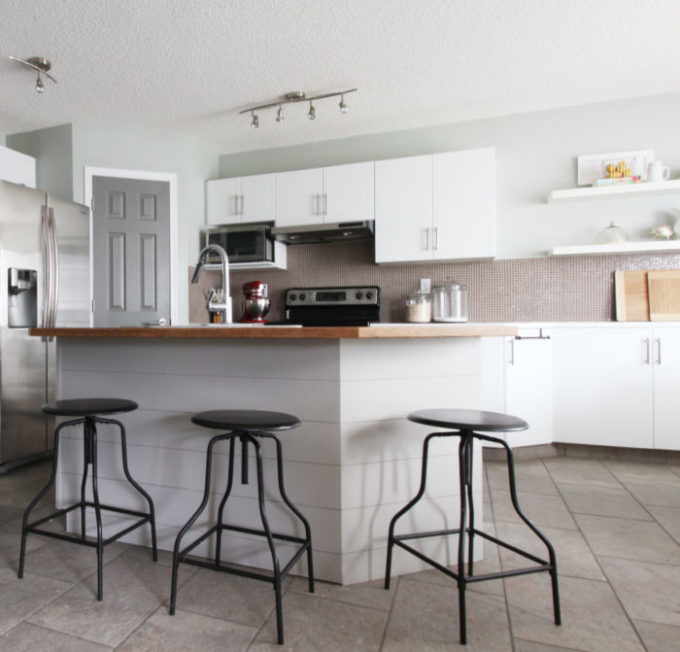
The shiplap trim is painted Old Sterling Tint 1 from Para Paints. It is the perfect soft grey – not too dark, and not too cold. We used the cabinet and furniture line, it is called ULTRA Cabinet & Furniture paint but on the west coast it is labelled as Optima. You can get it at a Para Paint store, or at Lowes. And let me tell you, the paint is wonderful. Without adding a top coat or any other finishes, the paint itself has held up really well. With kids kicking it, chairs being knocked over, and the vacuum hitting it, this island gets a lot of action. I am so thrilled with how it turned out.
What do you think?
Pin for later:

Comments & Reviews
Kim says
11looks awesome!! what a great idea i need to fix my kitchen!
Lauren says
What did you do to the front of the island? Did you paint the cabinets?
This looks fantastic by the way!
Brooke says
Because of the angled edges on the island, the other side just has a dishwasher and two cabinet doors that are painted the same color. I will have to get a picture of it to show you.
Aniko says
Hi Brooke, love your remodel. Where did you purchase your new cabinet door fronts? We are looking to replace our cabinet doors and would love more information. Thank you.