• Skip to primary navigation
  • Skip to main content
  • Skip to primary sidebar
  • Press / PR
    • Design Services
  • Cart
  • Checkout

Brooklyn Berry Designs logo

  • Holidays
    • St. Patricks Day
    • Easter
    • Mothers Day
    • Fathers Day
    • Canada Day
    • Halloween
    • Thanksgiving / Fall
    • Christmas
    • Back To School
    • Valentines Day
  • Glowforge
  • Sublimation
  • Cricut
  • Crafts
    • Cricut Projects
    • Cricut Tutorials
    • SVG Files
    • Printables
    • Kids Crafts
    • Crochet
    • Party Decor
  • Lifestyle
    • Travel & Family Fun
      • Calgary – Local Love
      • Everywhere Else
    • Family
    • Things I love
    • Book Shelf
  • Shop

October 15, 2018 By Brooke Leave a Comment

Budget Hutch Makeover

Pin
Share
Tweet
31Shares

This post may contain Amazon and other affiliate links. Using these links, I earn a small commission at no additional cost to you.

I love a good furniture makeover, but with paint supplies and beautiful fabric the price of fixing up some furniture can add up to the price of a something new!  A friend of mine recently moved into a new home and wanted to add some personality and color on a small budget. You wont believe the amazing budget hutch makeover she did, and  I can’t wait to share her secrets to saving money.

The Hutch Makeover: Before
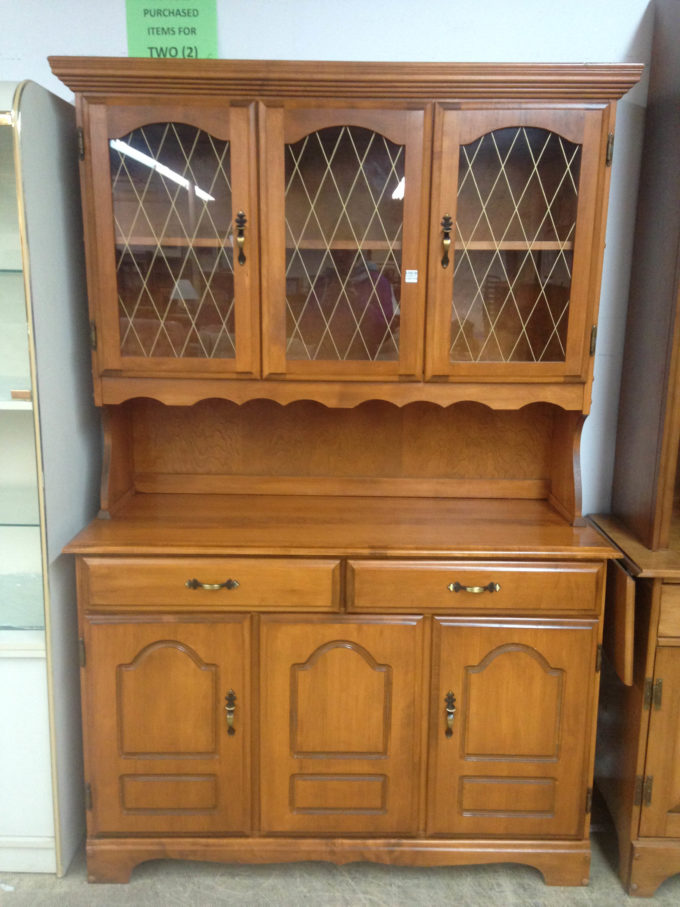
Budget Hutch Makeover before

The Process

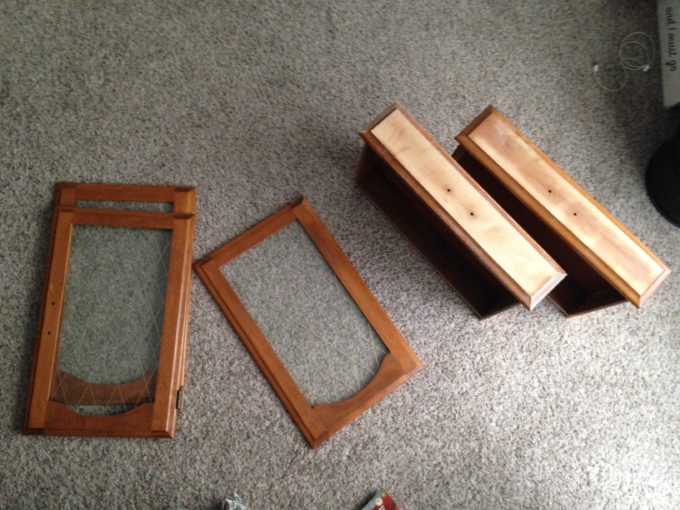
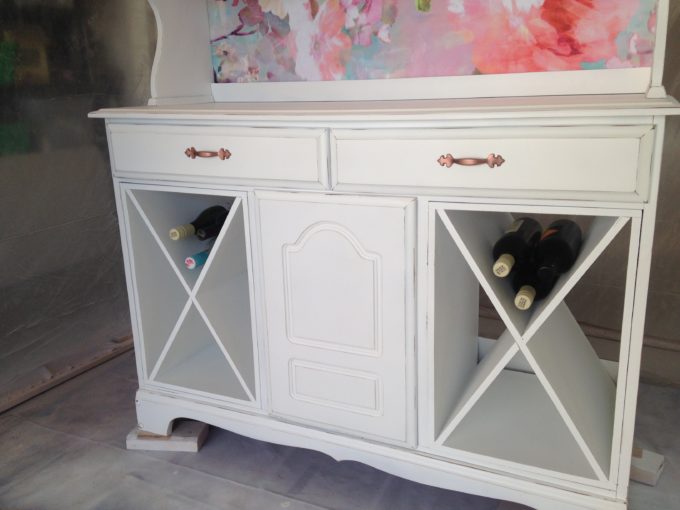
This vintage hutch was purchased at a furniture thrift shop for $80.  We removed the lower cupboard doors and filled the holes.  Using MDF we built x-shaped wine racks which were painted before inserting back into the hutch.  The backing, doors and drawers were removed and the entire body of the hutch was sanded down.  

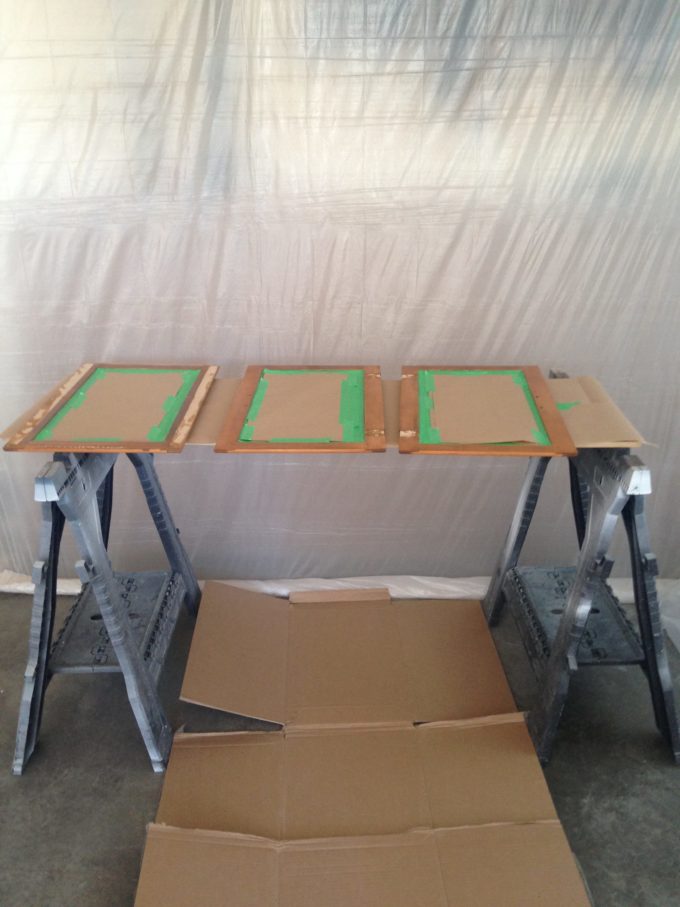
Using an air compressor, the doors, drawers, and hutch body were sprayed with 2 coats of semi gloss lacquer. The paint sprayer does an amazing job of getting a really smooth surface, but it requires a paint station set up and tarped off.  Lots of prep work and minimal paint work!

Don’t have an air compressor? This spray gun works amazing and doesn’t need an air compressor!

Prepping for paint in the tarped of paint station.

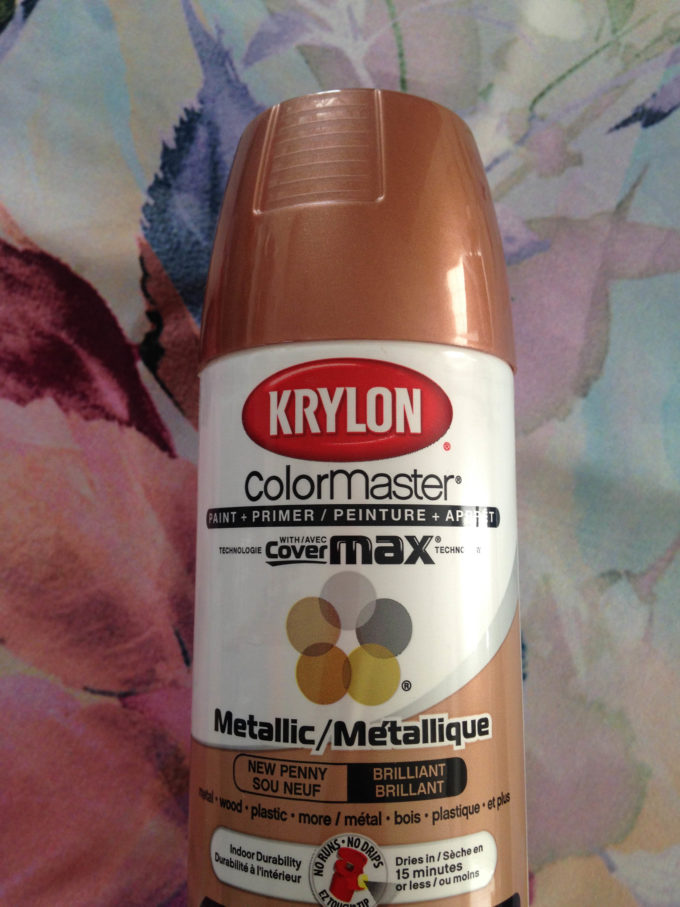
The existing hardware was painted with rose gold spray paint and coated with lacquer to prevent the paint from rubbing off.

Do you love spray paint projects? Check out this project for organizing a home office with spray paint!

Save on fabrics by ordering a wall tapestry!

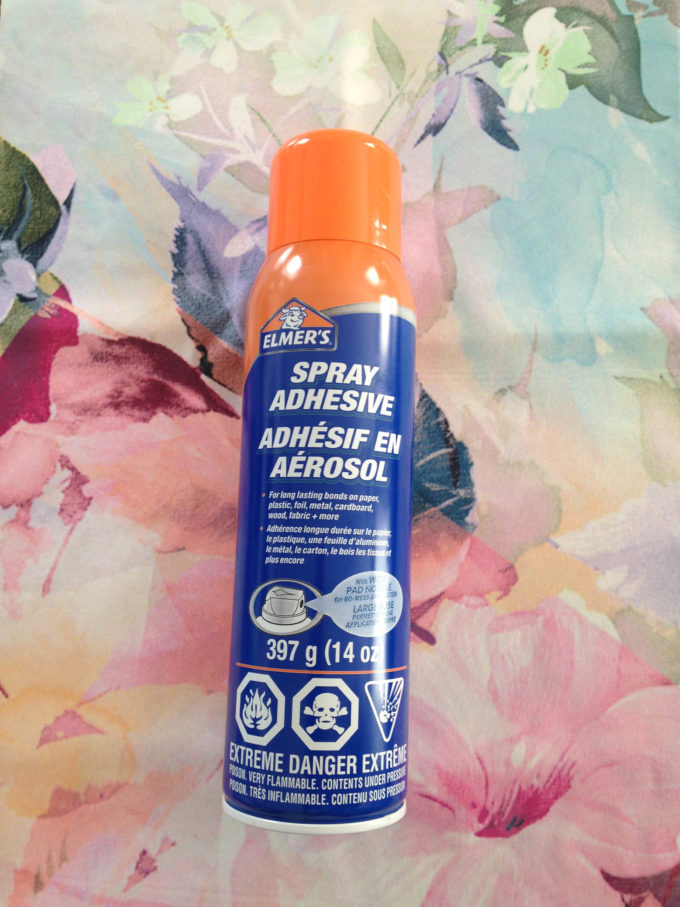
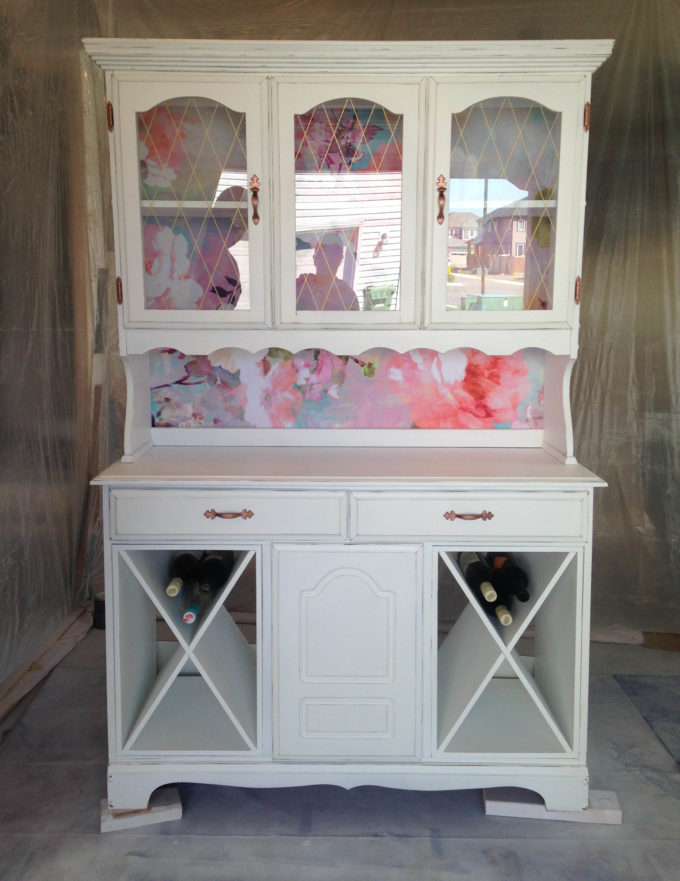
The wood backing is actually covered in fabric with spray adhesive.  Most of the pretty fabrics I liked were pretty pricey, so I ended up ordering a wall tapestry from Society 6, which was on sale for under $30! 

Rose gold cabinet hardware looks brand new.

Budget Hutch Makeover: After

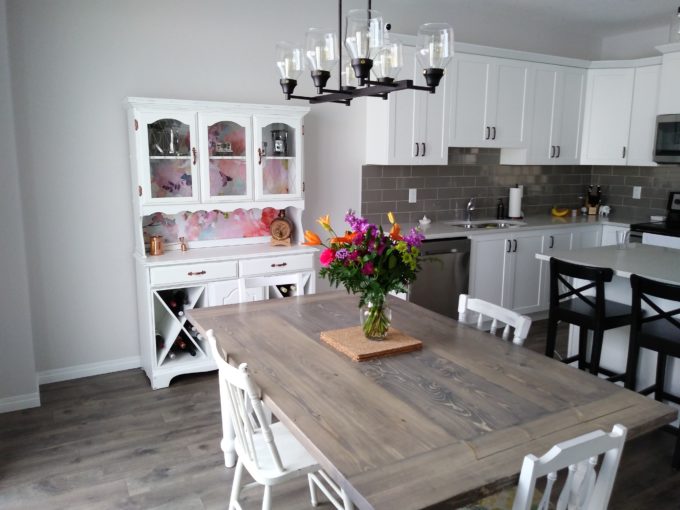
Here is the hutch in its brand new home! Its the perfect piece to add some personality to a newly built space.

Pin
Share
Tweet
31Shares

Related

Filed Under: DIY Projects Tagged With: furniture diy, furniture makeover, refinished furniture, refinishing, Wood Project

Reader Interactions

Leave a Reply Cancel reply

Your email address will not be published. Required fields are marked *

RATE THIS!


This site uses Akismet to reduce spam. Learn how your comment data is processed.

Primary Sidebar

  • Email
  • Facebook
  • Instagram
  • Pinterest
  • RSS
Brooke - Brooklyn Berry Designs

Hey, I’m Brooke!

I am a mom to 4 boys in Calgary, Alberta.  I love learning how things are made, singing to the radio loudly, and can’t stop talking. Fueled by diet coke and chaos, I can often be found working on a project.  You can hang out here for craft ideas and tips, games and activities to do with kids, plus FREE svg files and printables.

DISCLOSURE

· Copyright © 2022 · BROOKLYN BERRY DESIGNS · Privacy policy.