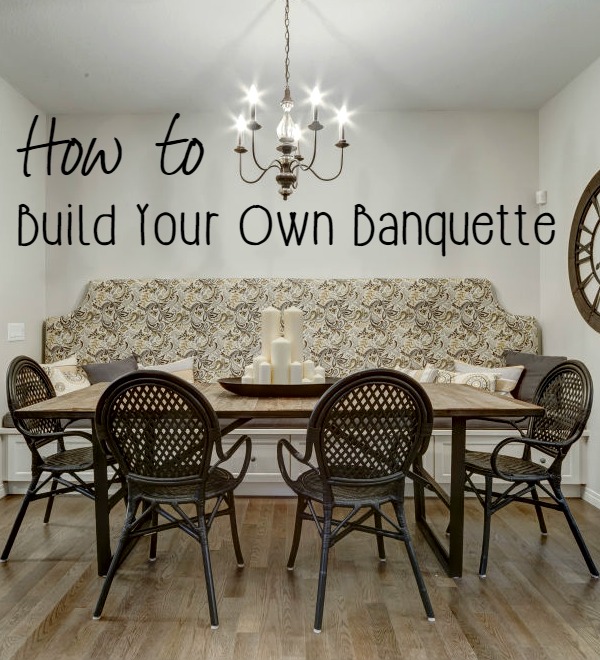
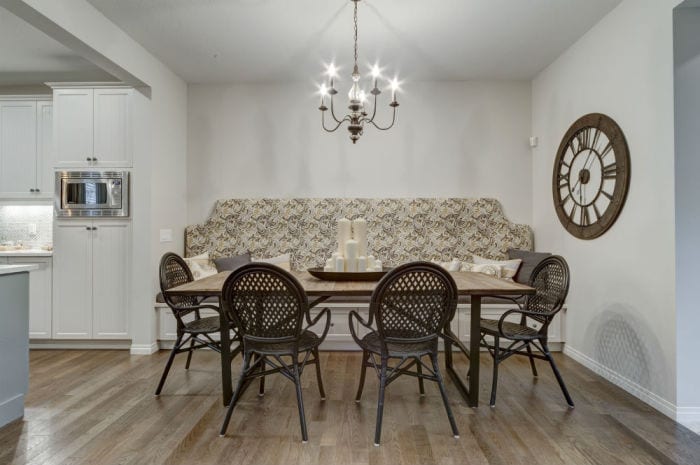
I love the look of a dining room banquette bench because it adds character to a newly built home. However, having a floor plan that accommodates this doesn’t come around very often. I recently worked on a project that was perfect for a banquette, so I thought I would share with you how it was built.
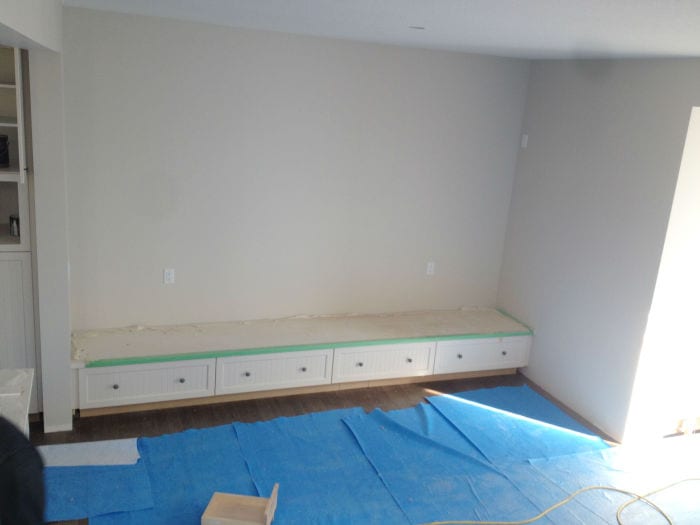
The bench was built by the cabinet supplier, with three drawers for tons of extra storage. The custom made bench cushion was sewn by an upholsterer. The back was built by me and Mick (the husband).
I started with sheets of plywood, cut to the preferred height. I drew onto the wood the shape I wanted cut out.
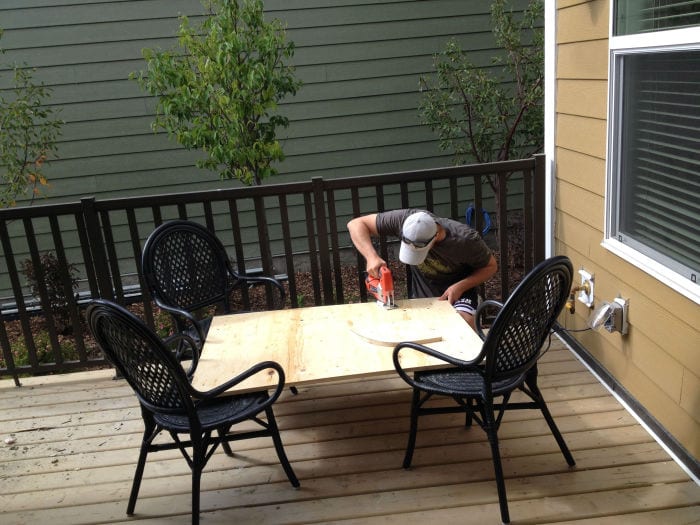
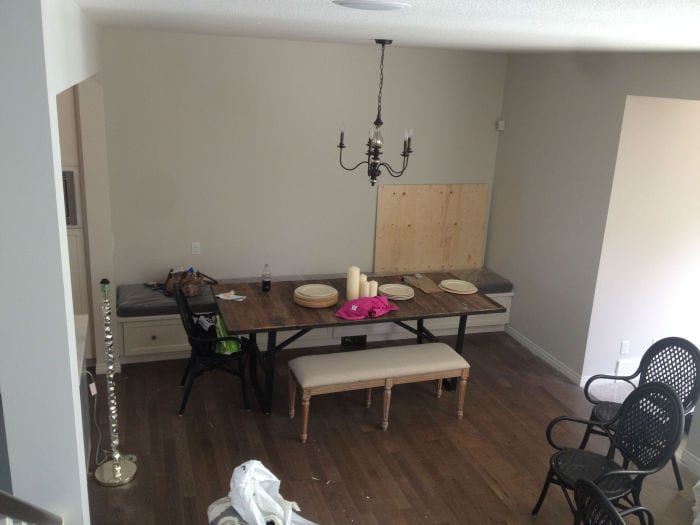
We used a jigsaw to cut the first corner, then used the cut out as a template for the second corner. After attaching the back pieces together I added foam, batting and fabric. I stapled around the back and hung it to the wall with cleats. Add coordinating pillows, and voila. Banquette done!
Notes for the next time:
- use spray adhesive to attach the foam to the plywood so that it didn’t shift
- cut the batting flat, rather than wrapping it around the corners. It just added bulk and made wrapping the fabric around it that much harder.
- I would debate gluing the banquette to the wall, or using a wire to make sure it didn’t tip over. It was heavy and thick enough to stand on its own, but the cleat made it stand out from the wall a bit too much for my liking. A wire would be thin, but stop it from falling over.
Model home: Triumph model, Sabal Homes for Mahoganny
Image 1, 5 Photography: Don Molyneaux, used with permission.


Comments & Reviews
mary abid says
At 75 years I still love to make something wonderful from furniture with great bones and,of course, history.
Brooke says
I love to hear that Mary!