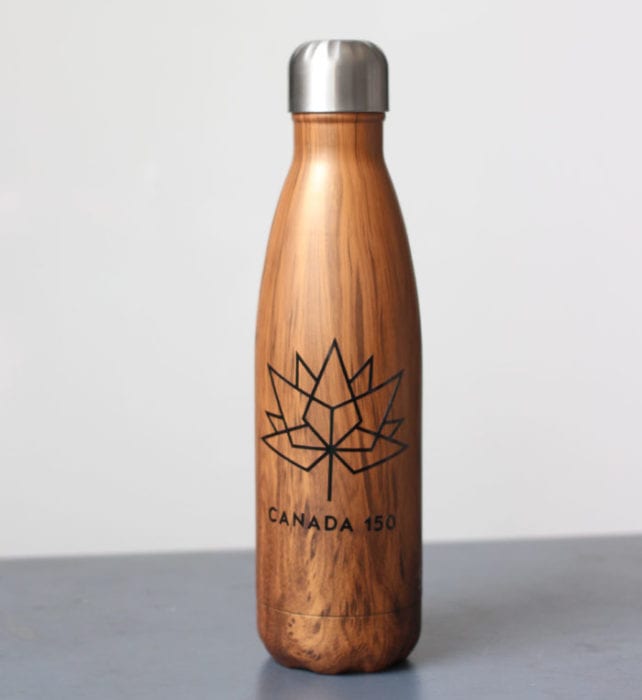

This year marks the 150th birthday of my homeland, Canada. There are so many celebrations and memorials, my kids are coming home from school talking all about Canada’s birthday and how we can celebrate. If you want to celebrate the milestone birthday of Canada you can participate in all of the celebrations taking place across the country (find an event here) all year long. You can also make your own Canada 150 gear using the Cricut Explore.
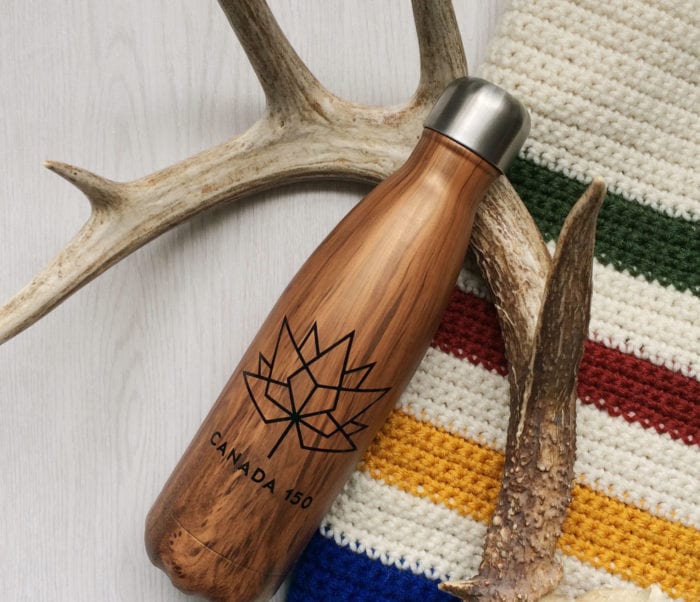
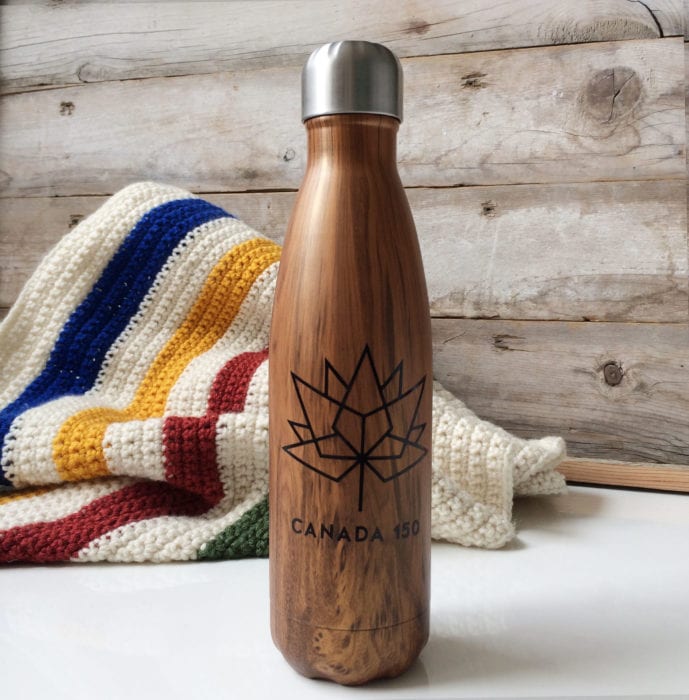
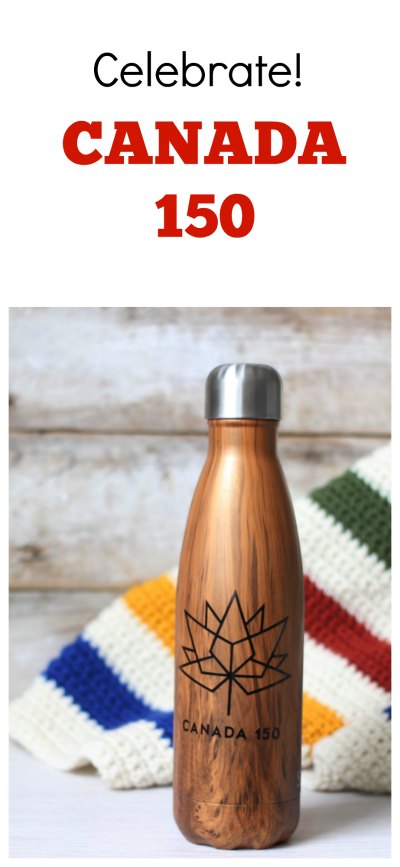
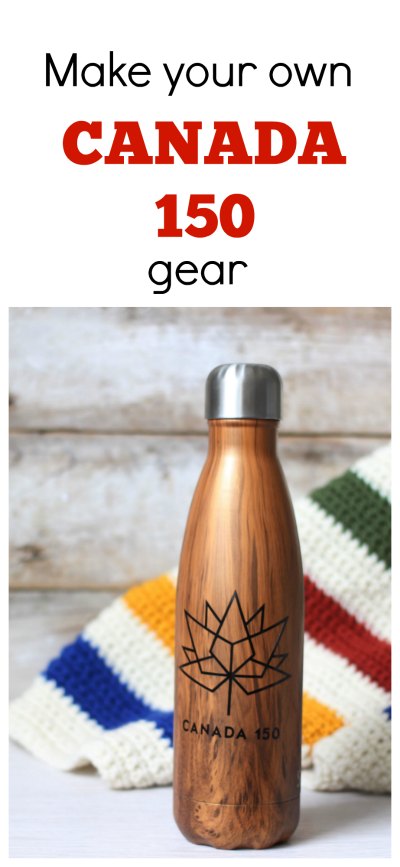
To celebrate this momentous occasion with my kids I made some simple vinyl decals using the Canada 150 logo and put them on water bottles. I love how they turned out, and can’t wait to come up with more gear for the family to wear, especially cute shirts for Canada Day.
Make Your Own DIY Canada 150 Water Bottle. Here’s How.

This post contains affiliate links. If you purchase something after clicking on this link a tiny percentage will go to support this site. This is at no cost to you and helps to keep this site running with free content. You can get details on the policies page here.
- A surface to apply your decal to – in this case a wood grain swell water bottle
- Cricut explore machine
- Cricut 12×12 cutting mat
- Premium Outdoor Vinyl (best materials to use for dishes going into the dishwasher)
- Cricut tool set (optional)
- Transfer Paper

Directions:
- Upload the image to Cricut Design Space. (Here is a tutorial on uploading your own images into Cricut Design Space)
- Place vinyl on the cutting mat and proceed to cut out your design
- Remove vinyl from the cutting mat
- Use the cricut tool set – specifically the weeding tool to remove the excess vinyl outside your design
- Use transfer paper to attach the design onto your cup
- Enjoy your awesome new custom cup



Here Are More Canadian DIY, Crafts, Decorating and Recipe Ideas to Celebrate Canada Day!
These Canada Day DIY ideas from our Canadian blogger friends. So many ideas and inspiration to help you make the most of Canada’s 150th birthday!

Comments & Reviews
Kristi Mercer says
SUCH a creative idea! LOVE it!
Lindsay @ The DIY Mommy says
Love how this turned out! So pretty 🙂