When you think about Valentine’s Day and setting the mood, there are few people that wouldn’t come up with the old classics – a box of chocolates, a bottle of wine and a few candles are all staple elements of a romantic evening. If you’re bored of Yankee Candles or can’t quite stretch to a Jo Malone or Diptyque investment, making your own DIY candles for Valentine’s Day is a great way of making your night even more personal.
Although it might seem daunting, making your own candles is actually quite an easy process. You can either start from scratch by purchasing the necessary materials from craft shops, or you can go down the even easier route and pick up a candle-making kit with everything included. Natural herbalists often have all-natural kits that you can use to make candles with no artificial colours or fragrances – check out the Baldwin’s candle making kit as an example.
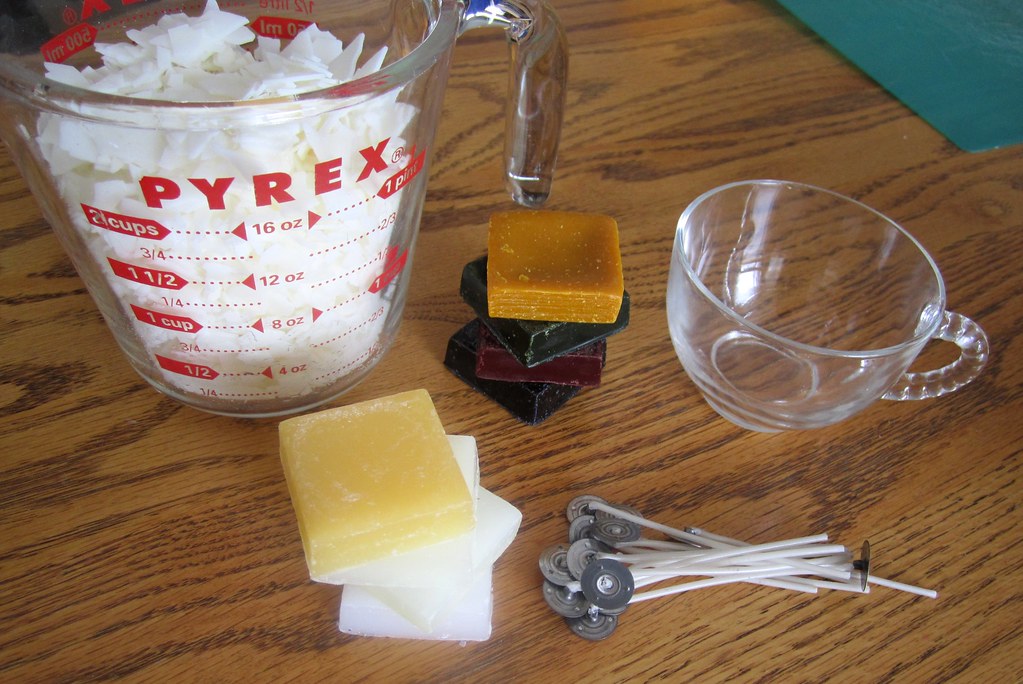
One of these kits will come ready-supplied with the ingredients you need to make six candles: glasses as moulds, 1kg of rapeseed wax, wicks, and a choice of a pair of essential oils like Fennel & Orange, May Chang & Ginger, or Lavender & Sage. Here’s how to make your candle.
Step 1
Starting with your wax, you need to melt it in a bain-marie or double boiler on the stove. Keep the flame fairly low, as wax has a flash point – use a thermometer to keep the temperature at around 155 degrees.
Step 2
Stir gently until the wax pieces have fully dissolved. This is the first stage of the candle-making process where you can add some of the Valentine’s Day theme to your DIY. Use some red or pink hued candle dye and break it into your melted mixture, stirring constantly to avoid any lumps of wax forming.
Step 3
The next step, which is the real personalisation element of the candle, is adding your fragrance. For an all-natural candle, essential oils are ideal for scenting – and they also carry with them healing properties. Use 1-1.5oz of essential oil to every pound of wax for the ideal ratio.
Step 4
You can either create a dupe of one of your favourite existing candle scents, or take some time to pick a combination that will help to set a romantic mood for your evening. Not only will they make your home smell inviting, some of them are also thought to be aphrodisiacs, making them ideal choices for Valentine’s Day.
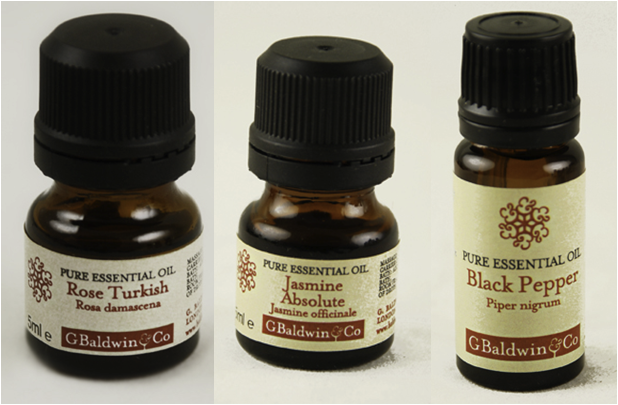
Essential oil recommendations:
- Patchouli
- Ylang-ylang
- Rose
- Jasmine
- Black pepper
All of these choices are invigorating, stimulating and warming – perfect for creating a romantic atmosphere.
Step 5
After you’ve added the oils of your choice, get your moulds ready. The Baldwin’s kit comes with small candle glasses that are ideal, or you can be more creative – why not try using a teacup for a different take on the usual pillar candle? The next step is to prepare your wick inside your moulds of choice. Use super glue to attach the weight on the end of the wick to the bottom of your mould, and hold it up by tying it to a cocktail stick and placing this over the rim of the container to keep the wick upright.
Step 6
Pour your scented melted wax in to your container quickly and smoothly to prevent bubbles forming in the candle. Leave it in place for around 4 to 5 hours to allow it to set and solidify, then snip the length of the wick so you are left with 0.5cm at the top for lighting. It’s best to leave your candle until the next day before you light it, just to give it optimum setting time.
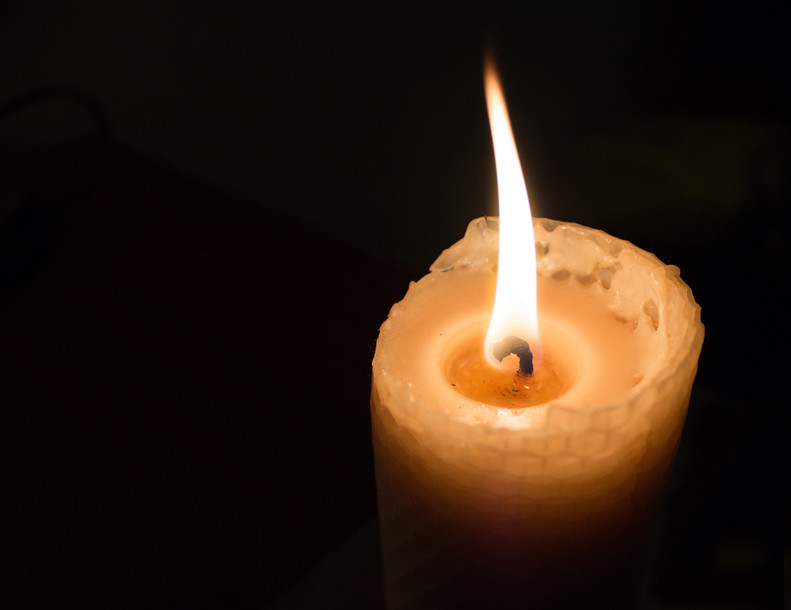
Once this is done, you’re ready to light your candle – perfect for burning while you get ready for your date or throughout a cosy night in.
![]()

Leave A Reply!