• Skip to primary navigation
  • Skip to main content
  • Skip to primary sidebar

Brooklyn Berry Designs

DIY and Design for Creative Moms

  • Family Fun
    • Games & Fun
    • Kids Crafts
    • Lifestyle
    • Book Shelf
  • Crafts
    • Laser Crafts
    • Cricut
      • Cricut Projects
      • Cricut Tutorials
    • Sublimation
  • Holidays
    • New Years
    • Valentines Day
    • St. Patricks Day
    • Easter
    • Mothers Day
    • Fathers Day
    • Summer
    • Patriotic
    • Canada Day
    • Back To School
    • Halloween
    • Thanksgiving / Fall
    • Christmas
  • Digital Downloads
    • SVG Files
    • Printables
  • Shop
  • Brooklyn Berry Designs
  • About
  • Press/PR
  • Blog
  • Shop

Crafts

Home » DIY Vinyl Monogram Pumpkins

DIY Vinyl Monogram Pumpkins

Created On: October 2, 2018  |  Updated: April 26, 2024  |   2 Comments

Pin
Share
Post
449Shares

This post may contain Amazon and other affiliate links. Using these links, I earn a small commission at no additional cost to you.

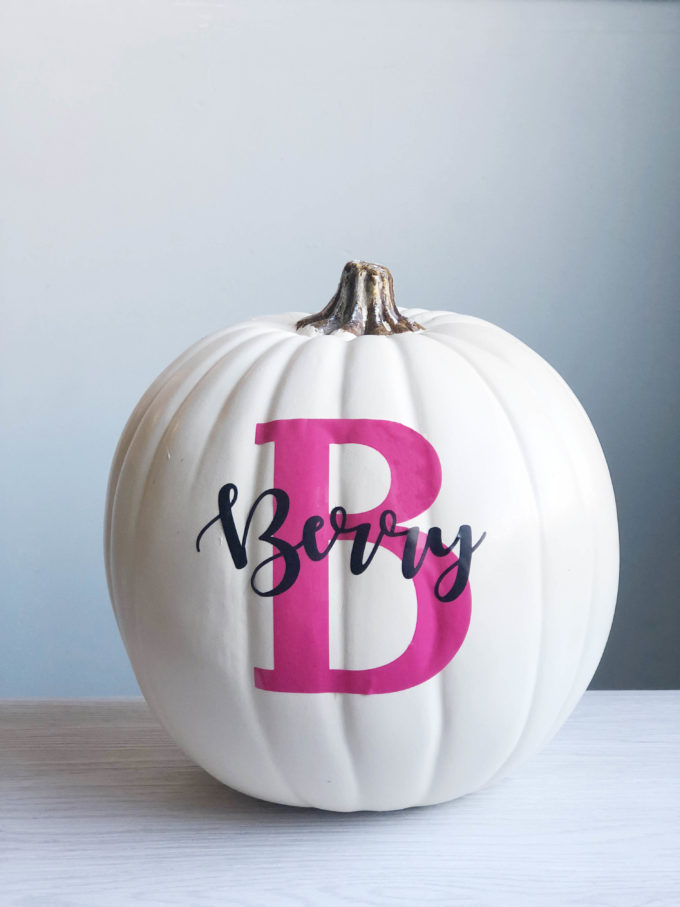
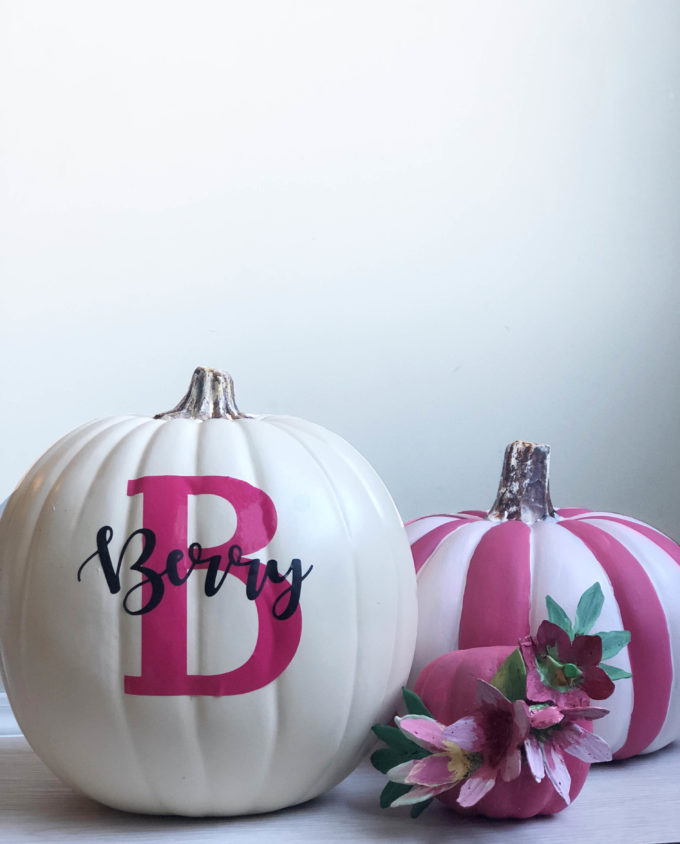
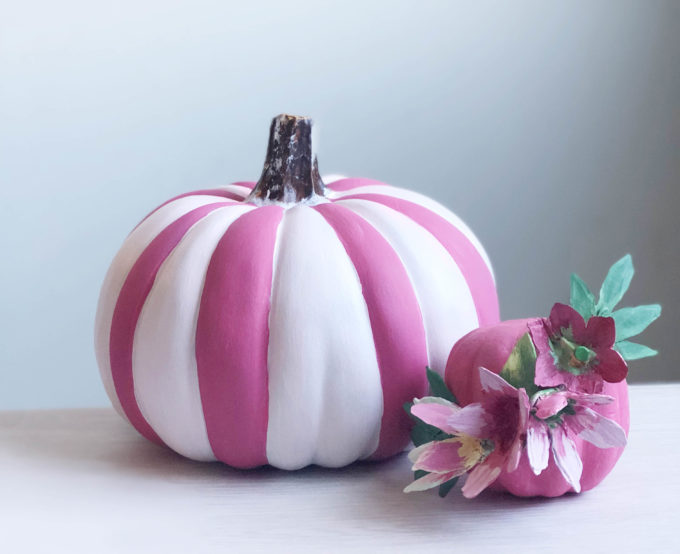
Raise your hand if you want a cute pumpkin to make for your front porch! I have loved the look of the vinyl monogram pumpkins I have seen on pinterest and instagram. I have wanted to make some cute pumpkins to add to my front porch decor (to go along with the crazy and colorful options my children made). After making a few failed attempts at a vinyl monogram pumpkin I learned that are a few tricks to applying vinyl to a curved surface.  So, if you want to make your own vinyl monogram pumpkin learn from my mistakes!

DIY your own vinyl monogram pumpkins. Great for real or plastic pumpkins, here are the tricks to make it flawless the first time.

Tricks To Applying Vinyl To Pumpkins:

  • Choose the right vinyl.  If you are using Cricut Vinyl (like I did) the older type of vinyl did not stick.  Go for the outdoor or permanent vinyl (like this or this)! For Oracal vinyl, choose 651! (Let me know if you would like a post on which type of vinyl to use where)
  • Careful with transfer tape. Use something that isn’t very sticky – maybe even contact paper or scotch tape.  I chose to peel and stick like a regular sticker, which worked best with the more script hand lettered fonts.
  • Apply the vinyl starting in the middle and work your way out to the sides, right then left.  I used my fingernail in the crease of the pumpkins to make sure it bent inside.
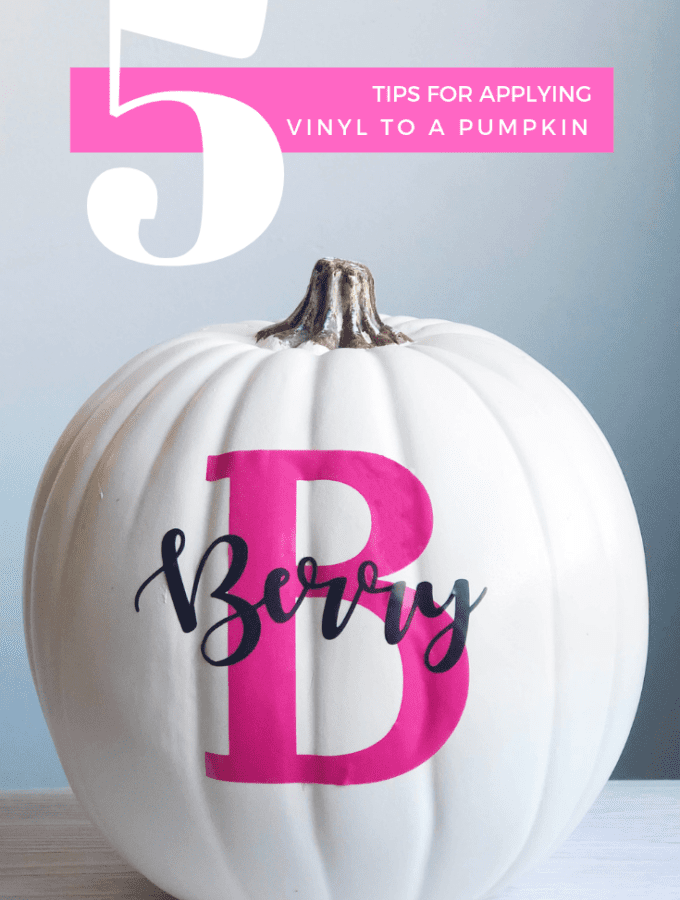
  • Small script – when possible use thinner letters or script fonts.  For the large B it was very hard to get it to curve.  I clipped it, cut it or folded it in a few places.  Don’t look too close! And if you need to do this, remember people will see it from a distance as they walk up your steps.  This doesn’t need to be perfect, nobody will notice the imperfections unless they are looking for them.
  • Use a hair dryer to help shape and stretch the vinyl.
Check out how I made the floral pumpkin in this tutorial! You will never believe what the flowers are made out of!

Do you love Cricut projects? I have lots that you can check out HERE!

DIY your own vinyl monogram pumpkin. Great for real or plastic pumpkins, here are the tricks to make it flawless the first time.
Pin
Share
Post
449Shares

posted in: Crafts, Cricut Projects, Halloween, Home Decor, Vinyl Projects

Previous
Hot Glue Crafts – book review
Next
Fall Home Decor On Etsy

Reader Interactions

    Leave A Reply! Cancel reply

    Share your thoughts!
    Your email address will not be published. Required fields are marked with *

    RATE THIS!


    This site uses Akismet to reduce spam. Learn how your comment data is processed.

    Comments & Reviews

  1. Amy says

    September 28, 2021

    Hi Brooke, May I ask what fonts you used for this project, please? Thanks!

    Reply

Primary Sidebar

Brooke - Author of Brooklyn Berry Designs.

Brooke is an interior designer and DIY’er who loves all things creative and crafting. She loves to be busy with at least 3 projects on the go and is constantly chatting or singing along to the radio. As a mom to 4 boys, she is always blending creativity and chaos, with some diet coke mixed in. Stick around for the big projects and get 20 little projects in between.

More About Me

Step By Step Guide To Your Cricut!

Level Up Your Cricut Game - Become a pro in 5 days with this free Cricut email course.

Thank you for subscribing!

Let's Get Creative

Subscribe to get free SVG files, Cricut and laser cutter tutorials, fun printables, and easy crafts right to your inbox! Its free!

Thank you for subscribing!

Featured Projects

  • Customize With Cricut Design Space Tools
  • Best Cricut Access Fonts
  • make your own canada 150 waterbottle
    How to upload your own images with Cricut
  • How To Upload A SVG File To Cricut Design Space

Let's Get Creative

Subscribe to get free SVG files, Cricut and laser cutter tutorials, fun printables, and easy crafts right to your inbox! Its free!

Brooklyn Berry Designs Logo

About

  • Brooklyn Berry Designs
  • About
  • Press/PR
  • Blog
  • Shop

Topics

  • Crafts
  • Cricut Projects
  • SVG Files
  • Printables
  • Cricut Tutorials

Holidays

  • New Years
  • Valentines Day
  • St. Patricks Day
  • Easter
  • Mothers Day
  • Fathers Day
  • Canada Day
  • Back To School
  • Thanksgiving / Fall
  • Halloween
  • Christmas
©2025, Brooklyn Berry Designs. About Press/PR Back To Top
Design by Pixel Me Designs
×

Let's Get Creative

Subscribe to get free SVG files, Cricut and laser cutter tutorials, fun printables, and easy crafts right to your inbox! Its free!

Thank you for subscribing!