• Skip to primary navigation
  • Skip to main content
  • Skip to primary sidebar

Brooklyn Berry Designs

DIY and Design for Creative Moms

  • Family Fun
    • Games & Fun
    • Kids Crafts
    • Lifestyle
    • Book Shelf
  • Crafts
    • Laser Crafts
    • Cricut
      • Cricut Projects
      • Cricut Tutorials
    • Sublimation
  • Holidays
    • New Years
    • Valentines Day
    • St. Patricks Day
    • Easter
    • Mothers Day
    • Fathers Day
    • Summer
    • Patriotic
    • Canada Day
    • Back To School
    • Halloween
    • Thanksgiving / Fall
    • Christmas
  • Digital Downloads
    • SVG Files
    • Printables
  • Shop
  • Brooklyn Berry Designs
  • About
  • Press/PR
  • Blog
  • Shop

Design & Home Decor

Home » Design & Home Decor » DIY Whitewash Stone Fireplace

DIY Whitewash Stone Fireplace

Created On: October 27, 2022  |  Updated: December 27, 2023  |   Leave a comment

Pin
Share
Post
24Shares

This post may contain Amazon and other affiliate links. Using these links, I earn a small commission at no additional cost to you.

Is your stone fireplace in need of an update? Here is how I updated my stone fireplace on a budget without any renovations! Learn how to whitewash a stone fireplace here!

A fireplace before and after a DIY project of whitewashing stone and shiplap a corner fireplace.

Stone is a popular option for a fireplace surround because it brings a natural element to the space. Esthetically it brings in some visual texture which is an important element of design. When a stone style or color makes your space feel updated it can be tricky to decide what to do.

Painting Stone Vs. Whitewash Stone

People tend to feel REALLY strongly about painting stone. If you aren’t sure if you want to go with a solid color of paint you should try whitewashing stone. Whitewash is mixing paint with water to make a semi transparent color to wash over the stone. With a whitewash of white (or grey, or cream) over the stone you can keep the color and texture that is so beautiful with stone while updating the color of your fireplace surround.

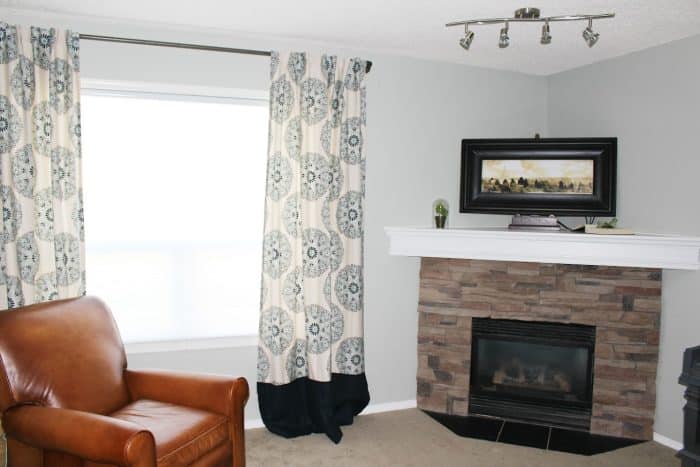
My Pink Stone Fireplace

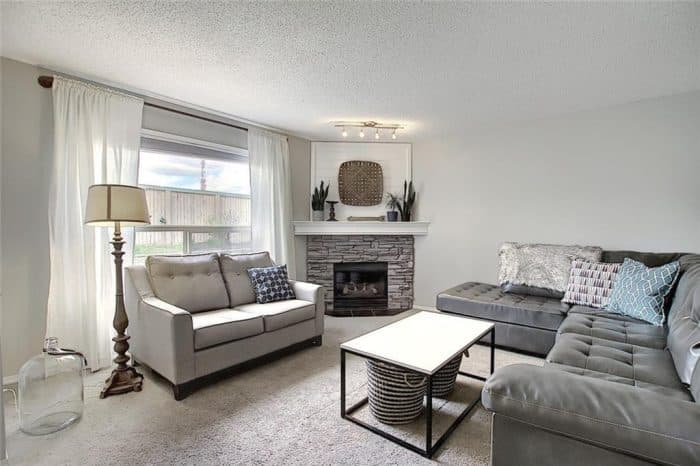
Here is my fireplace. It is very builders basic and also very pink. There are also a lot of painted surfaces in this room, so while I was willing to paint the fireplace I wanted to keep the stone look if at all possible. While debating painting a stone fireplace or whitewashing a stone fireplace I figured it was easier to start with a whitewash and if it didn’t look ok I could move on to paint.

A corner fireplace with stone and an awkward space above.

Supplies Needed

  • Bristle brush
  • painters tape
  • Fusion Mineral Paint Casement
  • paint brush
  • rag

How To Whitewash A Stone Fireplace

  1. Deep clean the stone with a hard bristle brush and soapy water. If you are worried about the stone try using vinegar and water as a cleaning solution.
  2. Clean the grout with a bristle brush.
  3. Let the stone and grout dry.
  4. Apply painter’s tape to the wall, the wood mantel, and the metal insert.
  5. Mix paint with water, in small amounts at a time. I used a ratio of 2 parts water to 1 part paint. In total, I used about 1 cup of water and 1/2 a cup of paint.
  6. Work one stone at a time, and add the paint mix to each stone. You can vary the amount of coverage per stone. I chose to cover them all lightly then go back and do a more solid color on the most bold colored stones.
Before and after of the same corner fireplace with whitewashed stone and a shiplap fireplace detail.

Filling In The Corner Fireplace

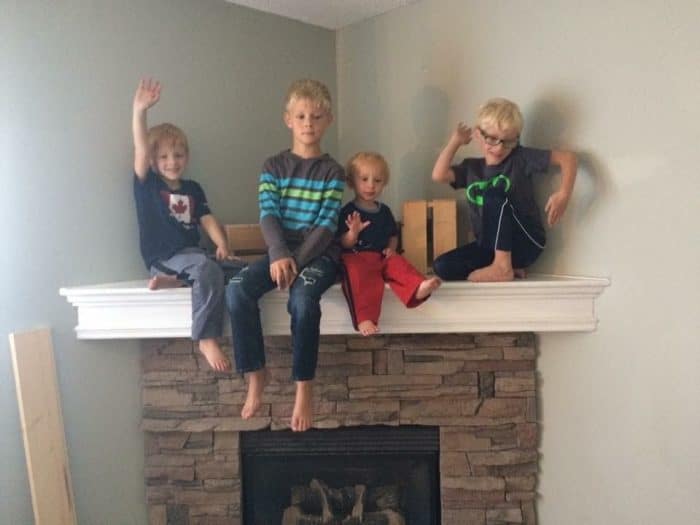
That awkward space above a corner fireplace is a very tricky space to decorate. It often collects a lot of stuff which looks very visually cluttered. I think when TV’s were larger and deeper, this was a great solution to use the fireplace as a tv stand.

Not everyone who has a corner fireplace wants to use it for a tv. For my own home, I did not want this room to become the main TV hangout space.

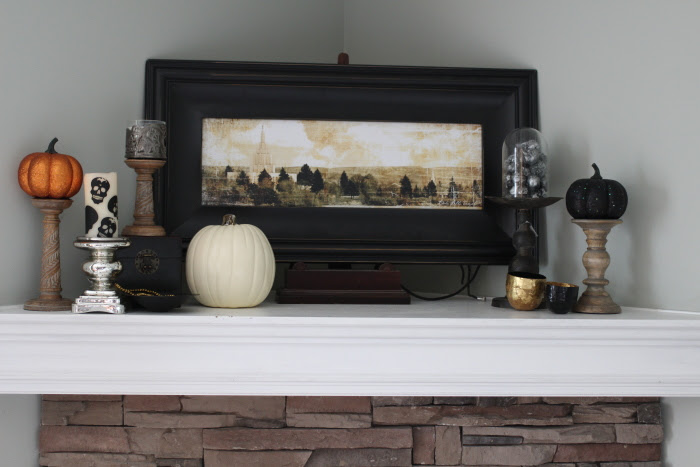
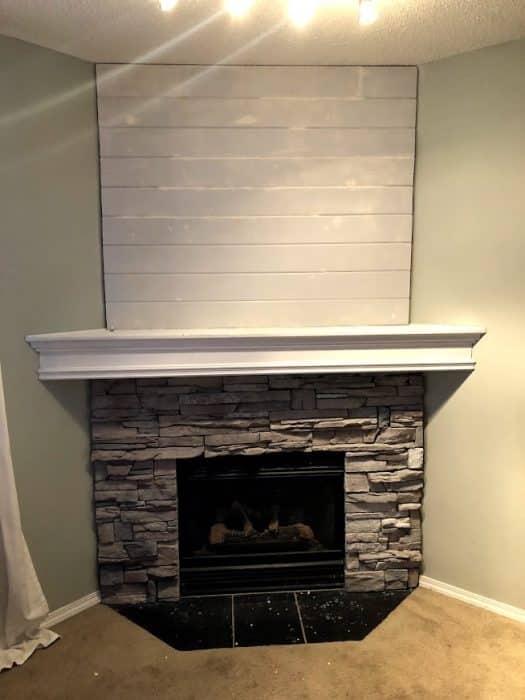
When it came to decorating, I was often trying to prop up a larger sign to make a pseudo wall.

Stacked wood crates would also be used to fill in the space and allow a sign or other home decor to be leaned against them. I finall decided to wall this idea off in a more permanent solution.

Stone corner fireplace with faux stone decorated with wooden pallets.

This simple solution closed off the space and gave it a new and fresh look.

Looking for more home DIY projects? Check these out:

  • Thrift store dining room hutch makeover
  • Vintage High Chair makeover
  • DIY Chair slipcover

How To Fill Behind A Corner Fireplace

Shiplap planks from Metrie (the same that I used in the basement) are stacked together and attached from behind. I used my ryobi nail gun with 1 inch nails to hold the panels in place.

Stone corner fireplace with whitewashed stone. Process photo of adding shiplap to fill in the awkward space above the TV.

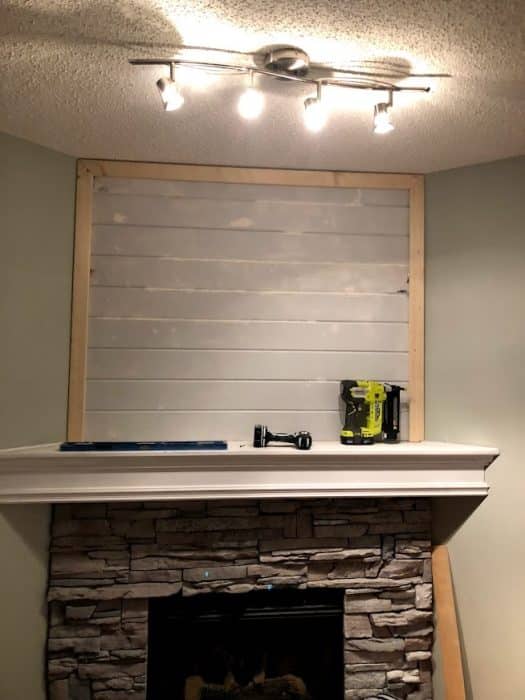
Trim is added around the sides and top. Caulk is used in the gaps for a seamless and smooth look.

Stone corner fireplace with whitewashed stone and shiplap to fill in the awkward space above the TV. Decorated for Christmas with a wreath, stockings, and a midcentury modern paper house village.

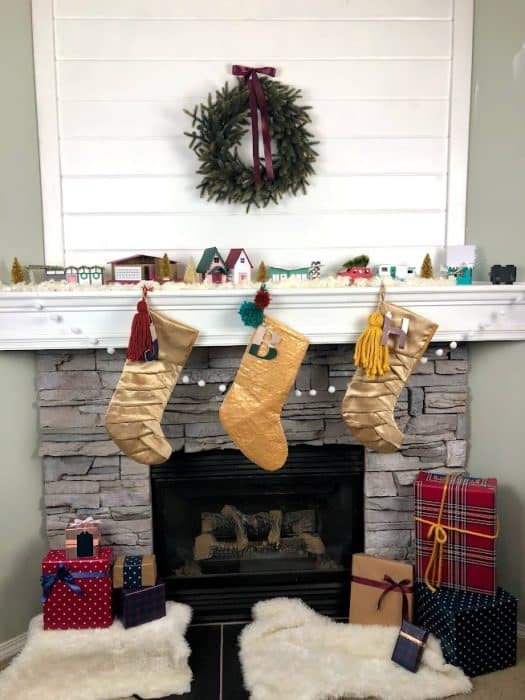
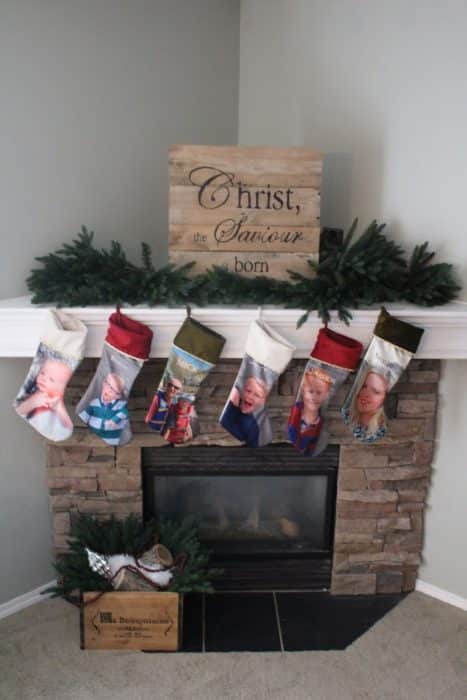
And here it is decorated for Christmas! Check out the deails on those modern putz houses and house templates here!

Stone corner fireplace with whitewashed stone and shiplap to fill in the awkward space above the TV.

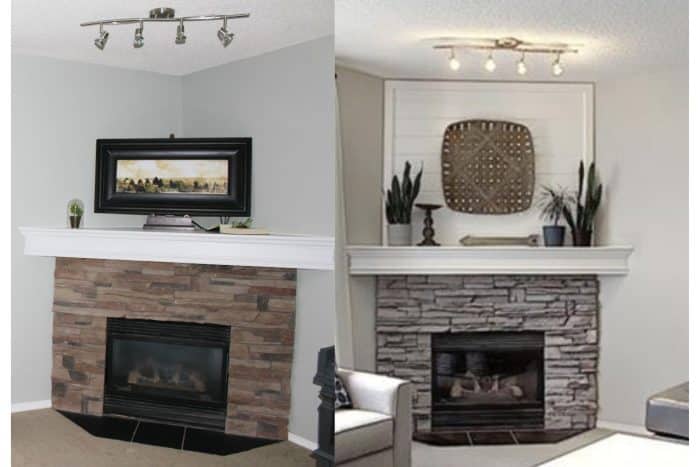
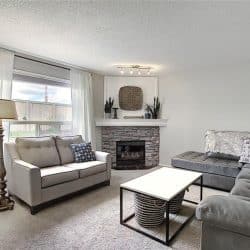
Here is what the whitewashed stone fireplace looks like with the shiplap wall! This is from the listing photo when we sold the house, so I need to see if I can find a better photo of the stone and shiplap close up!

Before and after of the same corner fireplace with whitewashed stone and a shiplap fireplace detail. Both fireplaces are decorated for Christmas.

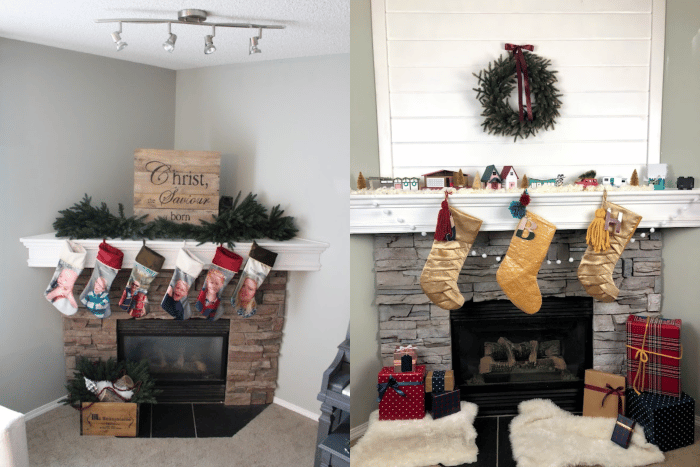
For comparison sake, here is the same stone fireplace decorated for the holidays, before and after!

Have you ever just decided to paint your fireplace? Would you do it yourself or does the thought terrify you?

living room with stone corner fireplace
Print

How To Whitewash Stone

Whitewashing stone can be a very affordable way to update your fireplace.
Prep Time15 minutes mins
Active Time15 minutes mins
Cost: 10

Equipment

  • 1 Bristle brush
  • 1 Paint brush
  • 1 Rag

Materials

  • 1 Chalk paint
  • 1 cup of water

Instructions

  • Deep clean the stone with a hard bristle brush and soapy water. Clean the grout with a bristle brush. Let the stone and grout dry.
  • Apply painters tape to the wall, the wood mantel and the metal insert.
  • Mix paint with water, in small amounts at a time. I used a ratio of 2 parts water to 1 part paint. In total I used about 1 cup of water and 1/2 a cup of paint.
  • Working one stone at a time, add the paint to each stone. You can vary the amount of coverage per stone.

I hope this tutorial helps you to feel encouraged to take on a project like this in your own home. Have you ever painted over a stone fireplace?

signature Brooke from Brooklyn Berry Designs
Pin
Share
Post
24Shares

posted in: Design & Home Decor

Previous
Deck The Halls And Not Your Family SVG
Next
Nutcracker Christmas Digital Design

Reader Interactions

Leave A Reply! Cancel reply

Share your thoughts!
Your email address will not be published. Required fields are marked with *

RATE THIS!


This site uses Akismet to reduce spam. Learn how your comment data is processed.

Primary Sidebar

Brooke - Author of Brooklyn Berry Designs.

Brooke is an interior designer and DIY’er who loves all things creative and crafting. She loves to be busy with at least 3 projects on the go and is constantly chatting or singing along to the radio. As a mom to 4 boys, she is always blending creativity and chaos, with some diet coke mixed in. Stick around for the big projects and get 20 little projects in between.

More About Me

Step By Step Guide To Your Cricut!

Level Up Your Cricut Game - Become a pro in 5 days with this free Cricut email course.

Thank you for subscribing!

Let's Get Creative

Subscribe to get free SVG files, Cricut and laser cutter tutorials, fun printables, and easy crafts right to your inbox! Its free!

Thank you for subscribing!

Featured Projects

  • Customize With Cricut Design Space Tools
  • Best Cricut Access Fonts
  • make your own canada 150 waterbottle
    How to upload your own images with Cricut
  • How To Upload A SVG File To Cricut Design Space

Let's Get Creative

Subscribe to get free SVG files, Cricut and laser cutter tutorials, fun printables, and easy crafts right to your inbox! Its free!

Brooklyn Berry Designs Logo

About

  • Brooklyn Berry Designs
  • About
  • Press/PR
  • Blog
  • Shop

Topics

  • Crafts
  • Cricut Projects
  • SVG Files
  • Printables
  • Cricut Tutorials

Holidays

  • New Years
  • Valentines Day
  • St. Patricks Day
  • Easter
  • Mothers Day
  • Fathers Day
  • Canada Day
  • Back To School
  • Thanksgiving / Fall
  • Halloween
  • Christmas
©2025, Brooklyn Berry Designs. About Press/PR Back To Top
Design by Pixel Me Designs
×

Let's Get Creative

Subscribe to get free SVG files, Cricut and laser cutter tutorials, fun printables, and easy crafts right to your inbox! Its free!

Thank you for subscribing!