
This Hot Rocks Kids Craft is a really fun activity that will have your kids saying “its so satisfying” in no time. It keeps kids of all ages entertained for hours of screen free fun.
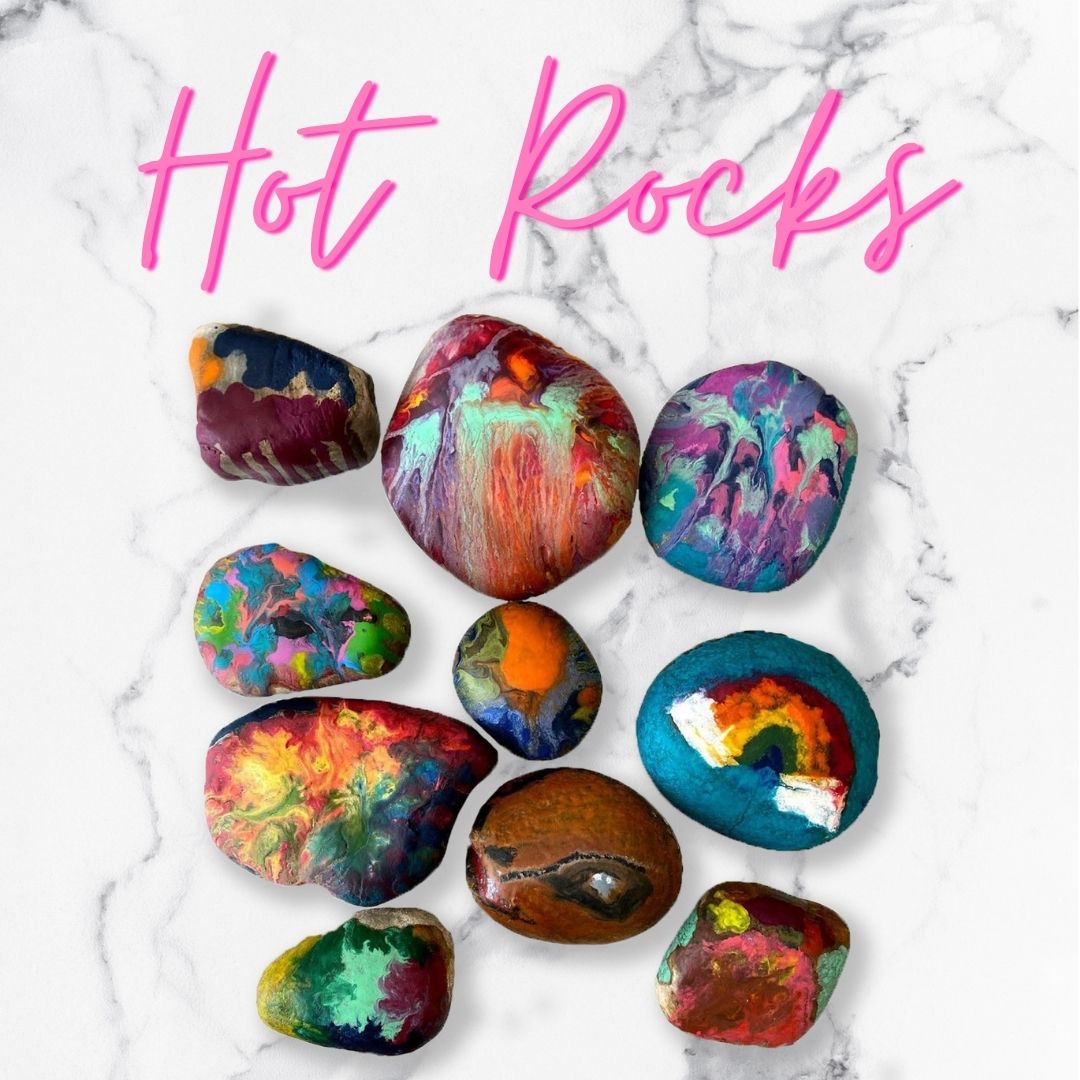
Hot rocks is basically heating up rocks and drawing on them with crayons that will melt with the heat. You can draw pictures or make abstract designs by letting the colors mix together.
This activity is so fun and the best part is that it can be stretched out to take more time and fill an afternoon of fun. Its just as easy to set up for one kid as it is for 6, so invite some friends over to make this Hot Rocks Kids Craft together!
HOW TO MAKE YOUR OWN HOT ROCKS WITH CRAYONS

- Rocks
- Crayons
- Oven mitt or tongs
- baking sheet
- tinfoil
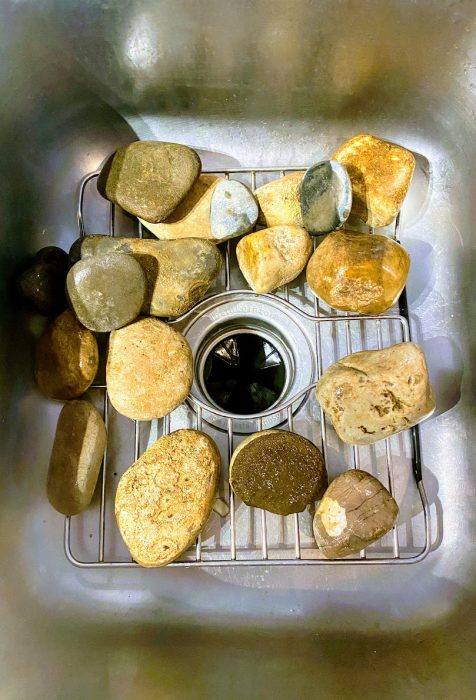
GATHER THE ROCKS
Any rocks will work here. We like to go on a walk by the river and collect round and smooth rocks. Its becomes a treasure hunt as they look for the best rocks. Some kids like small smooth rocks, other kids search for larger, odd shaped, or textured rocks.
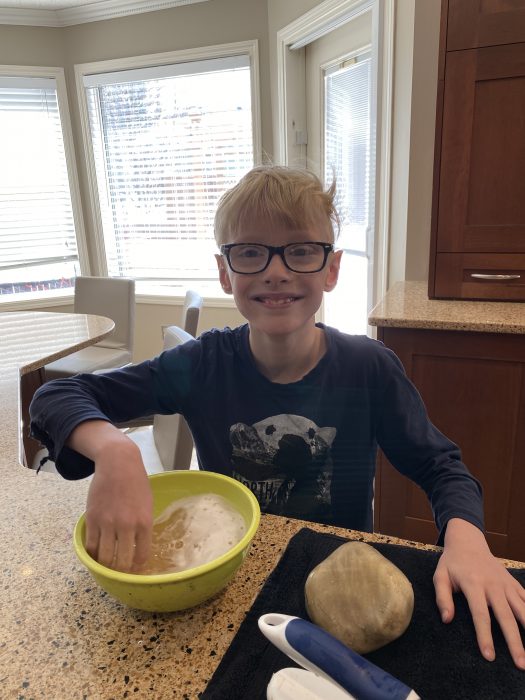
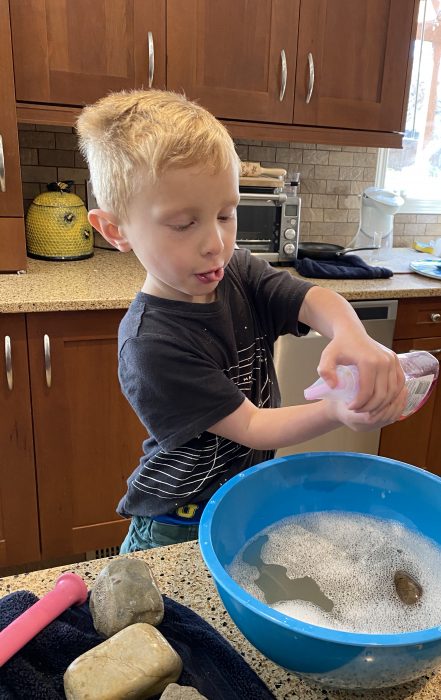
WASH THE ROCKS
The next activity is washing the rocks. They don’t need to be perfectly clean, just no dirt clumps on them. However, we like to get a bowl of soapy water and scrub the rocks clean.

Here are some other kids crafts you might like:
HEAT THE ROCKS
Line a baking sheet with tin foil and set your rocks on top. Set your oven temperature to 350 degrees and place your baking sheet and rocks inside for about 15 minutes.
Bigger rocks will take a bit longer to get hot and I have sometimes increased the oven temperature to 400 degrees. The smaller rocks heat up really fast, and 350 will work just fine.
Outdoor option: If you live somewhere with really hot summers you could use the rocks outside (with oven mitts, of course) on a sunny day.
PEEL CRAYON WRAPPERS
While the rocks are warming up, peel the wrappers from your crayons. The first time we did this everyone picked at and tried to peel the crayon wrappers piece by piece. It hurt our fingernails and it took forever.
Life hack, as my kids would say- instead of using your fingernails to scratch off the crayon wrappers, put them in a bowl of warm water. The labels should peel off easily.
We tried this with a few brands and found with Crayola the wrap came off all on its own. The dollar store crayon wrappers didn’t come off as easily. Still, much easier to peel while wet than dry.
GET CRAFTING
Prepare a work station for each person, placing a folded towel down to protect the counters from the heat. Place a sheet of tin foil on top to catch the wax drips. Paper towels will melt with the wax and stick to your rocks – ask me how I know… Save yourself the rainbow towels and use the tin foil.

Remove the rocks from the oven with oven mitts or kitchen tongs. Place on the tinfoil towel stack. Remind kids not to touch the hot rocks. Grab crayon colors of your choice and draw on the rocks!
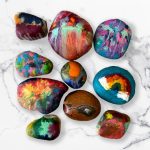
We started with drawing pictures and enjoying the melting of the crayons, but eventually we loved pushing the crayon into the rock as it melted and watch it puddle. Repeat this with lots of other colors and watch them melt and marble together. Its awesome.
Hot Rocks Kids Craft
Materials
- Rocks
- Crayons
- Oven Mitt
- Baking Sheet
- Tinfoil
Instructions
- Gather and wash rocks

- Place tinfoil on baking sheet
- Bake at 350 for 15 minutes.
- Remove wrappers from crayons by soaking in water.
- Set up work station with towel to protect your counters from heat an tinfoil to catch wax drippings.;
- Draw on rocks with crayons.

Notes
Looking For A Crafty Friend?


Comments & Reviews
Donna says
Could you seal the rocks with resin or modpodge?