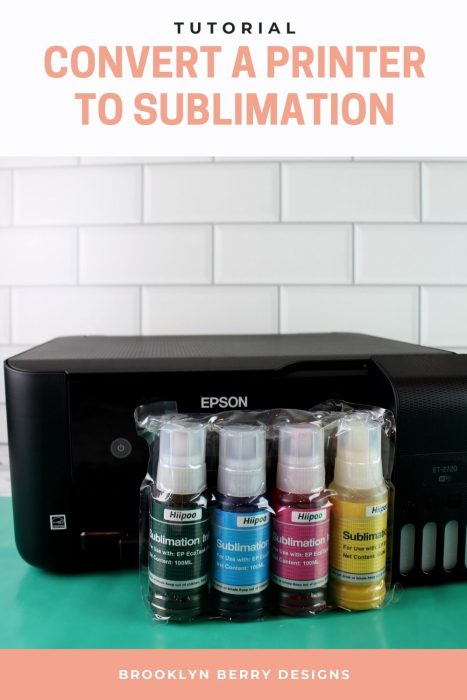
Have you always wanted to try sublimation but the printer cost was too high? I am going to share how to convert a regular printer into a sublimation printer by yourself!
Today I will show you how to convert an Epson EcoTank printer to a sublimation printer. Converting a regular printer for sublimation is the cheapest way to begin sublimation. I will also share what materials and supplies you need to get started.
Converting the printer was actually fairly simple, so I highly recommend you do it! Dye sublimation printing is such a great craft to add to your business or crafting hobby.
My first time working with sublimation was using Cricut’s Infusible Ink. I loved how nice the finished products were. Shirts could stretch without ruining the design as it would with vinyl. Traditional sublimation printers are very expensive, so when I saw people online converting traditional printers into sublimation printers, I knew I had to figure it out.
Want to know more about sublimation? Check out this post!
Which Printer Is Best For Sublimation?
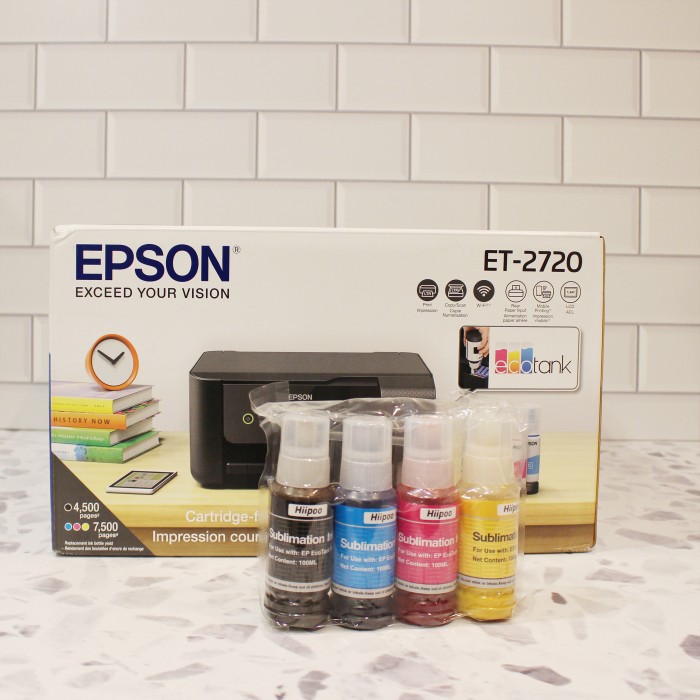
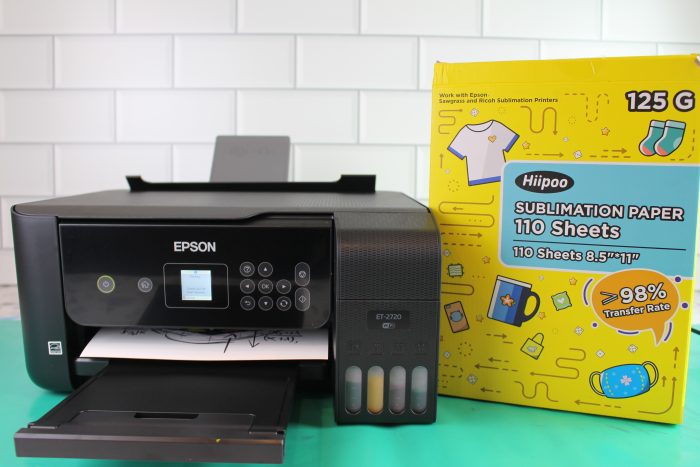
There are a few different printers that can be converted to sublimation printers. I ended up choosing the Epson 2720 for a few reasons (but also recommend any Epson printer in the EcoTank series):
First, The Epson 2720 was affordable and I could easily pick it up at my local store. It is also available on Amazon and Target.com. The ET2720 was the cheapest printer that could be converted.
Second, the EcoTank series printers have tanks that you can refill, making it easy to convert on your own. Because you can refill the tanks, you won’t need to purchase new cartridges.
Lastly, the printer itself still works as a scanner and connects to my computer via bluetooth and wifi.
The only disadvantage to the Epson EcoTank 2720 printer is that converting it to sublimation voids the warranty. If you are comfortable with DIY and not worried about the warranty, jump right in!
Hot Tip: It is best to convert a brand new printer to a sublimation printer. There are various tutorials online on how to drain regular ink, but it has mixed results. If you find one second hand that is really inexpensive, by all means I say try it! Its worth a shot, right?
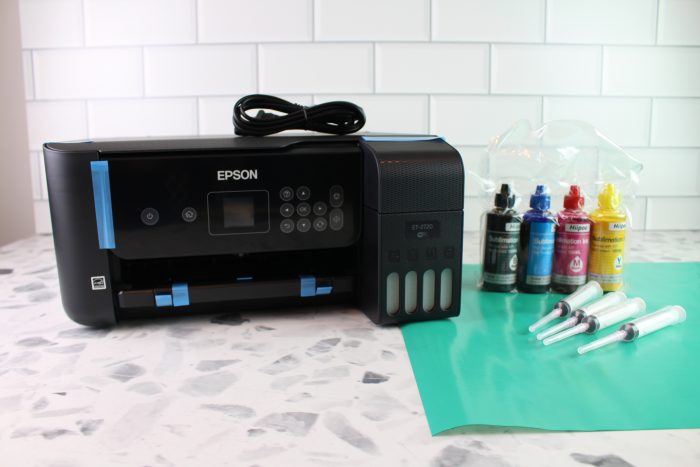
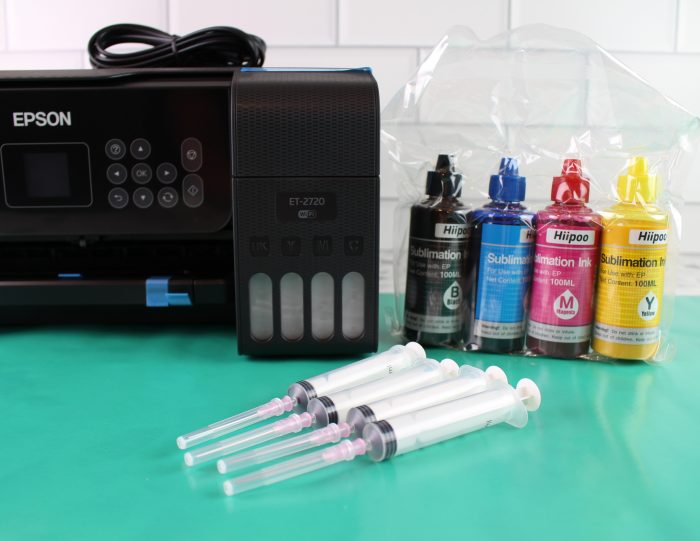
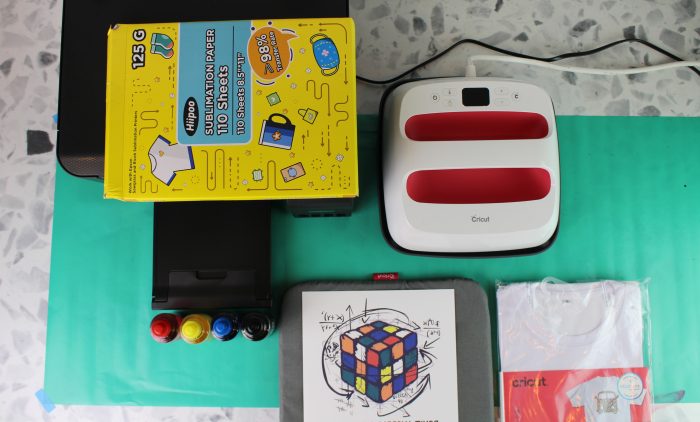
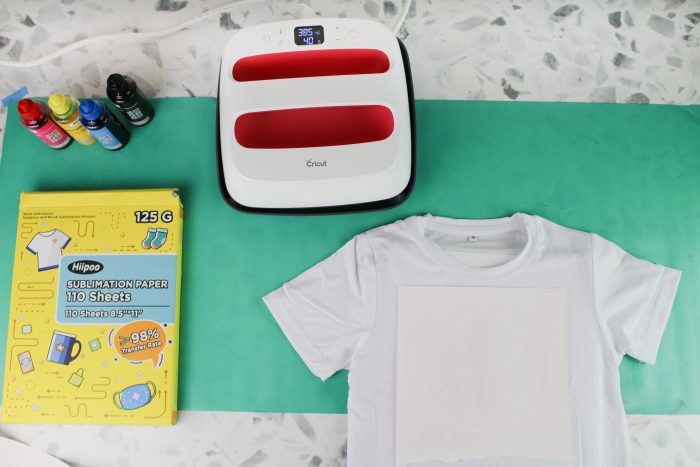
Supplies Needed to Convert Printer for Sublimation
- EcoTank Printer
- Sublimation Paper
- Hiipoo Sublimation Ink (other bottle type here)
- Polyester based blanks (my favorites here)
- Heat press or Easy Press
- Protective Mat
Converting Printer To Sublimation
It’s time to convert the printer itself. Begin by removing the printer from the box, do NOT plug it in. Set aside the ink that comes in the box, this can be discarded. Give it away or throw it away, but you don’t ever want to mix regular ink with sublimation ink.
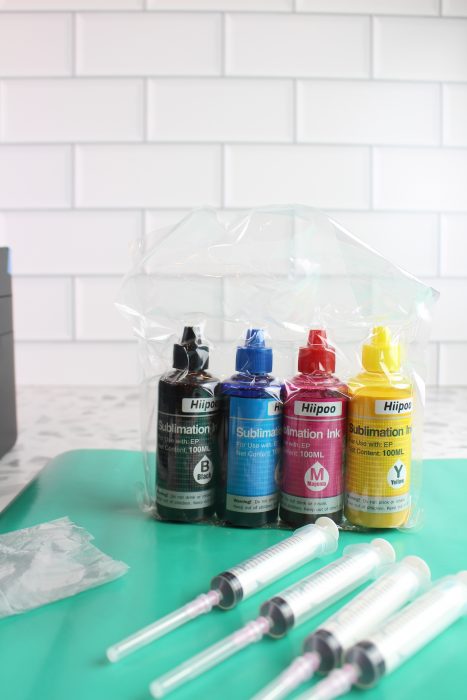
Two Types Of Bottle Lids
There are two ways to switch out a printer to sublimation ink. There is an easy way and a (very slightly) less expensive way. Isn’t everything like that?
The sublimation ink I am using is Hiipoo sublimation ink. It is available online in a few places, but I ordered mine from Amazon. While shopping, notice there are two different bottle types.
One type of bottle has clear lids that are the exact same as what comes with the Epson Eco tank printer. These are the easiest way to fill the tanks with sublimation ink.
Another type of bottle has colored lids and will require you to use the syringe method to fill the tanks. This is really easy to do but can seem a bit intimidating at first. I would suggest using this method if you have another type of printer you are trying to convert.
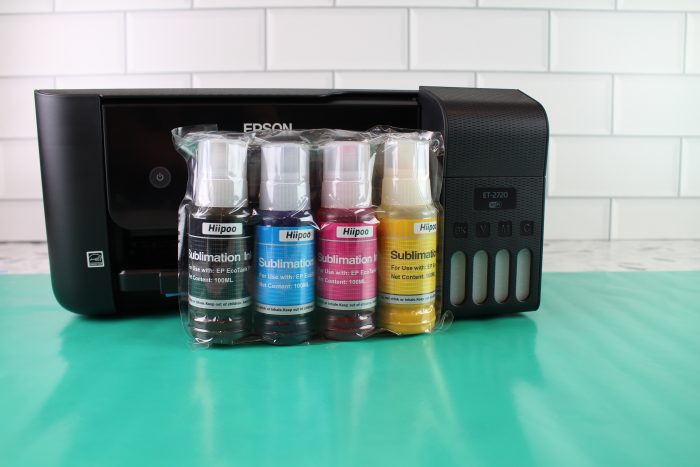
THE EASY WAY
If you are going to convert an Epson eco tank printer to a sublimation printer I recommend the bottles shown above (with the clear lids). Find them on amazon HERE. The lids are exactly the same lids as the ink that came with the printer.
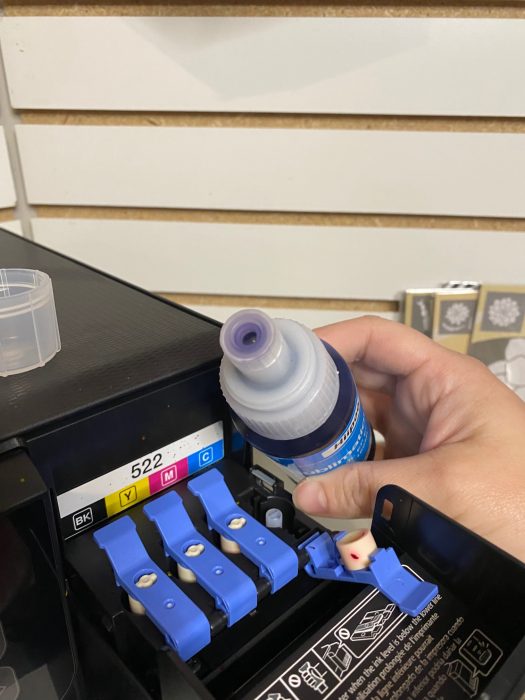
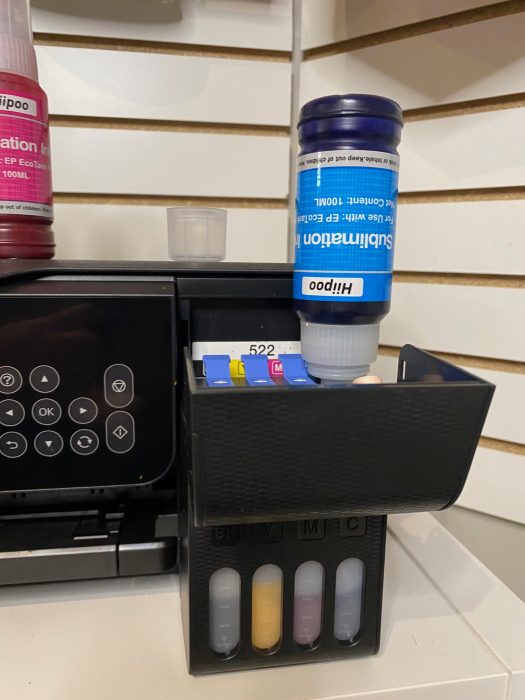
The bottles can be placed directly into the ink tanks, (exactly as explained in the instructions with the printer).
THE LESS EXPENSIVE WAY
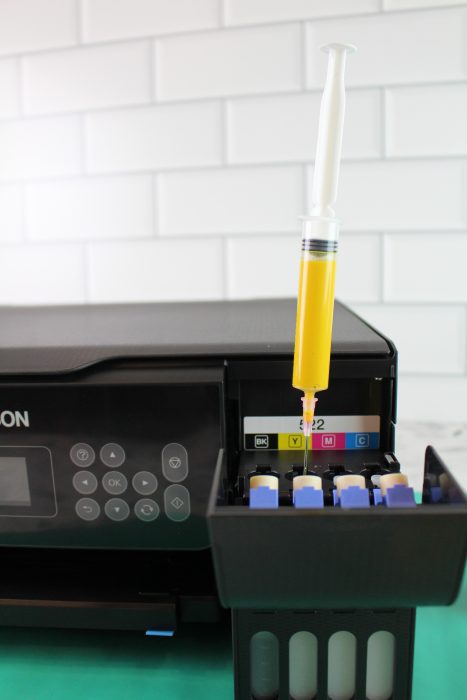
The Hiipoo sublimation ink comes with syringes and gloves. Gloves are handy because the ink might drip and it will stain your hands. You will need to use both! Add the needle tip onto each syringe and open your first ink bottle.
Open the printer and you will see that each tank is labeled with its necessary color of ink. Each tank has a lid that opens to show where to fill it.


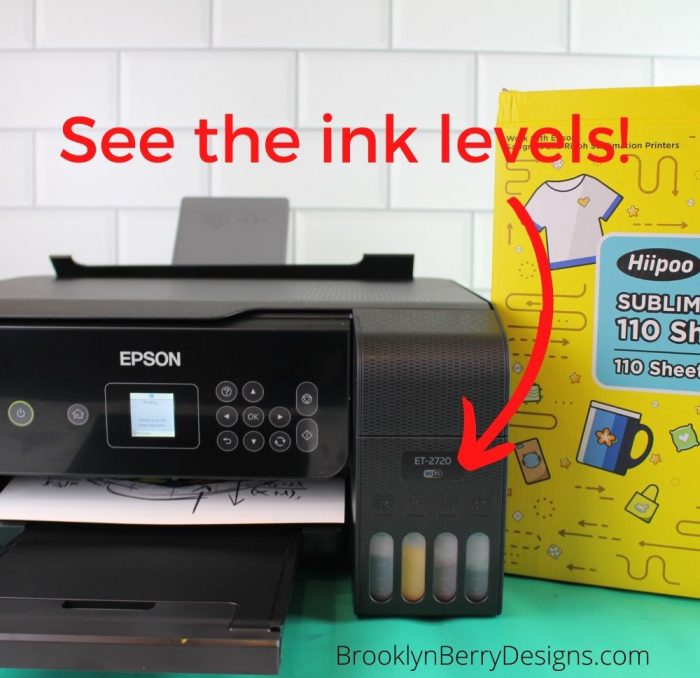
Insert the syringe into the bottle of ink and pull back the plunger to bring ink into it. Insert the syringe into the white circle of each corresponding ink tank and begin to fill it up. You can see the level of ink on the outside of the printer.
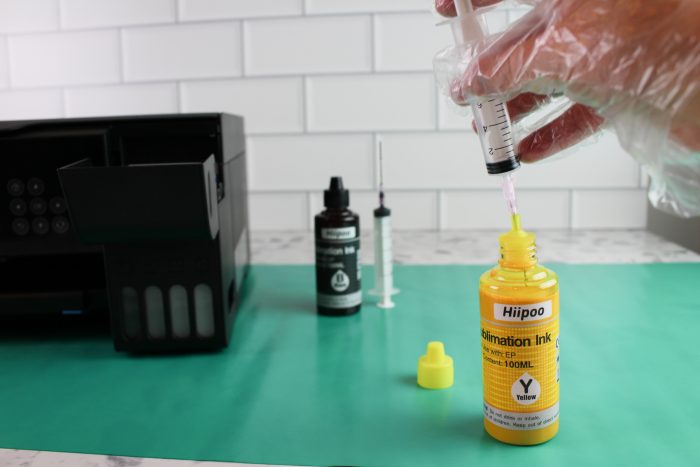
You will need to tip the bottle at an angle to be able to pull ink into the syringe. Do not tip it upside down or you will get messy drips (ask me how I know…).
Repeat this process until all ink tanks are full.
Now you can plug in the printer. Set it up by connecting it to your computer. This process will be different depending on what type of computer you have, but the instructions with the printer should help you.
Printing Your Design
What I love about sublimation designs is that you don’t need any fancy design programs. Photoshop, Microsoft word, powerpoint, or google slides will all work for you to create your design. When you are ready to print, add a sublimation paper to your printer.
Copy paper will work in the printer, but it may not be as good of quality as you hope.
Add paper to the rear tray with the face side up. Adjust the settings on your printer preferences so that it mirrors the design.
Sublimation Printer Settings
Here are the steps to set the printer settings for an ideal sublimation print.
- Go to print your design
- Select preferences
- Set paper size (mine was 8.5 x 11)
- Change Paper type to Premium Presentation Paper Matte
- Change quality of print to HIGH
- Select the More Options tab
- Deselect High Speed
- Check Mirror Image
- Save this setting and name as needed. I named mine Design MIRRORED.
Sublimation Printer Custom Color Settings
- While in preferences as listed previously, go to the More Options tab.
- Under Custom Color Corrections – check custom
- Click on advanced
- Change color more to Adobe RGB
- Set Gamma to 2.2
- Brightness to 9
- Contrast to 7
- Saturation to 15
- Density to 4
- Hit OK, OK.
- Save and print
Press Your Design
Send your design to the printer and watch it come to life! Know that the design will show with more muted colors. That is normal, and once pressed the colors will be true to what you were expecting.
Sublimation Tips:
- For all the specific details, read more about sublimation for beginners.
- Check that the item you are pressing (shirt in my example) is mostly polyester.
- Preheat the item to remove any moisture
- Put cardstock inside the shirt so the ink won’t leak through
- Place design face / ink side down. Tape it down with heat resistant tape
- add a protective paper and press with heat (time and temperature will depend on what item you are sublimating)
And you are done!
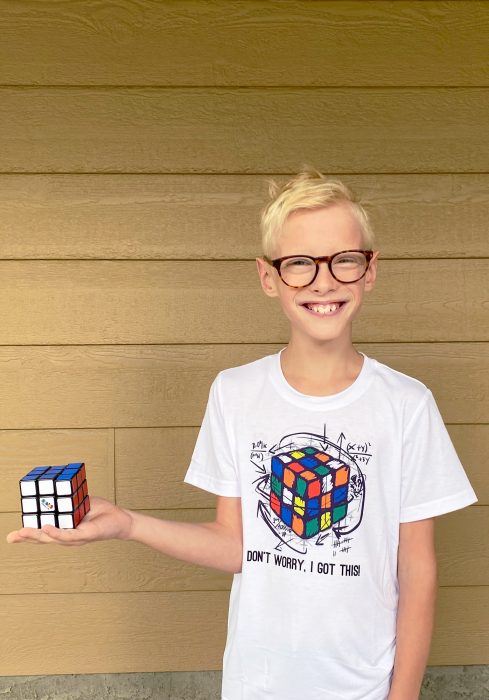
Look how much my son LOVES his new shirt I made him while making this tutorial! He is a Rubiks cube master!
If you have any questions, please leave them in the comments below!
Not ready to print your own sublimation designs yet? Check out this tutorial on how to use a transfer sheet to make your own sublimation shirts.
Looking For A Crafty Friend?

Pin for later:

Comments & Reviews
Charity Lane says
Hi Brooke
I’m going to go on line to look for a printer today after reading your tutorial. I have a cricut, but i find it allot of work technology wise and I’m an old girl. This sublimation sounds so much more simple. I’m going to give it a try. Eeeek! I’m excited! I should totally not be spending money on this but let’s just try it and if it fail’s miserably well i guess I’ll try knitting. Eww…. Wish me luck and I’m sure I’ll be back to should what damage I’ve created!
Charity
Brooke says
Good luck! You can totally do this. Feel free to reach out with any questions and share pictures!
Chloe says
Do you have a printable version of this for me to use as a reference. It’s great information as a beginner.
Brooke says
I don’t but I will work on that! Thanks for the idea!
Michael says
Excellent Tutorial
I am going to get an Epsom2720 tomorrow
I already have a Sawgrass 500. Too expensive to run