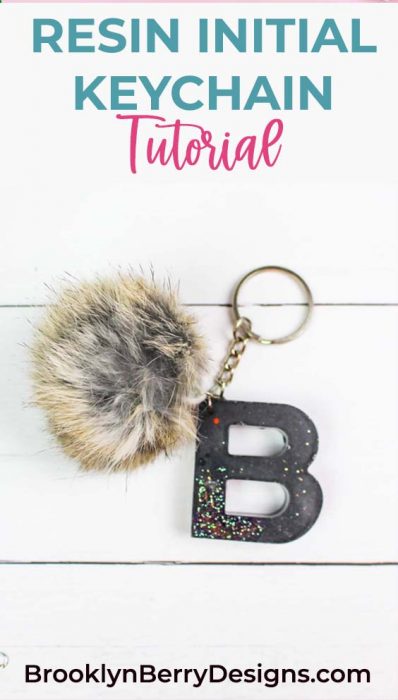
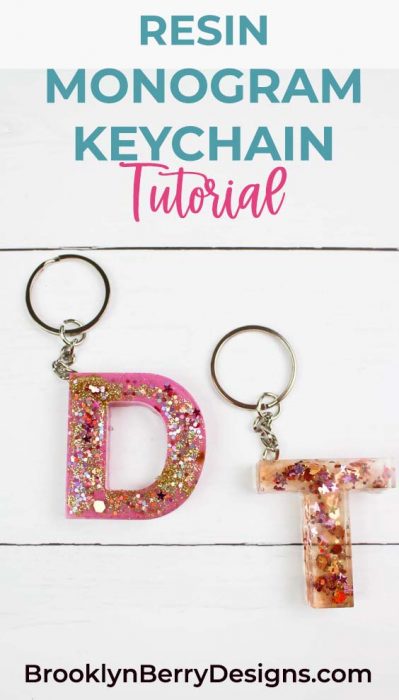
This Resin letter keychain is an easy DIY gift. Add a tassel or pompom and for the perfect colorful touch. How cute would these be placed on a present wrapped under the tree?
What I love most about these monogram keychains is how many design options you have. The possibilities are endless! Have fun mixing dyes, paints, dried flowers, or glitter to make the perfect custom gift for everyone on your list. Here is how I made them.

Looking for a beginners guide to resin? Click here for all my tips to get started.

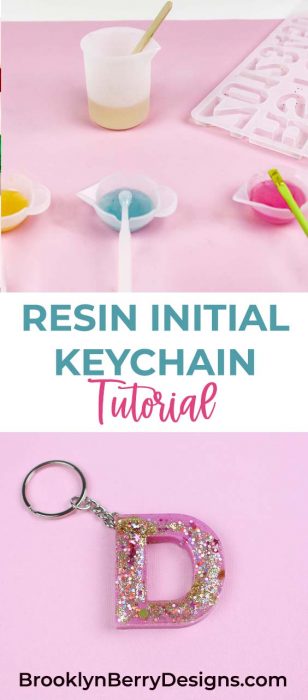
How To Make A Resin Letter Keychain
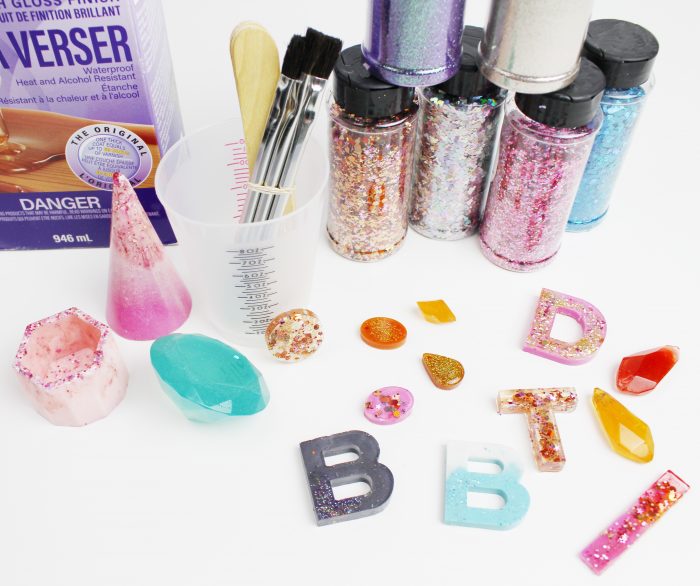
SUPPLIES & TOOLS:
- Silicone Letter Mold
- Envirotex Resin
- Stir stick/toothpicks
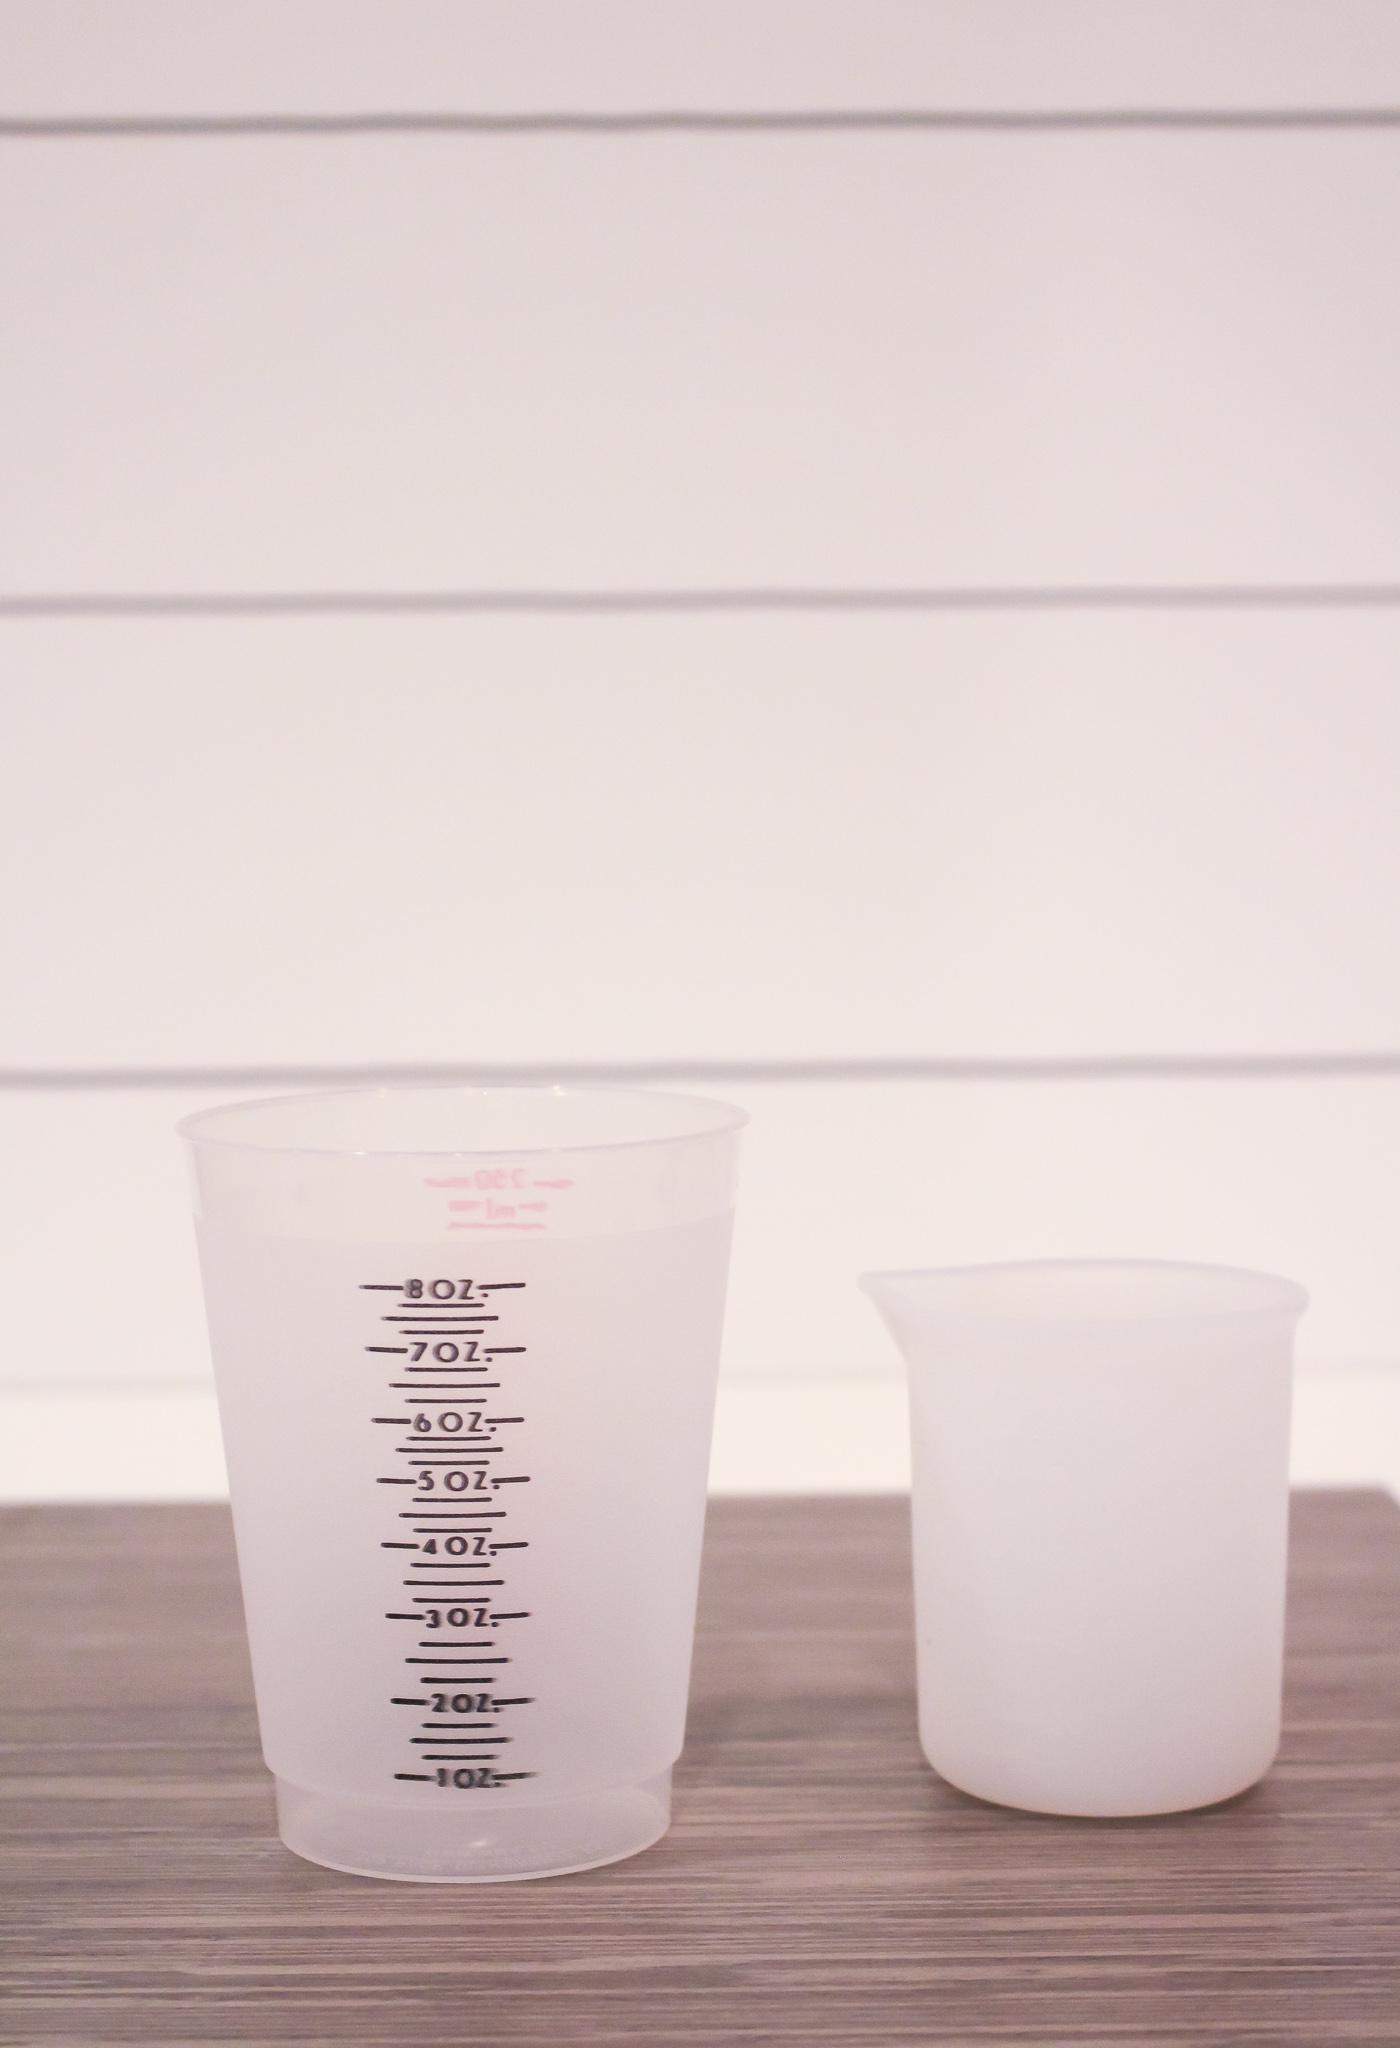
- Mixing Cup
- Assorted glitters
- Hand Drill
- Jump Rings
- Key ring
Start by setting up in a room that has good airflow. Prepare your workspace by putting down a silicone mat, a tarp, or parchment paper.
Mixing The Resin
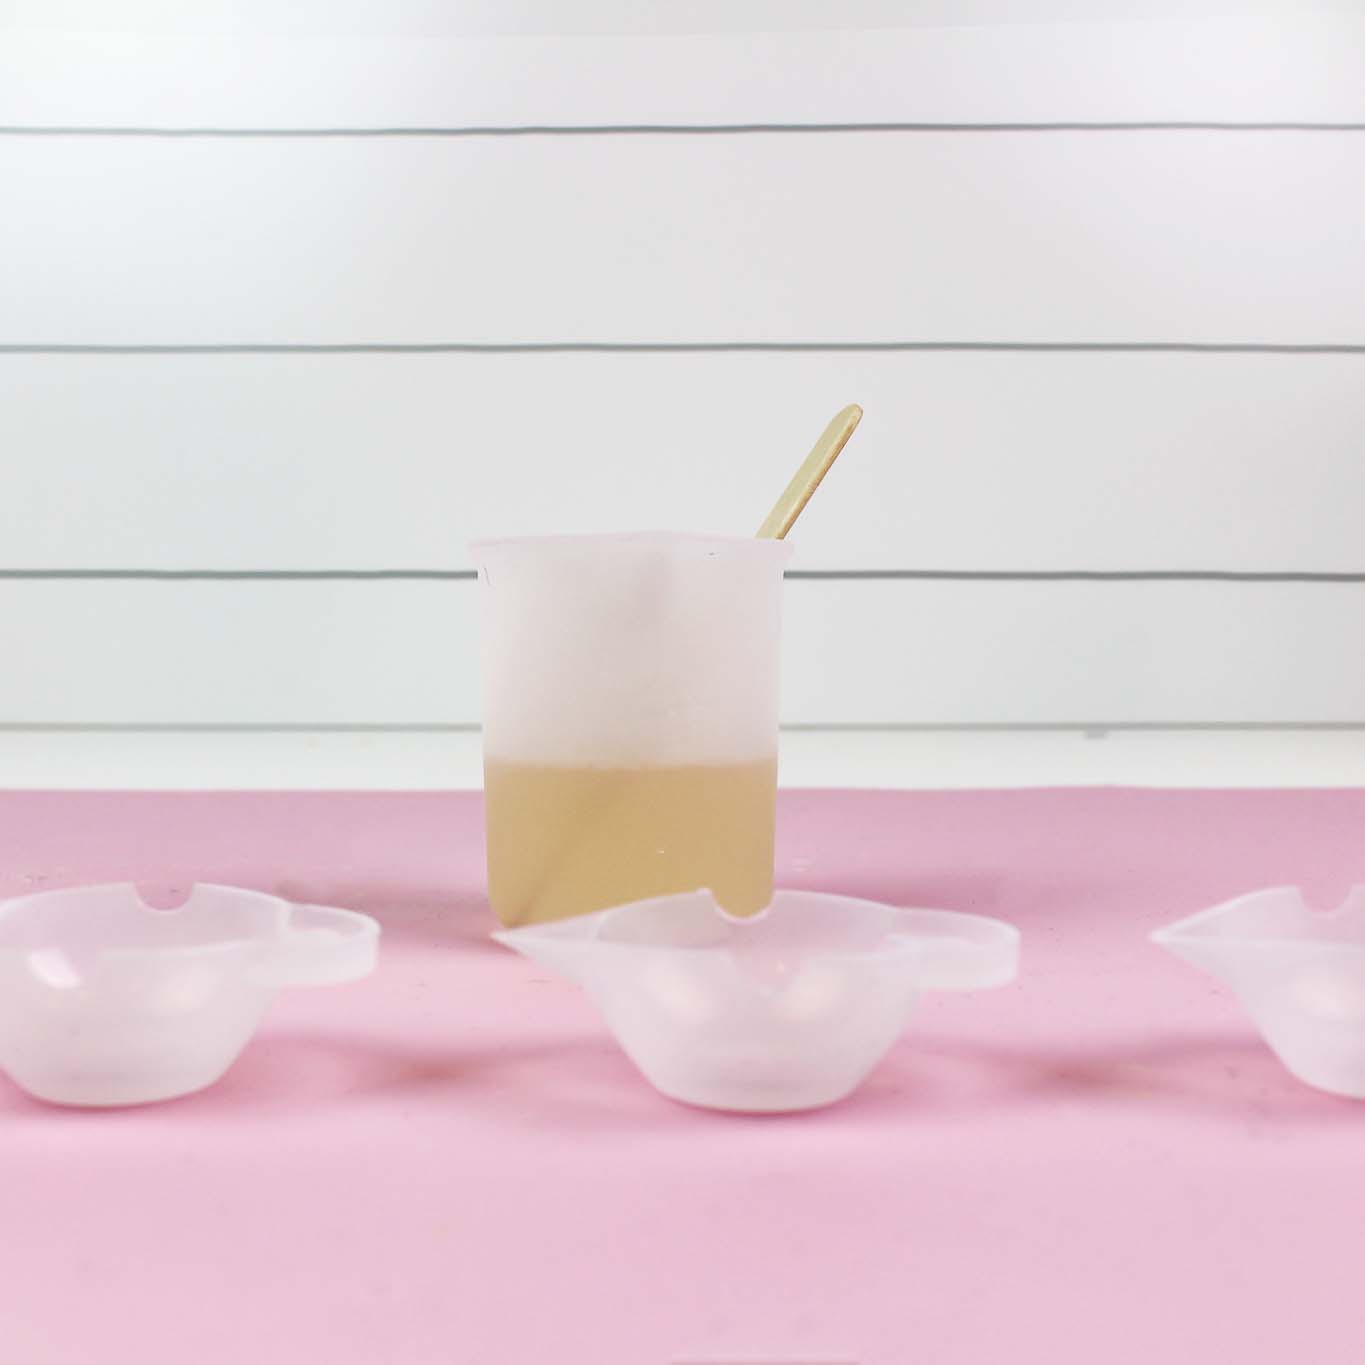
Begin by mixing equal parts resin and hardener according to the instructions that came with your brand of resin. I highly recommend a bottle or cup with measurements that are easy to read. It helps to make sure your proportions are correct, which is the most important part of getting your resin to turn out right.
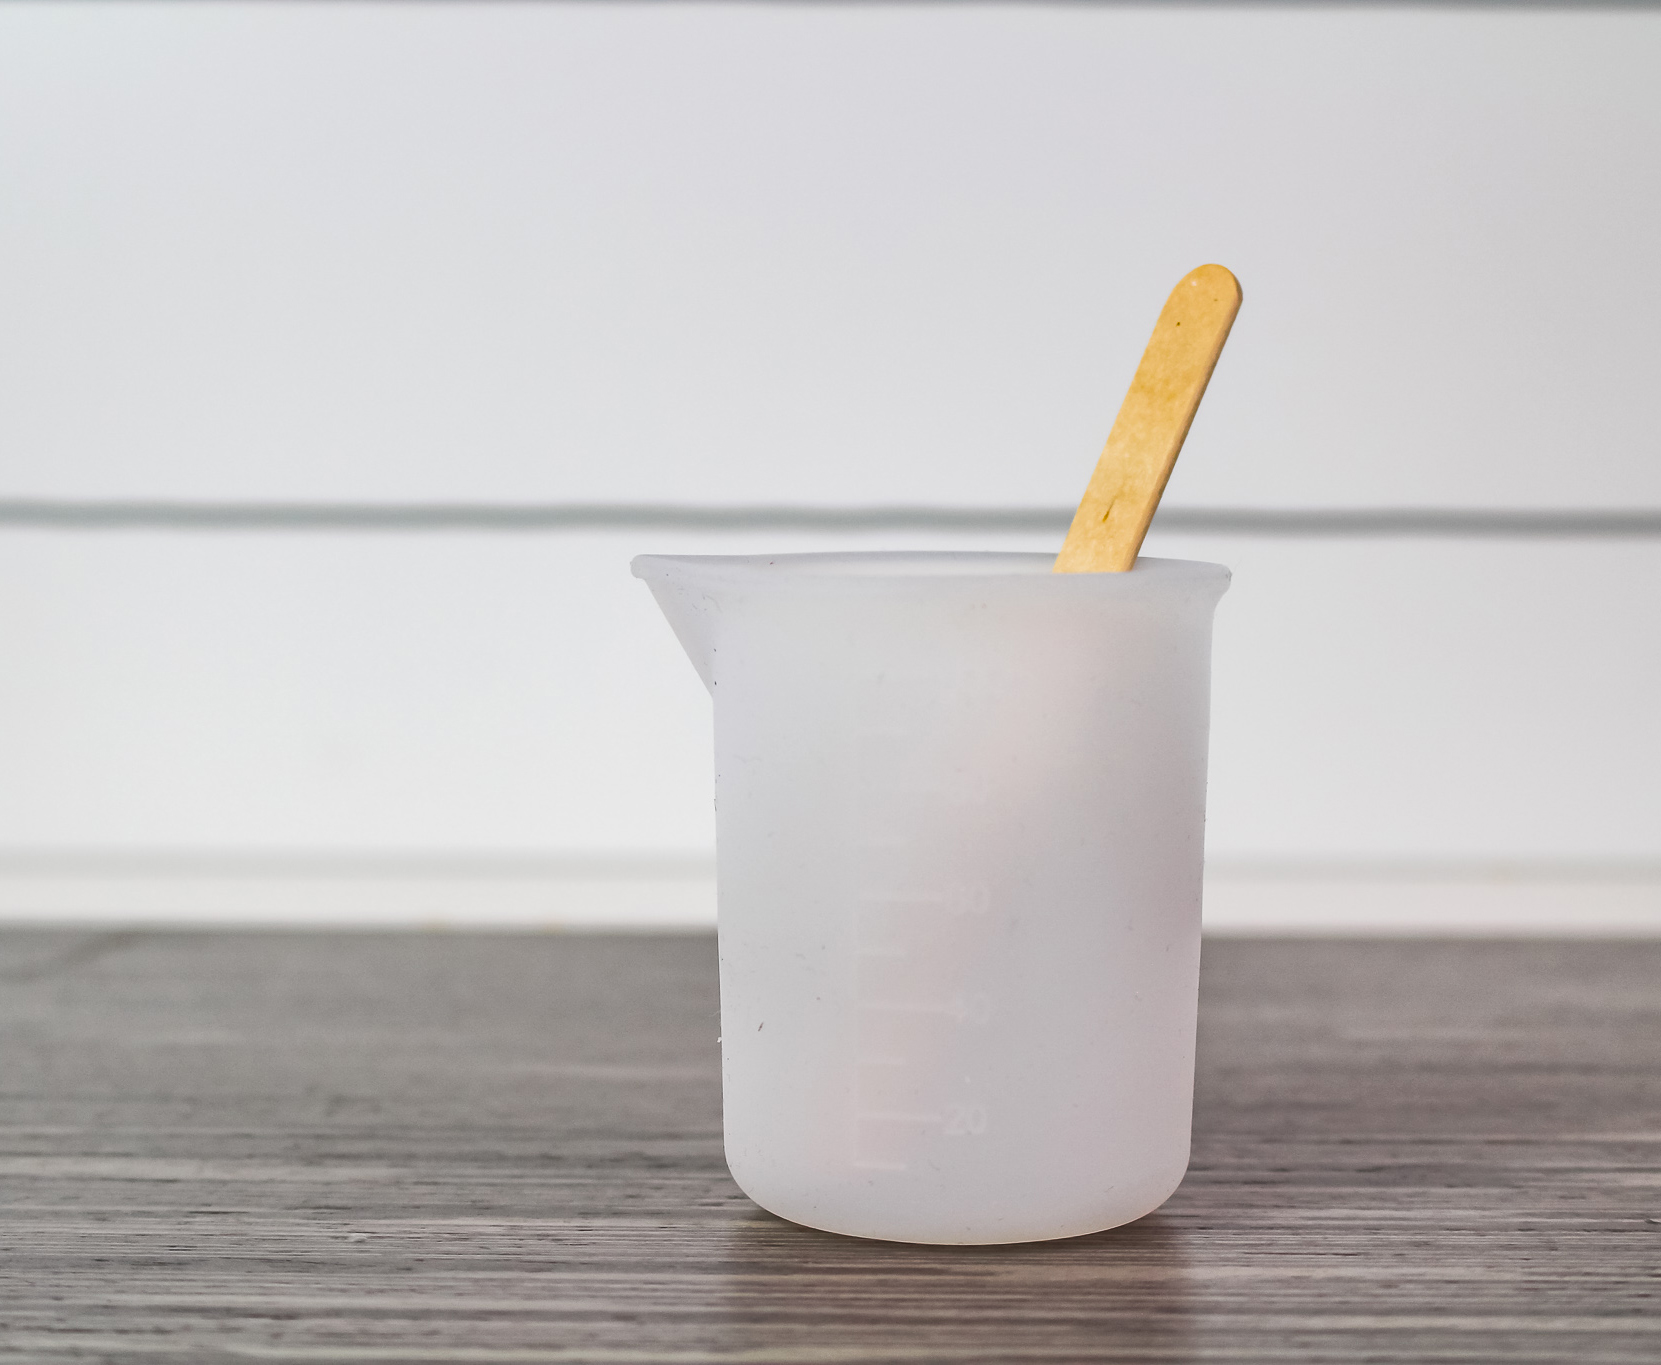
Keep the stir stick on the bottom of your cup while stirring – this will prevent bubbles from forming. Scraping the sides as you go, continue mixing for about 3 minutes.
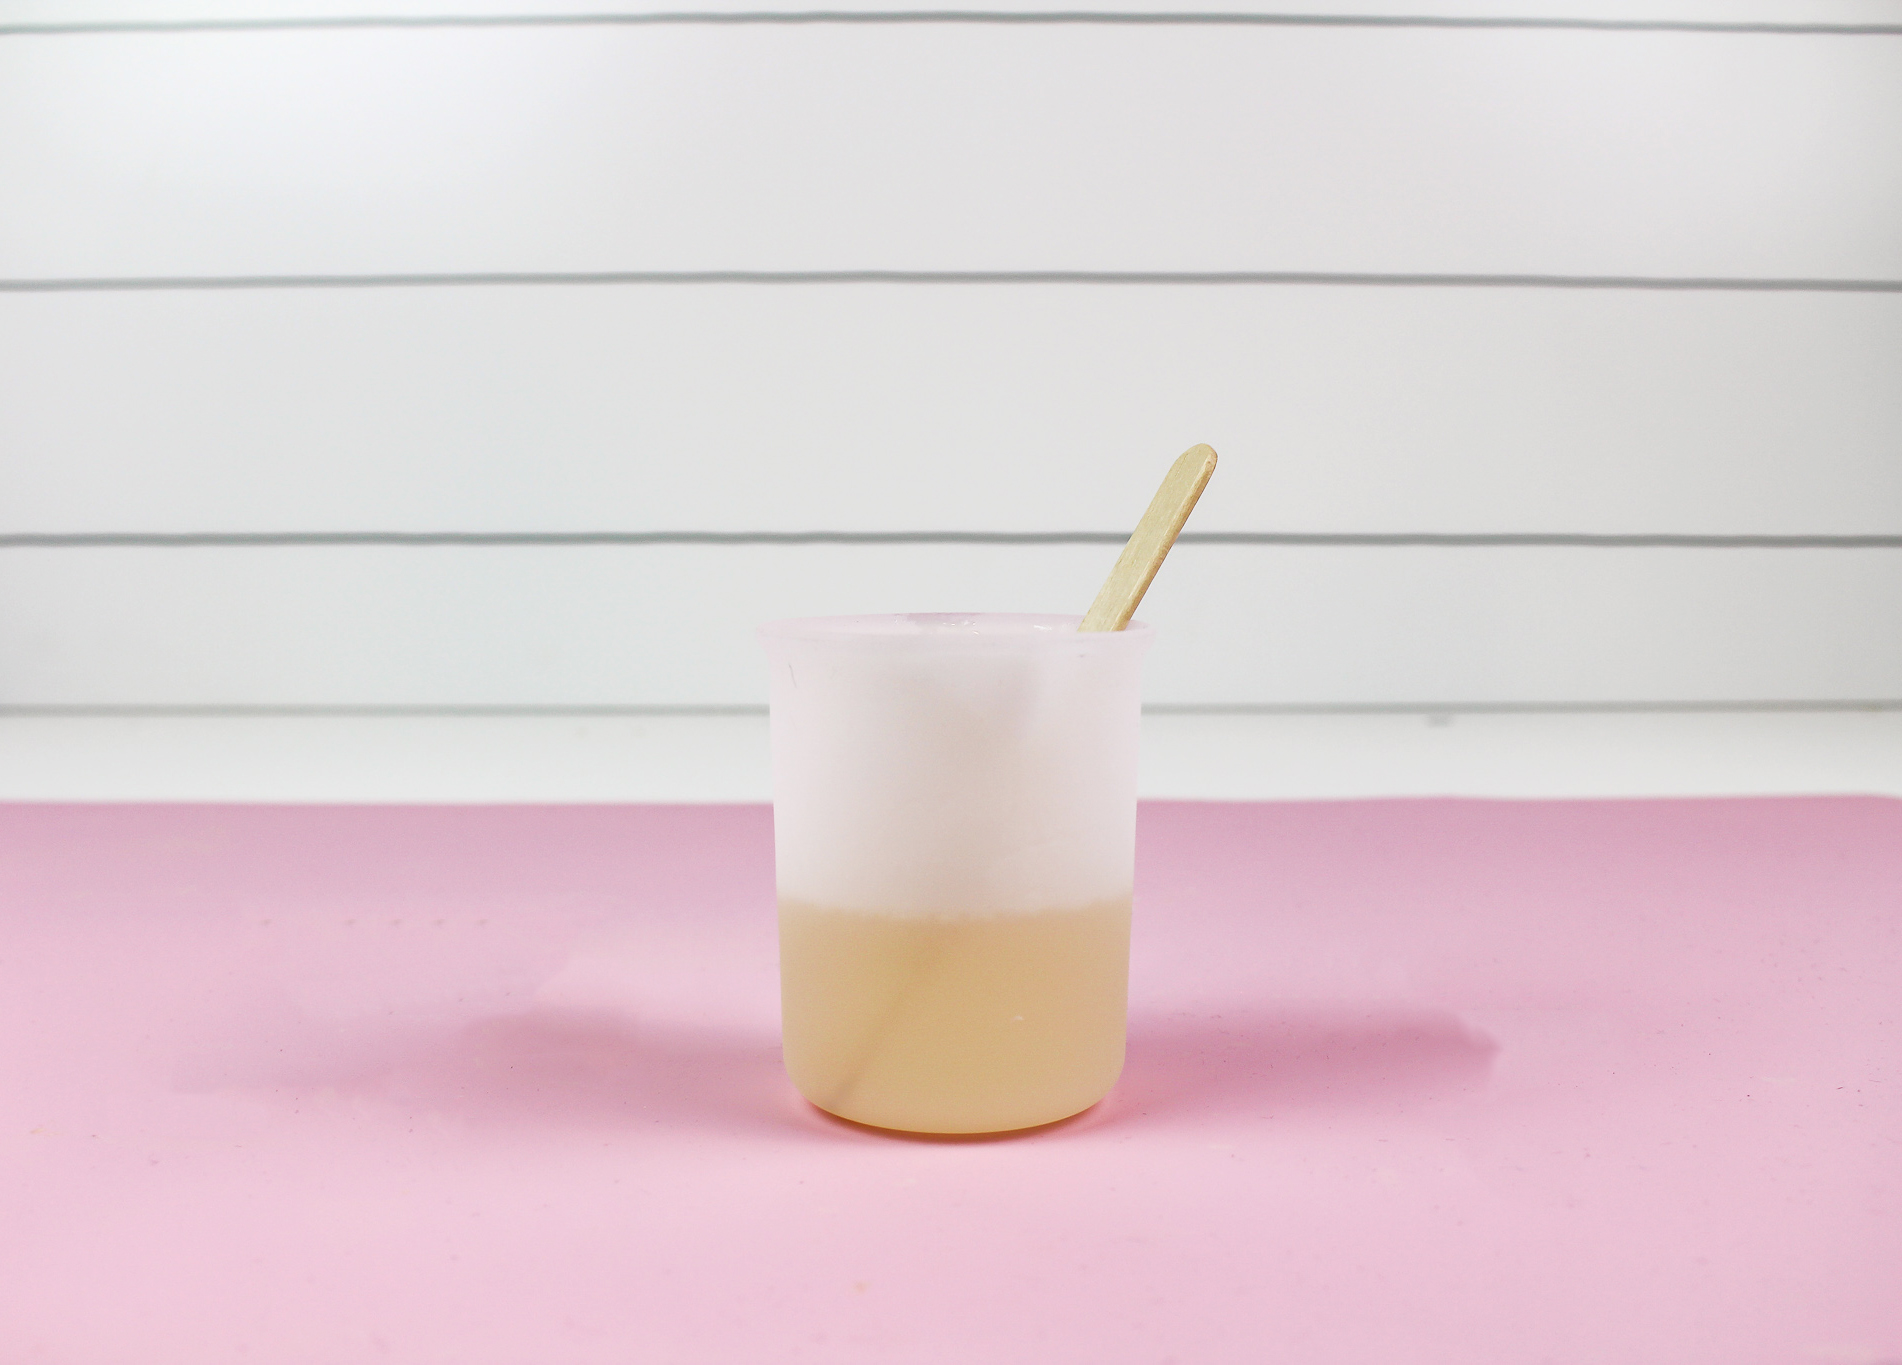
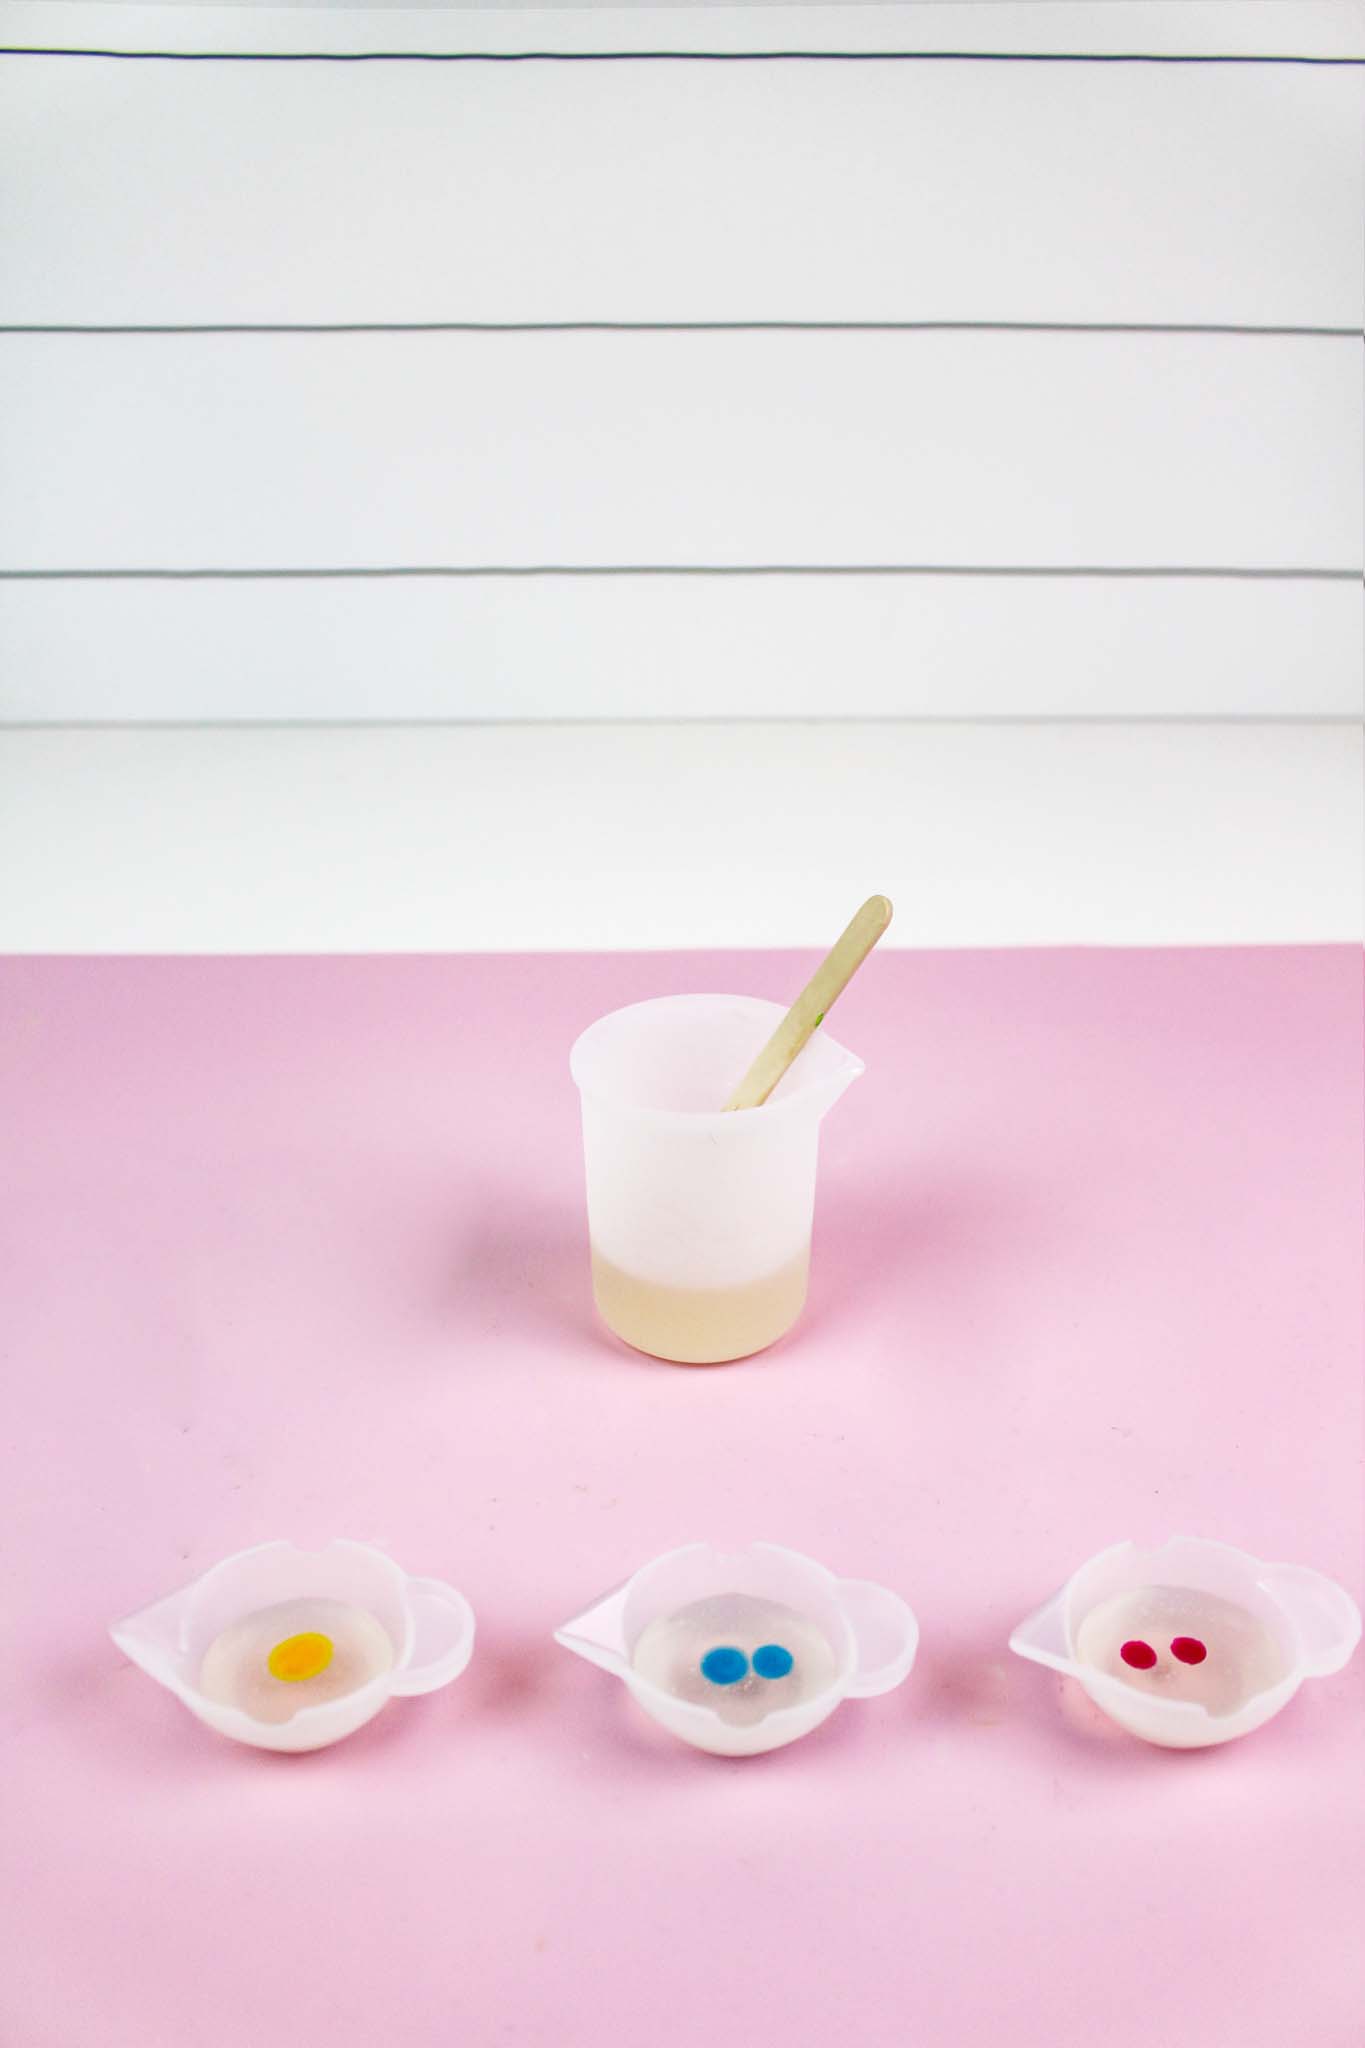
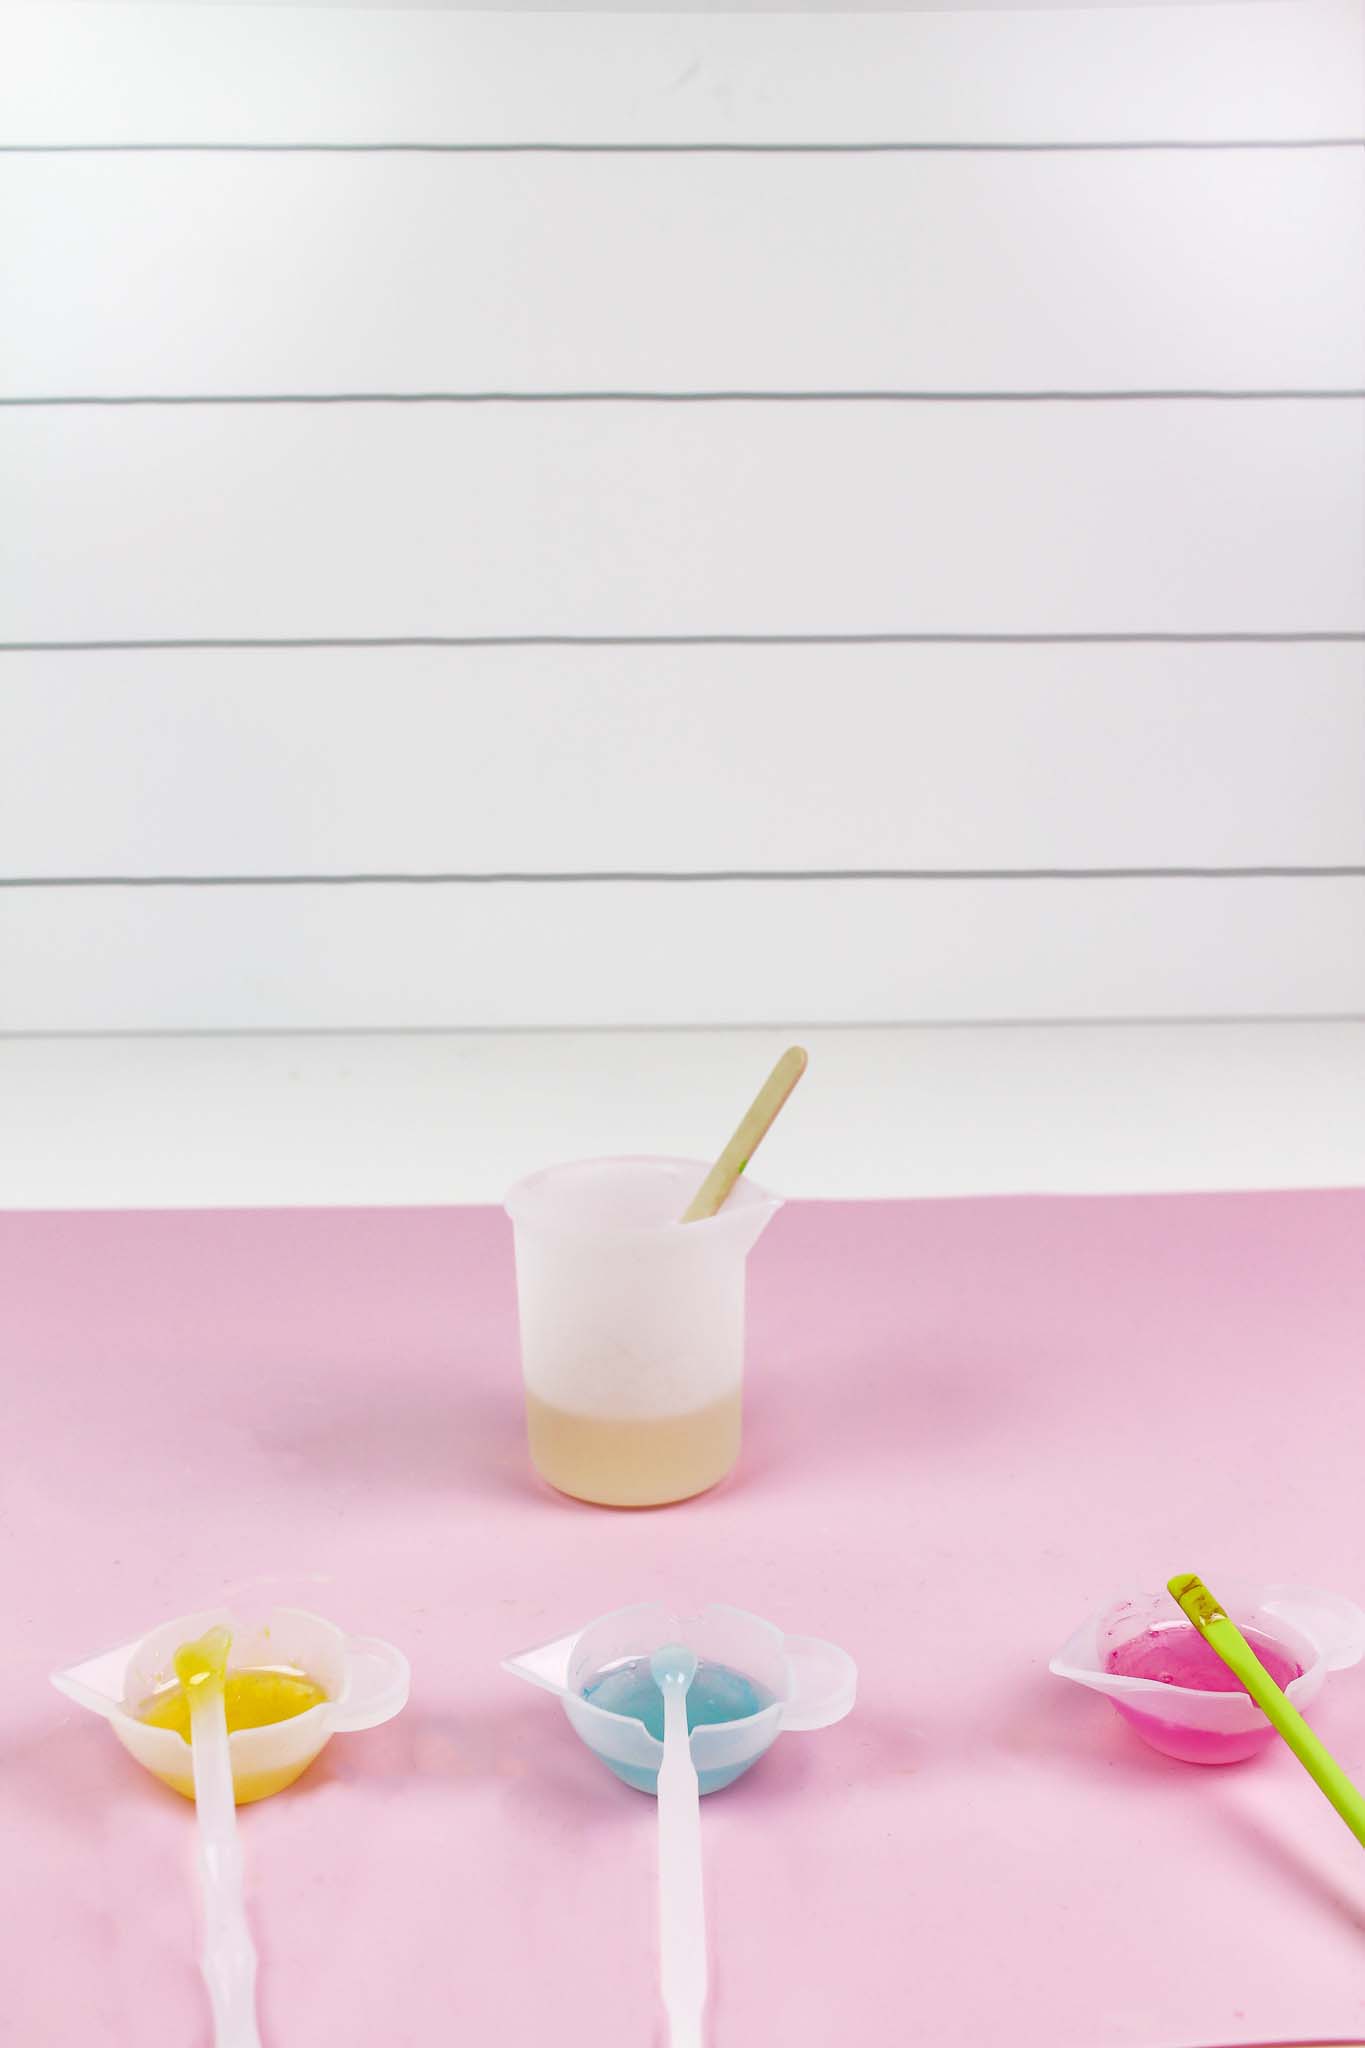
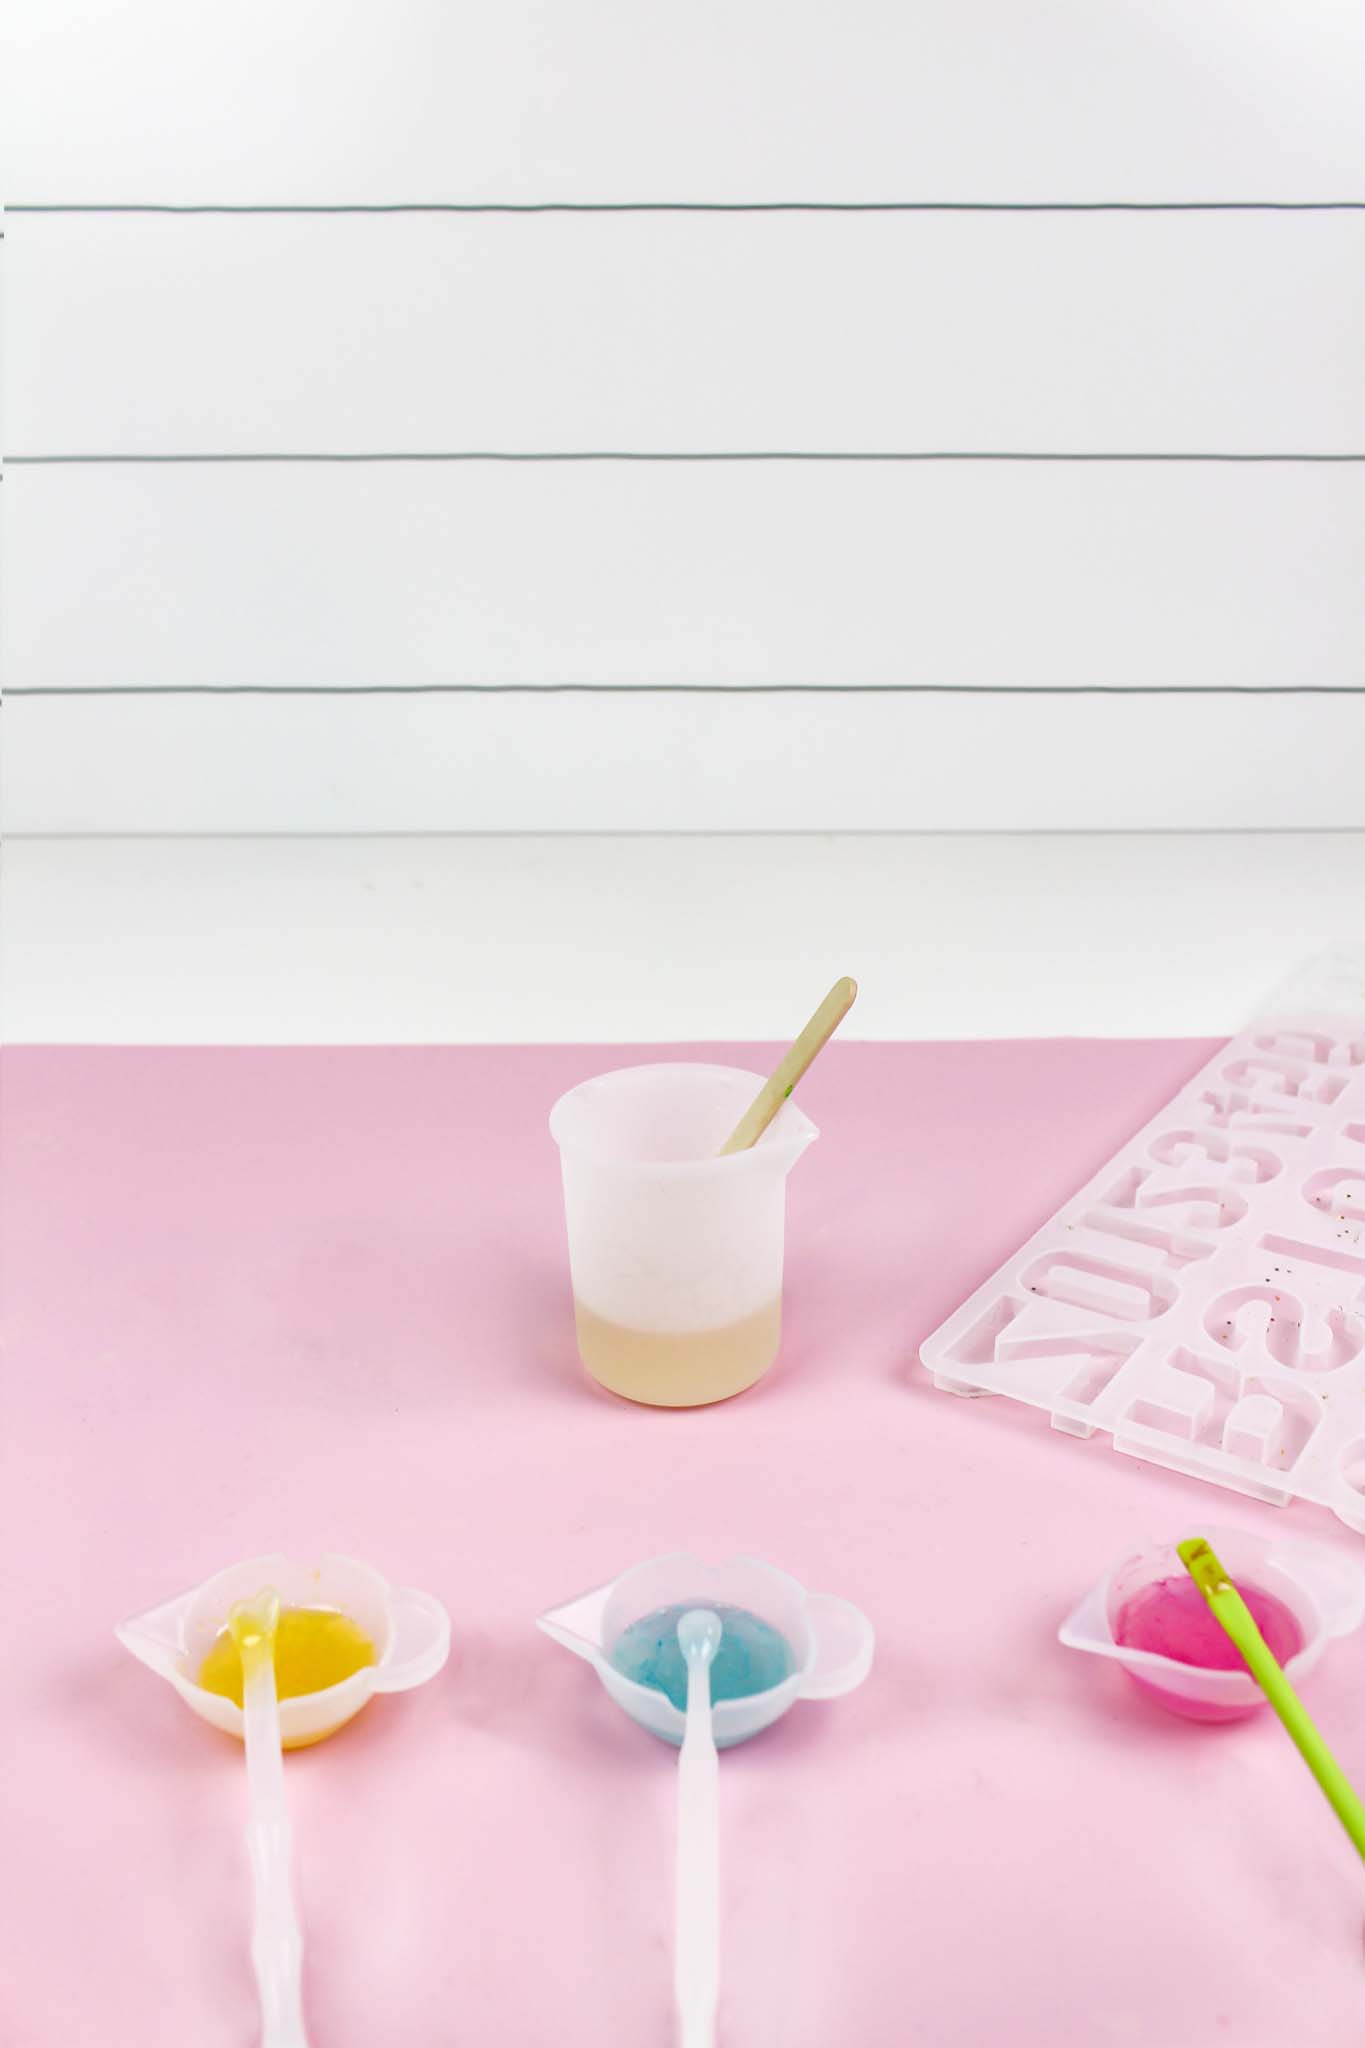
Add glitter, dye, or any items you want to mix in and pour the mixture into the mold. If you are adding a larger item, you might want to do two separate pours as the larger items will sink to the bottom.
If you are using multiple colors, pour the mixed resin into separate containers before adding any dye or paint. I used both acrylic paint and semi transparent glass paint and loved them both.
Pour The Resin
Fill the molds with resin (how full you fill them is up to you – see my comments about adding hardware later in this post). Wait a few minutes for the bubbles to rise and pop them with a toothpick or by passing over a flame.
Place a box over your molds to keep anything from falling into your resin. Let them sit untouched for 24 hours. Don’t touch it! It is hard to resist, but you will regret the sticky fingers and hate the fingerprints. Trust me, I speak from experience.
Remove the resin piece from the mold. This is the most satisfying part!
Use a small Exacto knife to trim any hardened resin that spilled over while pouring.
Adding Hardware To Your Resin Inital Keychain
Option 1 is to add hardware and add doming on top to sequre the hardware.
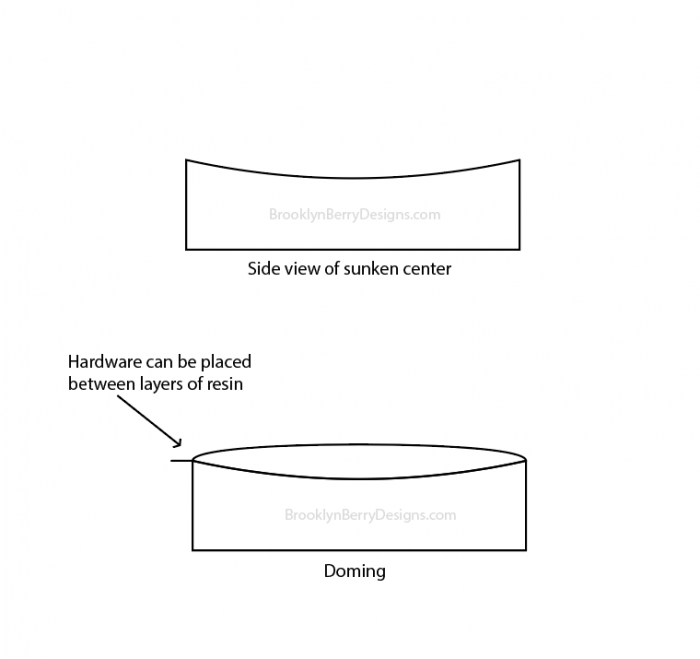
If the center of the resin letter sank a bit more than the edges this may make a sharp edge. This can be fixed by pouring a small amount of resin into the center of the surface, which is called doming.
This could be a great place to add hardware. Set a jump ring or the end of the keychain onto the letter back and pour resin over it. Once dried that piece is glued in there, and it is not going anywhere!
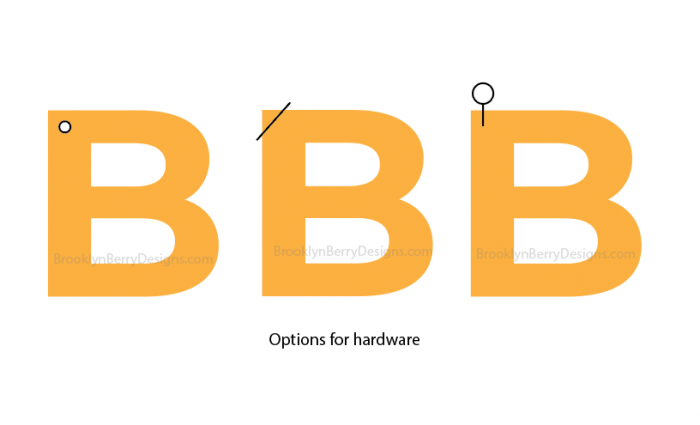
Option 2 – Drill a small hole in the corner where you want the chain to go. Use small pliers to open the jump ring and place into the hole and attach to the keychain hardware. This works great for thinner pieces of resin (1/4″ or so) and can use a smaller sized jump ring.
Option 3 – Drill through the corner at an angle – great for thicker resin pieces that require a larger jump ring.
Option 4: Drill into the resin, but not all the way through the piece. Insert a eye screw into the resin.
All options – attach the keychain hardware to the jump ring. Attach any accesories you like, and enjoy your cute new gift!

Leave A Reply!