
Are you wondering what size should you make the design for shirts? Or how far down from the color should be? This free printable t-shirt placement guide will help!
Whenever I am making many shirts in different sizes with the same design I start to question the sizing. How large should the design be on an adult large shirt vs a toddler shirt? If you are there rightnow, here are some tips to get the perfect design size and placement of your HTV design on shirts of all sizes.
Professional looking shirts are coming your way with this guide to t-shirt design placement. This can be used with sublimation shirts, iron on vinyl, HTV, or any way you are making shirts.
Shirt Design Size
When using iron-on vinyl it is important to know where to place the design and what size to make the design.
In my personal experience, it has worked out ok to just eyeball the placement of a design onto a shirt. The proper placement comes into question when I am making the same custom t-shirts in various sizes. If you are making shirts in sizes small and extra-large, will the size of your design be the same? What is the perfect placement when the sizes are different?
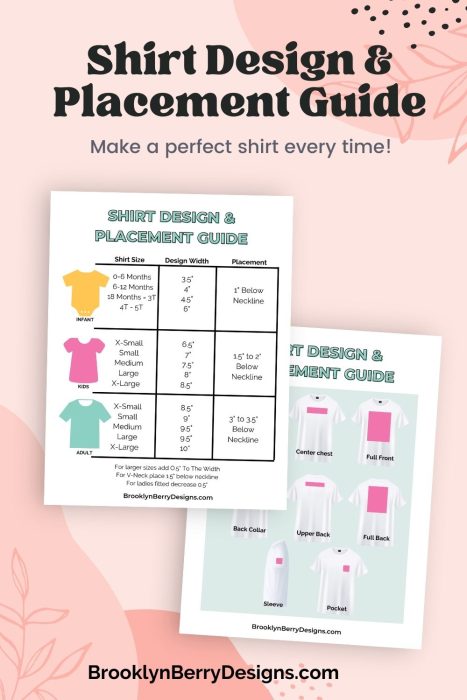
In my efforts to make this easier for myself, I began to research all about the standard size and placement for heat transfer vinyl designs on shirts. This saves me from having to search “how far down do you put a design on a t-shirt?” over and over again. Not only will I share what I learned, but I also made a printable cheat sheet for you as well!

Logo Placement Guide: Most Popular Placements
Left Chest Design
Left Chest Design is great for button-down shirts, polo shirts, or a small company logo. From the top shoulder seam measure 7-9 inches down, and eyeball an imaginary line centered between the middle line and the side seam. The center of your design will go in that placement. For a larger shirt size you can also measure 4 inches in from the center line for placement. You want to avoid the design going into the armpit area.
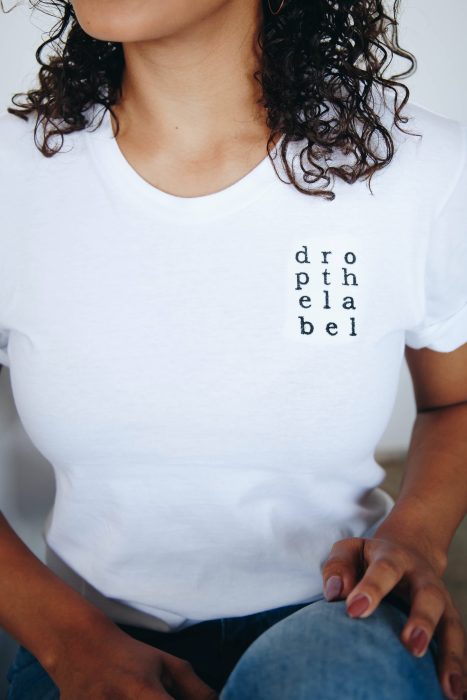
Center Chest
Center Chest. For a center chest design, the common placement for the top of the design is 3-3.5″ from the bottom of the neck edging.
Full Front Design
Full Front Design. This print location can be very tricky. You want to avoid the belly area as a general rule of thumb. Instead, center the design more on the chest area rather than the entire center of the shirt. Align the top of the design the same as you would for a center chest print placement. For a fitted shirt, 9″ x 9″ works for most adult sizes, and a 10″ to 11″ wide design is great for a looser fitting shirt.

Back Collar
Back Collar. This is a great location for smaller sizes of designs. Right at eye level, this is a great location for a logo or graphic element. Designs should be about 2 or 3 inches square. The top of the design should be placed around 1-2 inches from the bottom of the collar.

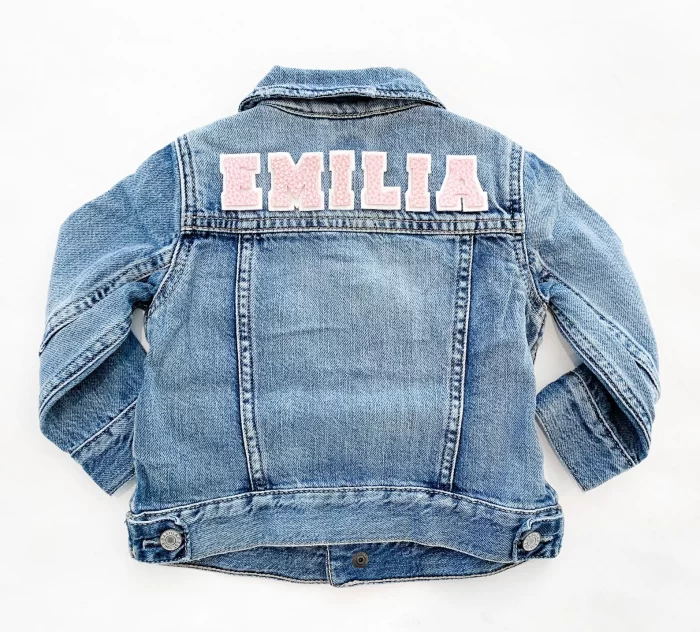
Upper Back
Upper Back – this placement is across the shoulder blades and is typically seen with security or staff work shirts. It’s also the print area for custom bridal denim jackets (get a tutorial here). Designs are usually 12 inches wide and about 6 inches tall.
Full Back
Full Back – great for large designs 12 inches wide and 14 inches tall. This is a great place for larger designs on adult shirts for women; it’s much easier to read than the oversize front placement.

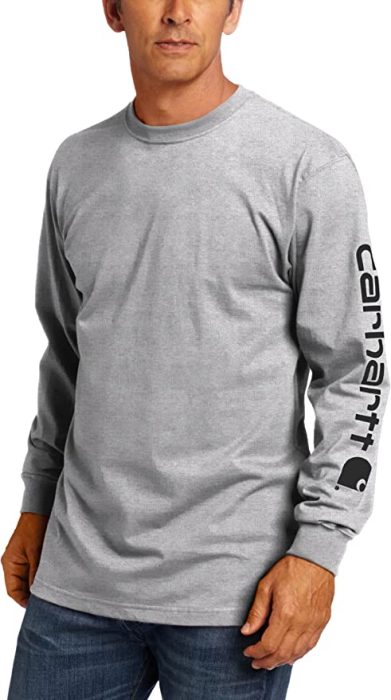
Sleeve Designs
Sleeve Designs – For short-sleeved shirts the design should be about 3″ square. The bottom of the design is placed about an inch above the hem. For a long sleeve, a vertical design can be about 2 inches wide and up to 11 inches tall.
DOWNLOAD THE T-SHIRT PLACEMENT GUIDE HERE
To get the free printable enter your name and email address in the form below and click the GET IT NOW button. I’ll send the printable file straight to your inbox.
Terms and Conditions:
- By downloading this free printable you are signing up for my e-newsletter and you’ll be notified when I release new free printable files.
- This printable is for personal use or classroom use only.
- This file can be used in part or in whole for your personal projects.
- Digital reselling, sharing, and redistributing of the files is NOT allowed. If you would like to share, please direct friends to the original blog post where you found this.


Comments & Reviews
Sandy says
I submitted my email address to receive the Shirt Design and Placement guide. Nothing happened when I hit the submit button. Can you help me get this guide?
Hector says
I’m just excited to use my Cricut
Sandrine Cordero says
Merci
Sonia says
Thank you for sharing
Deb says
thank you
CAROLYN HUNTLEY says
very helpful, thank you