My favorite trend in women’s clothing right now is raglan tees with graphics on them. I see them everywhere, I even bought one (hello, internet famous) but it is also really easy to make your own diy shirts.
I already used my Cricut Explore Air to make a wordy tank top and a quote pillow and was excited to make something new for myself. I looked at the newest collection on Cricut Access and was immediately drawn to the dream catcher pattern.
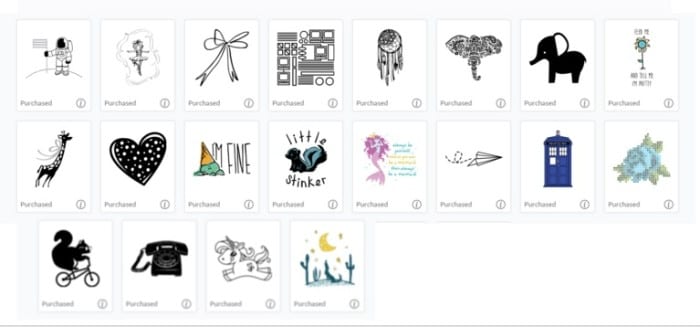
Here is a sneak peak at the Trendy T-Shirt Collection:
Wouldn’t that elephant be adorable on a baby onesie? Or the Giraffe? If I had a girl I would totally make the mermaid shirt in a pink and green glitter. AHH So many ideas.
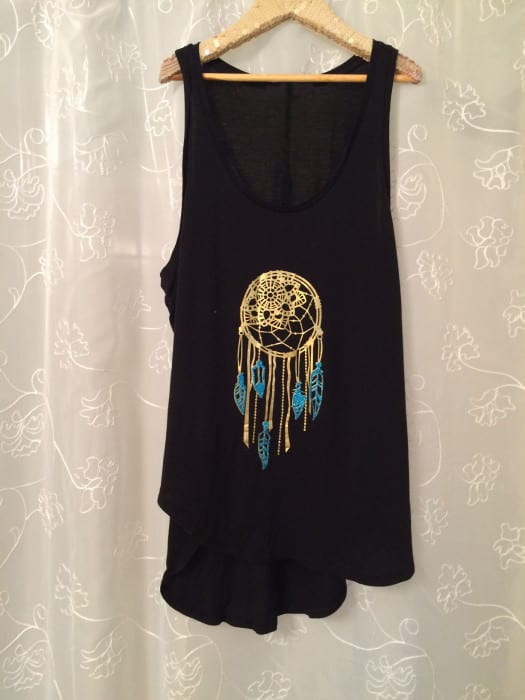
But I wanted to make something for myself. I am the queen of the black tee and jeans, so I decided to add some color into my life. I bought a simple black tunic length tank and cut out the dream catcher with the gold iron on vinyl. For some extra pizazz (does that word make me sound totally dorky? *Jazz Hands*) ok, an extra somethin somethin, I used the slice tool to cut out the feathers alone. That piece was cut from blue glitter iron on vinyl.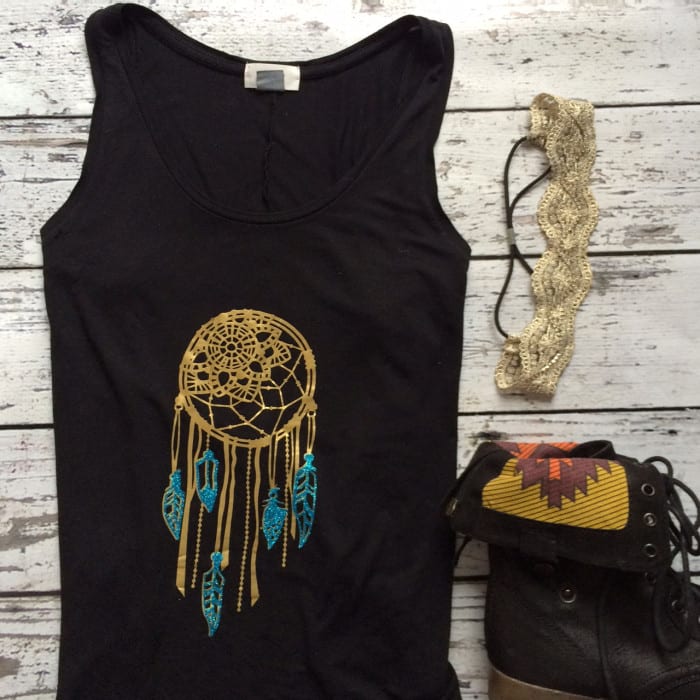
I am very much a cricut newbie, and I had to learn how to slice an existing shape in order to just cut out a portion of it. After calling a friend to explain it to me, I wasn’t sure I could then explain it to you. Luckily, once I knew what it was called I could youtube it! So here is the video to teach you how to slice an image in Cricut Design Space.
**Update – If you don’t want to cut the design yourself, this project is now available as a make it now project in Cricut Design Space! See it here**
- Cricut Explore
- T Shirt or Tank
- Iron on vinyl (also known as Heat Transfer Vinyl). I used the gold.
- Iron on glitter (I used the color Glitter Royal)
If you are going to make your own DIY Shirt, here are a few of my notes about the process:
- The current image size in this file is for a womens medium / large and is about 10 inches tall. You may need to resize the image according to what you are placing the image on.
- If layering vinyl be sure to use a smooth vinyl (not glittered or flocked) for the bottom layer, the main image.
- If you are mirroring the image (typical for iron ons, but not necessary for this project as there aren’t words) be sure to do the same for both layers before cutting.
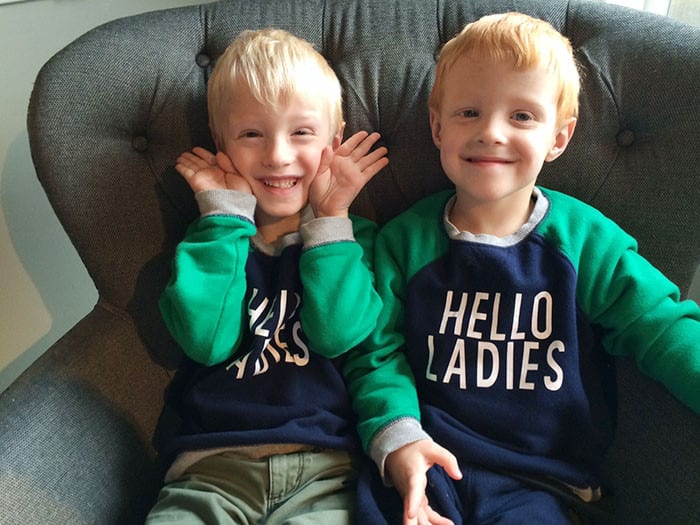
And, because my kids LOVE seeing the cricut machine work its magic, they always ask if I am making something for them. Usually? I am not. (Too bad, so sad ya nuggets). But this time, I knew something I could make for them.
Inside Joke:
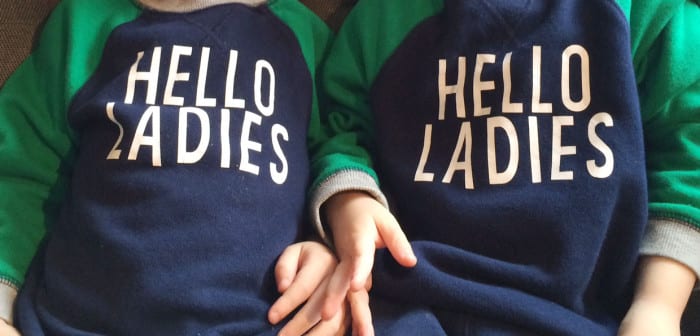
My boys both go to preschool for speech therapy. Being preemies, they were always sick and always had ear infections, thus couldn’t hear. This causes them not to speak. SO, at their school we review the speech every semester and they often write down things the kids say as an example as to how many words they can use in a sentence. Each of my sweet and shy boys will run into the class room and says “HELLO, LADIES!” to all the teachers / therapists / aide’s in the classroom. I always laugh when they talk about going to school to “see the ladies”. So, we made a cute sweater for them to wear to school: Hello Ladies. They love it, and so I love it. A simple 10 minute DIY project to make their days.
What would you write on a T-Shirt? Have you seen any funny yet cute shirts lately? I would love to see them!



Comments & Reviews
Merry says
Oh my goodness those two are cute. Love the shirts and this is NOT helping my NEED for a Cricut!
Brooke says
I know, the need for a cricut is BIG TIME. I wanted one for so long, and once I got it I was too scared to use it. You can always use mine!
Stephanie Paxman says
So smart to add some glitter vinyl to the dream catcher feathers–love it!
Brooke says
Thanks! This is the first time I have used vinyl on top of vinyl, but it was a success! I like the touch of glitter and extra color it adds.
Kyla says
So cute!
The dreamcatcher is so dreamy! Those adorable little boys of yours are for sure little heartbreakers! Hello Ladies is right!! Great work!!
Brooke says
Haha, thanks Kyla!
katie says
Too Cute! I love that they say “hello ladies”… kids say the darndest things!
Maija says
Love this! So many t-shirt possibilities.
Kim says
I love everything about this post. I might need me a cricut. And an iron.
Brooke says
Yes, you do need an iron! Haha, I love that you made iron on shirts and had to borrow an iron. Dedication!
Katie says
Love both shirts! Where did you get the boys shirts? I love the baseball style shirt!
Brooke says
The boys shirts are from Target. Whenever I see solid shirts or anything with no designs on sale I get a couple.
Pam says
Do you have this file available as a svg download? I could not find it in my Cricut files but I do not have Access either! I love this dream catcher and how you did it in 2 colors!
Brooke says
If you search by image sets it is in the Trendy T-Shirts set. The item is #MCE34CF and you have to include the # to search. Hope this helps!
Lori says
Hello Brooke, I love your boys they are so cute and their shirts too. I would like to make shirts like that for my grandkids and great grandkids too and also the dream catcher one for myself. Thank you for sharing with us.