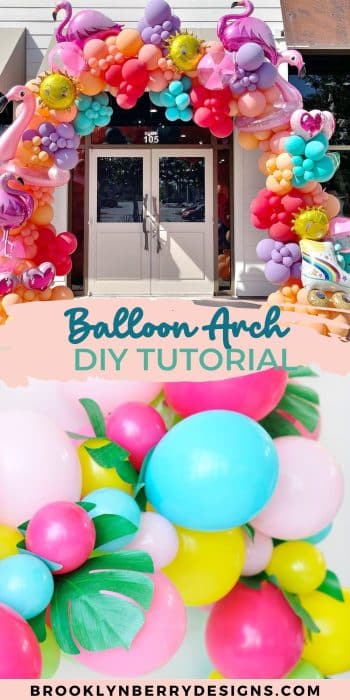
Balloon arches are the perfect low budget decor item that really stands out. Follow this DIY balloon arch tutorial and learn how to make your own balloon garland to impress your guests!

Whether you’re planning a birthday party, a baby shower, or any party, making your own DIY balloon arch is the perfect way to make a big impact.
Setting Up DIY Balloon Garlands: Factors to Consider
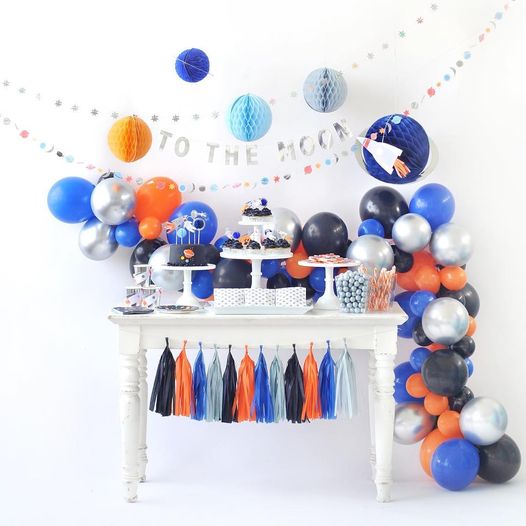
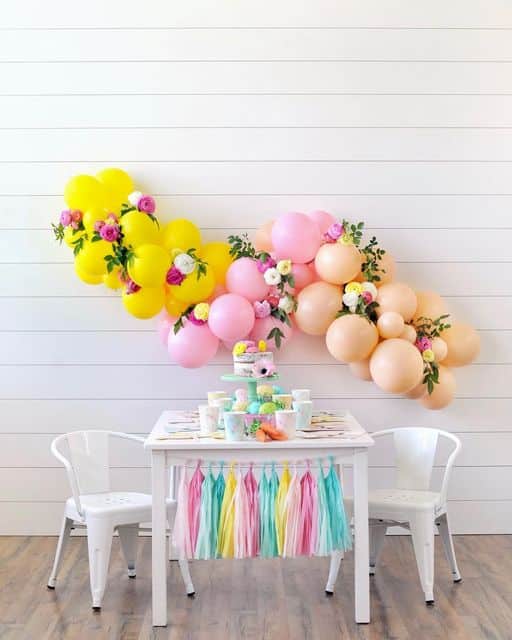
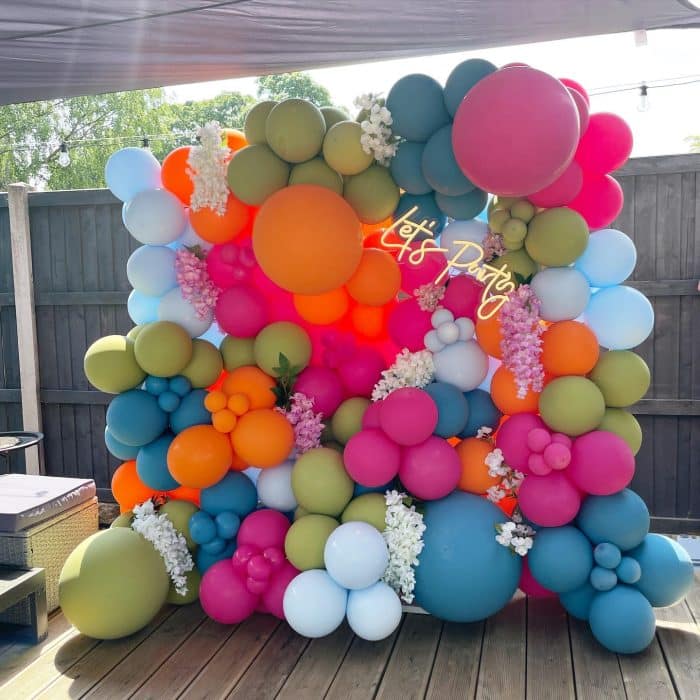
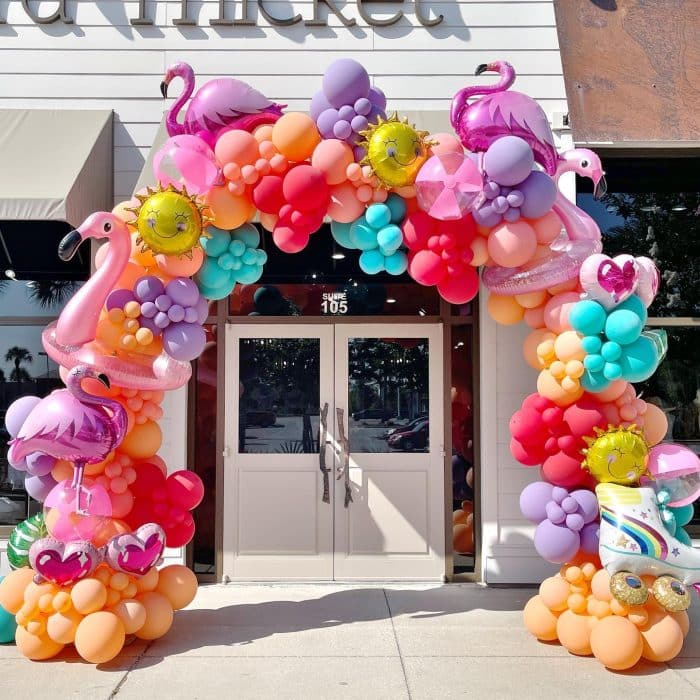
Decide on the color scheme of your event and plan the location for the balloons before getting to work blowing up the balloons. Balloon arches look best with a mix of color and balloon sizes. Look for inspiration images online for ways to mix and arrange colors. Adding in faux flowers and greenery is a cute way to fill in bare spaces for a fuller arch.

“The key to the success of creating a similar balloon arch is variety of balloon colors and variety of balloon sizes, which you can create with how much you blow it up. I tend to like color schemes that focus on three main colors.”
– House That Lars Built
Supplies Needed for A Balloon Arch
Here are all the tools and materials you may need to make a balloon arch:
- Electric balloon pump
- Balloons
- Balloon decorating strip or balloon tape
- Glue dots
- Command hooks
- Optional final touches like fresh flowers, greenery or ribbon.
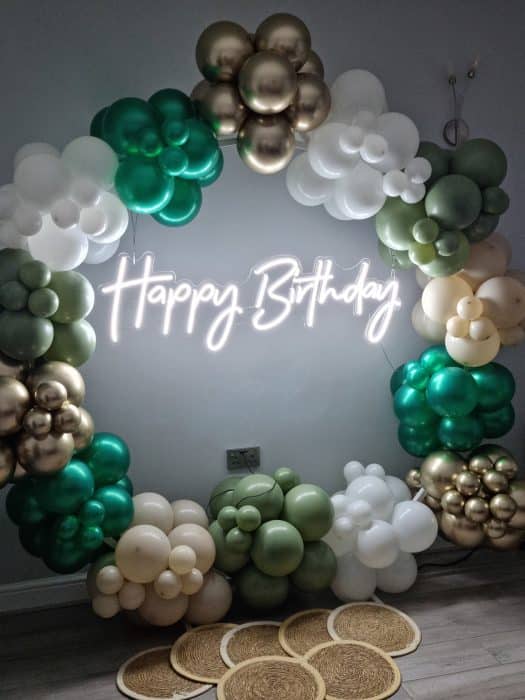
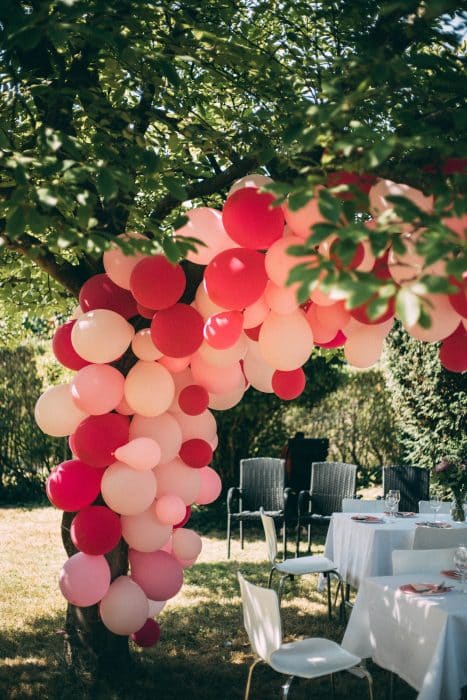
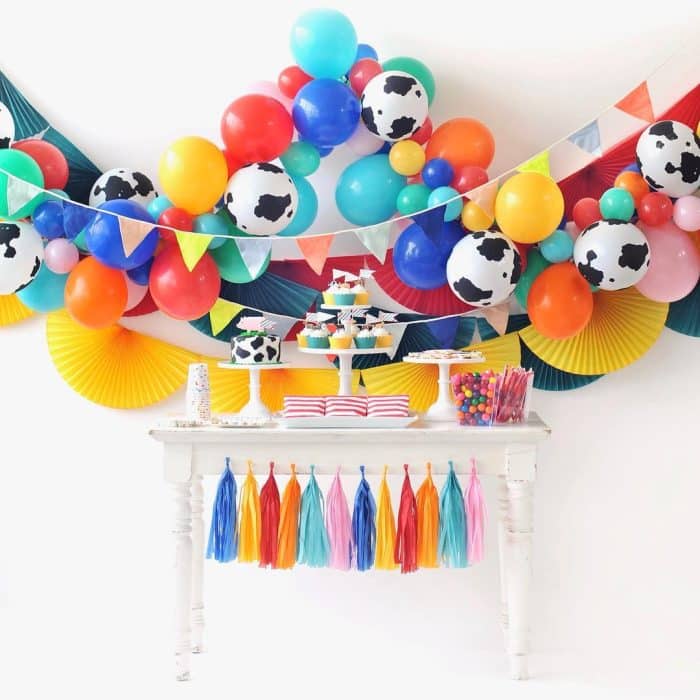
Balloon Arch Inspiration:
Step-by-step Balloon Arch Tutorial
Step one: Inflate the balloons
Using an electric pump for quick inflation, blow the balloons up in three different sizes. You can tie balloons by hand, but I find it easier to tie two balloons together. You can then combine two sets together by stacking them and twisting the balloon knots together, creating a group of 4 balloons. Leave out some small balloons for filling in bare spaces after assembling. For an arch over a larger dessert table I typically use about 200 balloons.
Step two: Assemble a garland
There are a few ways to make a balloon garland. You can use a long piece of twine or fishing wire and tie the balloons onto the string. You can also use a needle and thread to sew the end of the fishing line through the knot of the balloon. The easy way is to use a balloon decorating strip.
Start with the largest balloons and push the knot through a hole in the balloon tape. Skip a few holes and attach a second balloon from the opposite direction. Keep going in this way, alternating colors and directions as you go.
Once you’ve taped the larger balloons onto your structure, add in the medium sized balloons.
Step three: Set the arch
Attach command strips to your wall and place the ballon strip onto them. It helps to have a clean hole in the balloon strip and poke it onto the wall hook. Fishing line and zip ties help to attach to free standing poles or railings.
Then, tie a piece of balloon ribbon or twine onto each end.
Step four: Add finishing touches
Lastly, you can attach the smaller balloons to the others using tape or glue dots. For extra security a low temperature glue gun, but be careful to keep the metal tip of the gun away from the balloons!
If you’re adding in florals or palm fronds, simply need to tuck them in between the balloons or use packing tape to secure them behind the arch.
More Party Ideas You Will Love:
- Check out this modern Valentines Day Party Decor
- Make your own party pinata!
- Check out the colorful balloon arch for a unicorn Halloween!
- How about an occasion basket for your next holiday?
- You’ll love this collection of printable Christmas party games!
In conclusion, creating your own DIY balloon arch is a fantastic way to add a touch of magic and excitement to any event while staying within a budget.
Pin for later:







Leave A Reply!