There is no better way to get a unique and beautiful christmas tree than with your own homemade ornaments!
Decorating a christmas tree can get expensive really fast. If you like to change out the color scheme of your Christmas Tree or just looking to add more ornaments, you should make your own!
DIY Oversized Christmas Ornaments – Dollar Store Craft
When looking to fill my CHristmas tree I was wanting something oversized so that it would take up more space on the tree. I had some smaller crystal ornaments in sets, and was looking for something to add some interest.
While walking down the aisles of my local dollar store I found these silver trays and got to thinking. These could be used as signs and hung on the tree! They are abou the size of dinner plates and come in a lot of sizes.
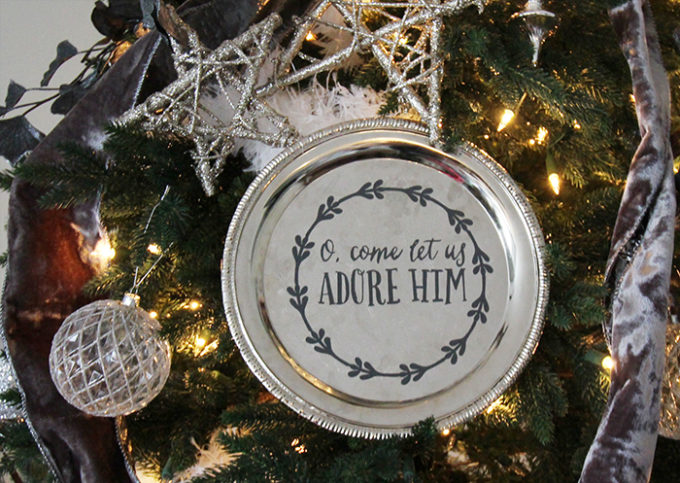
A round tray is perfect for a wreath design cut from vinyl and a song lyric or quote written inside.
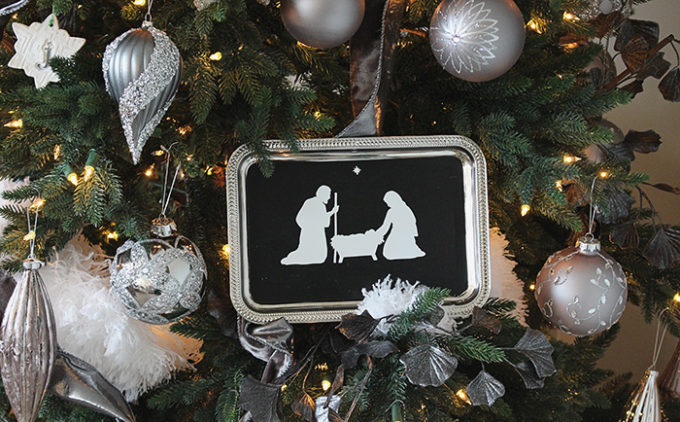
Another option is to paint the center section of the tree and add vinyl to it. Be careful when applying vinyl to the painted surface – the vinyl sticks just fine but you want to use a light grip transfer take so that you don’t pull up the paint! You can always go back and touch up the paint if any spots get removed or scratched.
Update 2022: This is one of the very first Cricut Projects I have ever made. Using vinyl and a cricut joy, cricut explore or cricut maker, this is a great beginner cricut project.
This DIY oversized ornament made from a dollar store tray is an idea that could be updated and used in so many ways.
Painting the back of the tray in a bright color would really pop! I can envision a rainbow of colors used with funny movie quotes. This is a really easy way to add some color.
You could also use some scrapbook paper and double stick tape it to the back, and add vinyl designs to the top. I love that its inexpensive, easy to do, and can be changed. Bonus – you can update and change them any time you like. That is my kind of craft project!
Faux Snow Dollar Store Hack
I really wanted the tree to have flocking but didn’t want to mess up the stunning beautiful tree I have with a DIY flocking. Instead, I added a secret household item to add the white snow looking pieces to my tree. Can you tell what they are? Its a feather duster from the dollar store! Each one is about 12 inches long and I just bent in the handle so its covered and not visible.
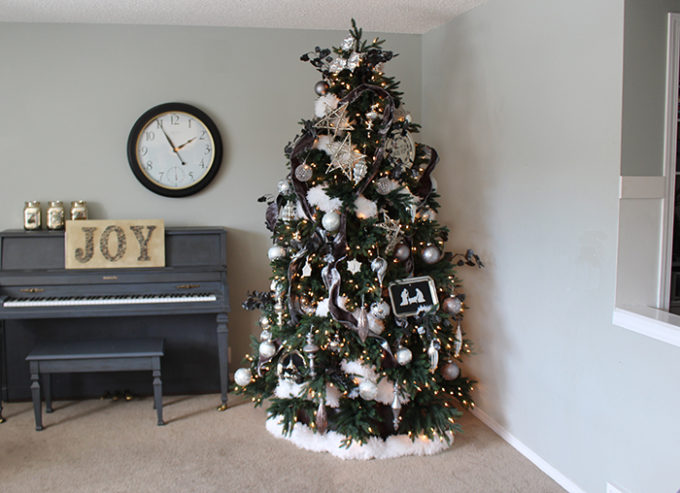
The Christmas Tree
The tree itself is the Colorado Mountain Spruce tree from Balsam Hill.
This is the best quality of tree I have ever had or put together. It looks very real in every aspect, from the tree branch texture to the branch spacing. Easy to set up (I did it all by myself) I love that this pre-lit tree is easy to figure out. All the cords and plugs come already put together, they connect inside the tree trunk so no cords to find and figure out.
The tree came with storage bags with handles, making it easy to store and move the tree when we take it down. A red accessory bag also came with it, stocked with gloves to protect your hands while shaping the branches as well as extra light bulbs, extra bolts, and a handy tool to remove bulbs if they burn out.
Looking for more cricut projects? Check out these posts:
- 75+ projects you can make with vinyl
- Customize School Supplies With Vinyl
- Christmas Woodland Terrarium
Family Decorations
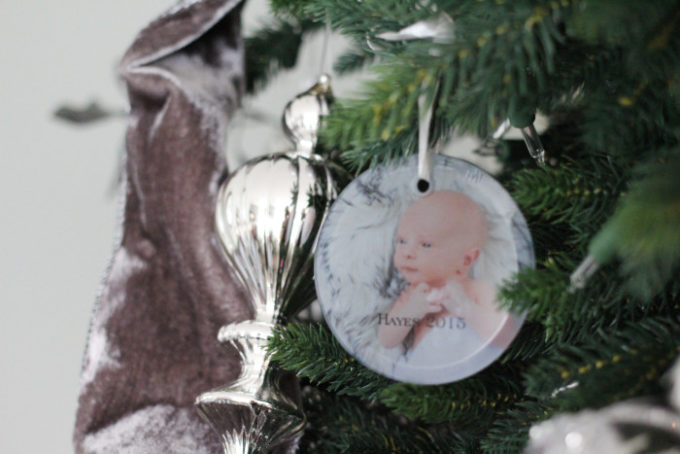
We also have personal photos and ornaments on the tree. One photo frame has a wedding picture.
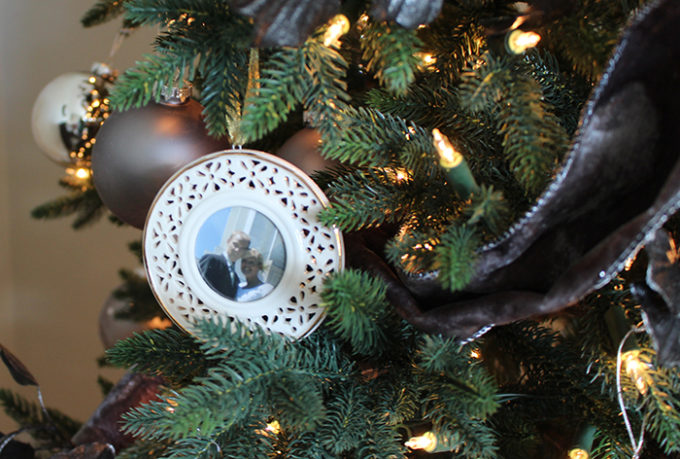
A glass photo ornament from Shutterfly the year my youngest son was born.
Make Your Own Ornaments:

DIY Oversized Christmas Ornaments – Dollar Store Craft
Equipment
- 1 Cricut Machine (any version will work)
Materials
- 1 Bottle Paint Black
- 1 Serving Tray Faux silver
- 1 Vinyl decal any color
Instructions
- Paint the background of the serving tray, being careful to leave a smooth edge
- Cut vinyl decal using Cricut and adhesive vinyl.
- Using transfer tape, carefully apply vinyl to the painted surface.
- Optional – use glue gun to attach a string to the back to hang
Happy Crafting!


Comments & Reviews
Alicia says
oooh, your tree is gorgeous. I agree, two trees are the way to go. Love the white and grey. So fresh, so winter. Great job Brooke. Love it!
Debbie says
The tree is beautiful. The decorations are beautiful. Good job Brooke
Dana says
So pretty!
Kyla says
GAH. I love your decorations. You have such great style, lady.