This is one in a series of posts answering some of the most frequently asked questions about the Cricut machine. Check out all my Cricut Tutorials. This post has been updated on 8/15/2019.

A question I get asked often is: “Can I upload my own images with Cricut?” To which I answer YES! This is one of the reasons I love my cricut machine so much. You are not required to buy any cartridges and any images you have already bought or made can be used in Cricut Design Space.
How To Add Your Image To Cricut Design Space
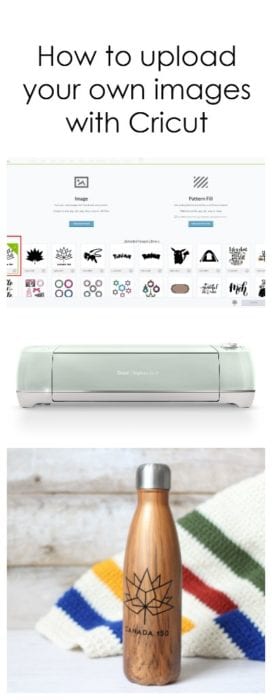
For explaining purposes I will show you how to add your images by showing you how I made this Canada 150 water bottle. You could use any image, and I will explain later how to find or make your own images.
Upload Your Image
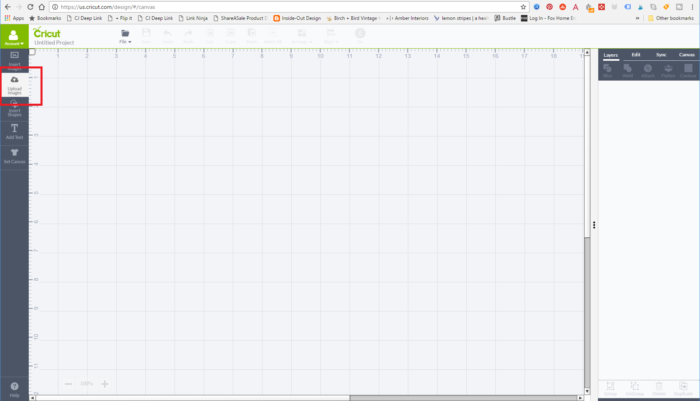

To begin your project open Cricut Design Space on your web browser. Underneath insert image is a cloud with an arrow marked upload images. Your screen will be blank, so don’t worry if it doesn’t look the same as mine. Click the blue button labelled “upload image”. This will open a new window where you will find the image you would like to cut out. The image should be a .jpg .png or .svg format.
Select and Erase Image
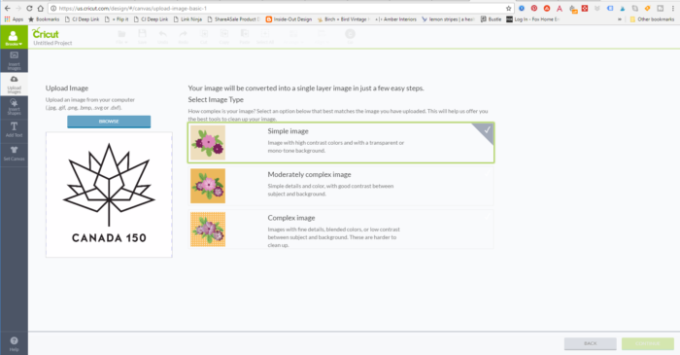
A preview of your image will show on the left side of the screen. Now you need to select which parts of the image you want to remove, or cut out using the machine. To keep this step as simple as possible you should try to keep images in black and white and select “simple image”.
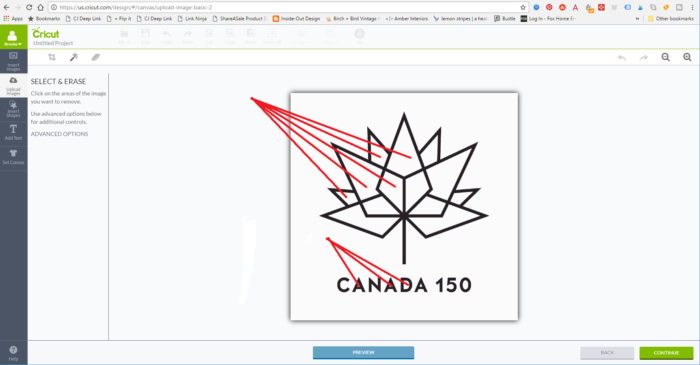
The magic wand tool is the easiest tool to use. With your mouse, click on each section of your design that you want deleted, or cut out. For my maple leaf I want the thin black lines to remain but I want the white parts removed. The white spaces will be cut out, and the pattern on my shirt / cup / bag (whatever you are placing your image on) will show through.
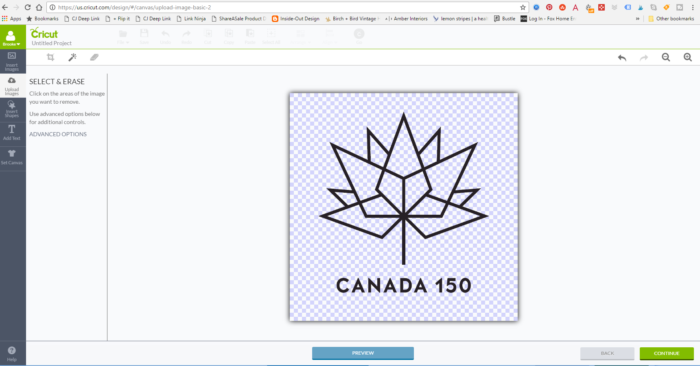
When you finish removing each section you should have an image that looks like this. The grey and blue checkerboard background is showing you the sections that are clear. Make sure you haven’t missed any pieces, especially inside of A’s, D’s, and O’s. If you need to zoom in to see these pieces better, there are magnifying glasses on the top right of the screen to make this easier. You can easily erase a small dot or piece using the eraser tool. When your image looks just like you want it, select continue.
Save as a Print Then Cut Image or Cut Image
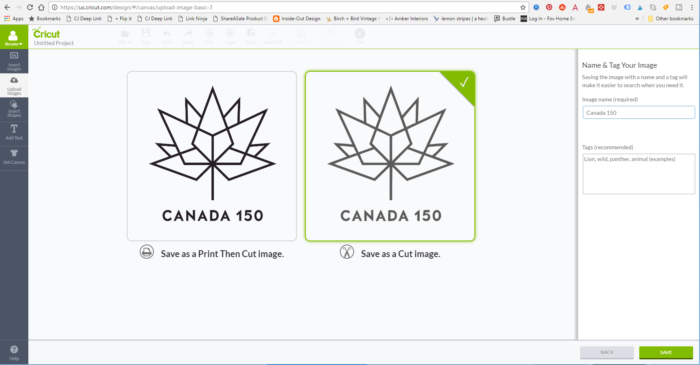
After your image is added you can choose to save it as a Print Then Cut image, or a cut image. I chose the cut image as I want to cut the shape out of vinyl to attach to my cup. If you wanted to make a sticker you could save this as a print then cut image and use printable sticker paper or printable vinyl. On the right you can name your design whatever you like. Nobody will be able to see these files, so its more for your own sake to make it easier to find later.
Where to find your uploaded images
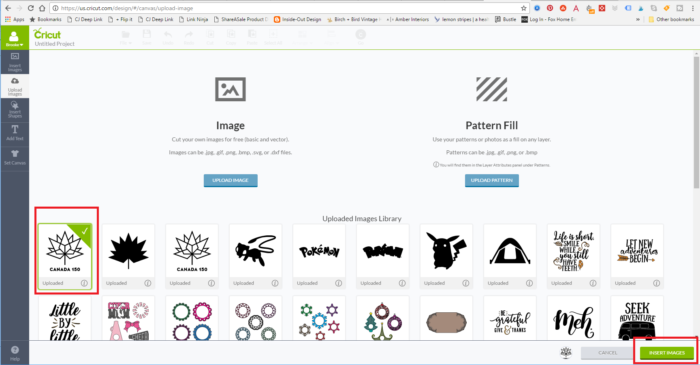
Now your image will appear on the upload image screen. This is the home where all of your designs will live. Anytime in the future if you want to use an image you have uploaded, you will go to this section to find it. Select your image and click on ‘Insert Images’ button on the bottom right of the screen.
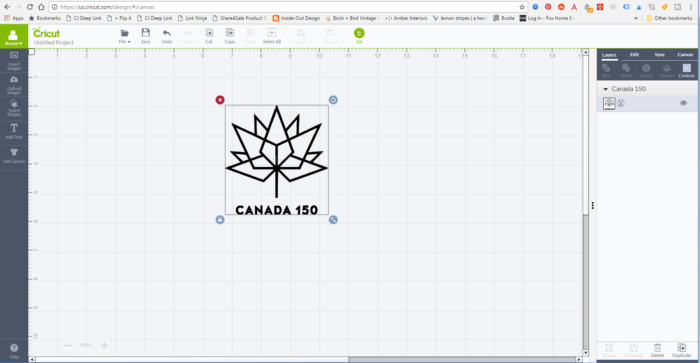
The image you just imported will appear in Cricut Design Space. You can now resize it and cut it out like any other image in Cricut Design Space.
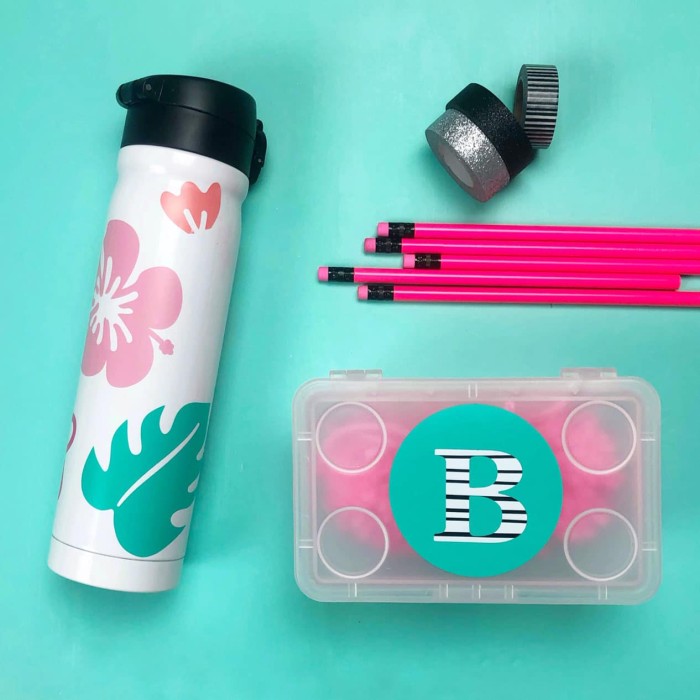
You now can cut out any shape you dream! I added this geometric maple leaf design to my swell water bottle. I love the wood texture and how Canadian it looks. I couldn’t help sitting it down next to my crocheted Hudsons Bay Company blanket inspired blanket.

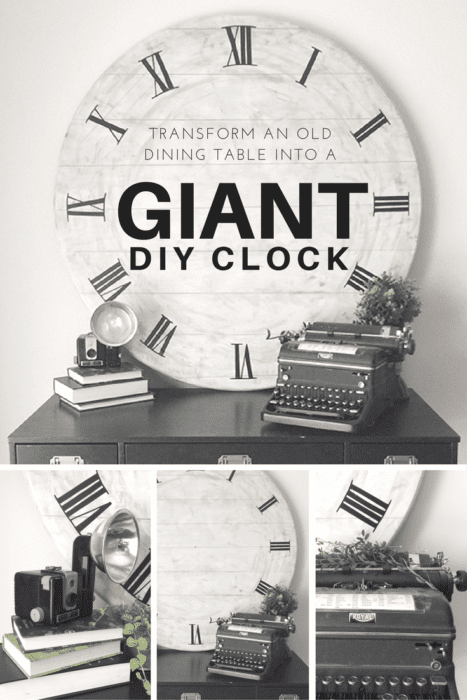
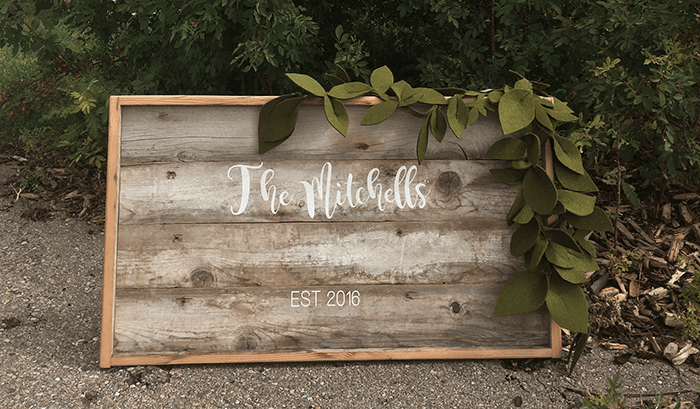
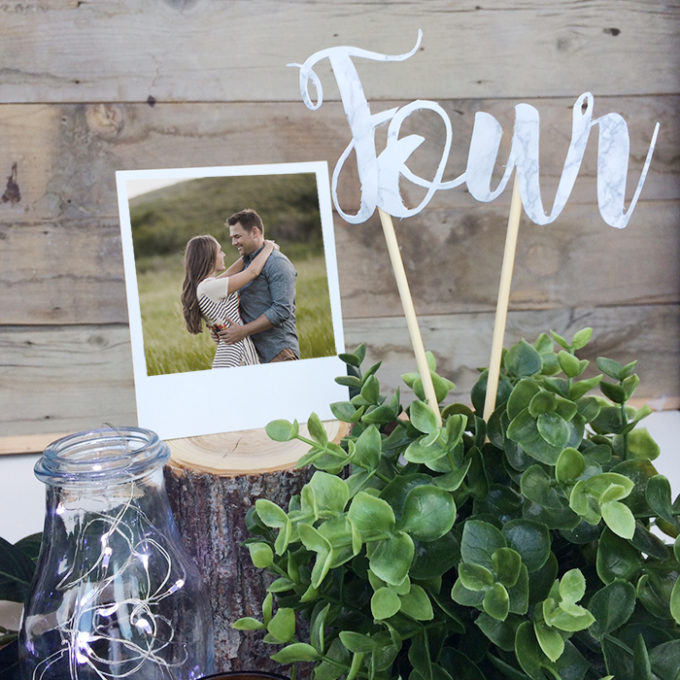
SOME OF MY FAVORITE CRICUT PROJECTS:

Pin for later:

Comments & Reviews
Jess says
Thanks for your tutorial. I was just wondering how to attach my uploaded design so that I can position it on the paper where I need it. My attach button is grayed out for any images that I upload. Am I doing something wrong or is that normal? If it’s normal, is there another way to do it?
Brooke says
Are you looking to position the shape on the paper before its cut? If so, you can move the location on the mat when you are in the preview stage. Right before hitting go, where you would select a custom material. You can drag the shape around on the paper. Does that make sense? Feel free to email me! Also, check out the Snap Mat feature on the app. Its great for using scrap pieces of paper, the video to explain it is here: https://www.youtube.com/watch?v=W36fqf80KwQ
Sylvia McGuire Nickelson says
Could you explain how to upload an image to Craft Room for a Cricut Expression?
Brooke says
Hi Sylvia – I haven’t used Craft Room before, but let me look into it.
johanne says
I want to draw my own design and upload that. How do I scan it in to my laptop? Or is there another way.
like I painted a logo for my business. I wanted to make a decal of it.
also, can you tell me how I can make a blog.. you’re probably laughing at that one.
I opened a children’s consignment store in honor of my daughter who went to heaven with her baby.
I need marketing strategies….
Brooke says
You can take a picture on your phone, scan it with a scanner, or if you have the software, draw it on a program such as adobe illustrator.
Pollyana says
So Brooke, I think I’m doing it wrong. When I upload file and add to it do I just group it or am I actually gonna hit the attach button below
Brooke says
Grouping keeps items together so you can resize, attaching puts them onto the same sheet. So if you had a card that you wanted to score and cut, you would attach the cut and score lines together. If you had two images and you wanted to resize them, but keep them the same, you can group them together. Grouping doesn’t affect the cutting mats, if that makes sense.