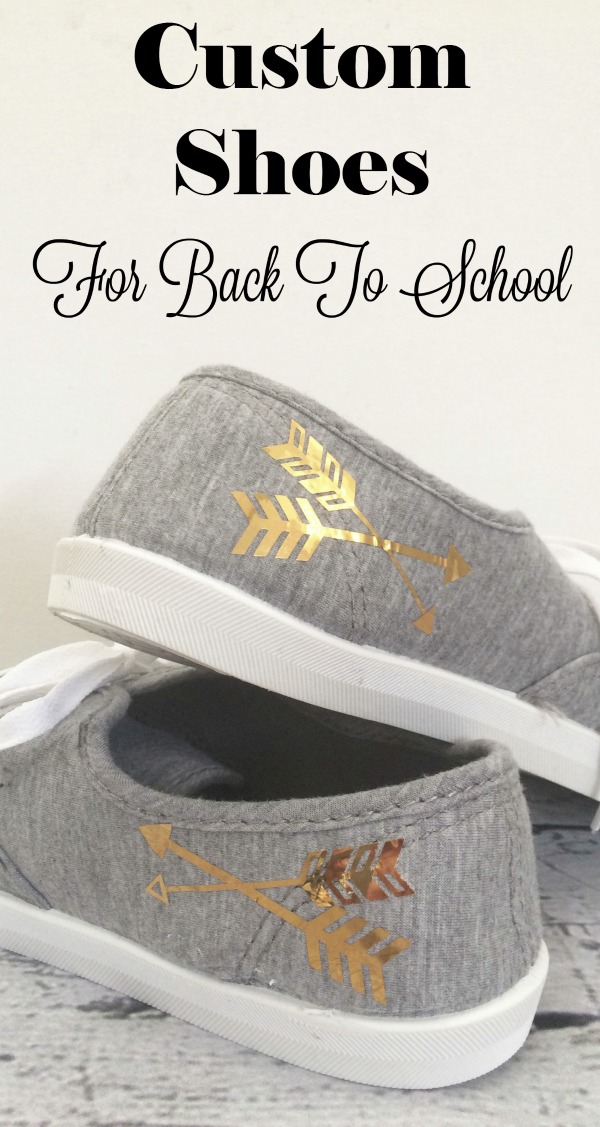
I have been slowly gathering shoes, clothes, and supplies for back to school, and including myself in the gathering as well. I found an adorable pair of basic grey shoes and wanted to add some simple designs to create my own personalized shoes.
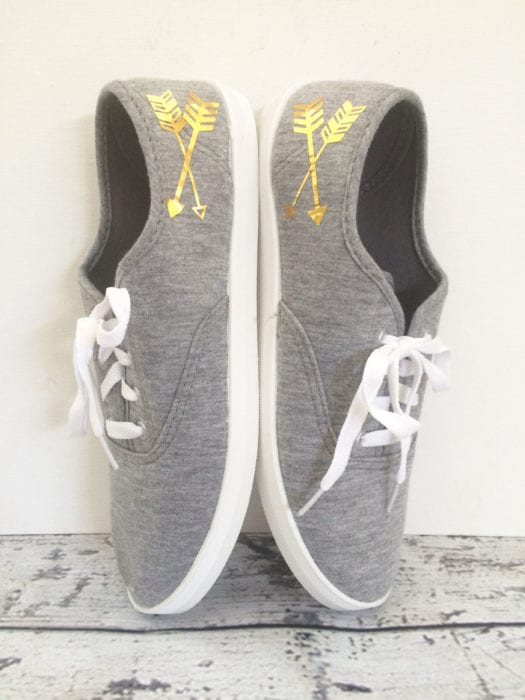
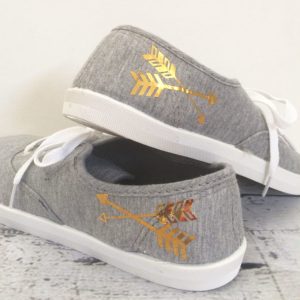
SHOE UPGRADE – Personalized Shoes
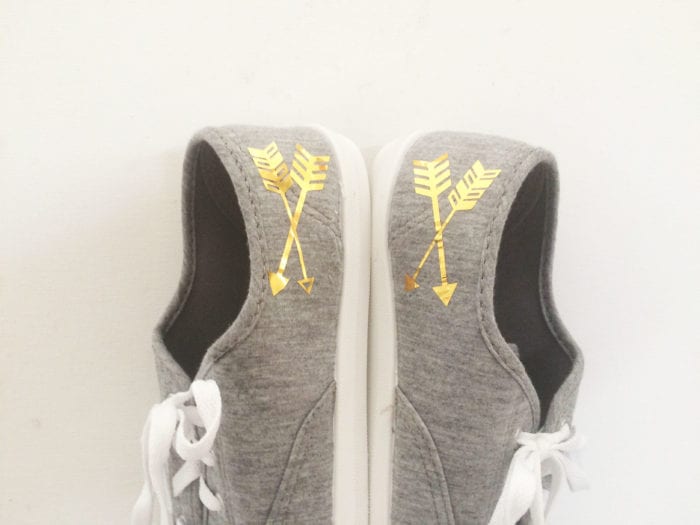
Personalized Shoes don’t have to be crazy. A simple set of arrows add a little bling and sparkle.
To make your own personalized shoes, or any item for that matter, this is how I made mine.
Materials Needed:
Something to apply vinyl to – shoes, shirt, backpack, etc.
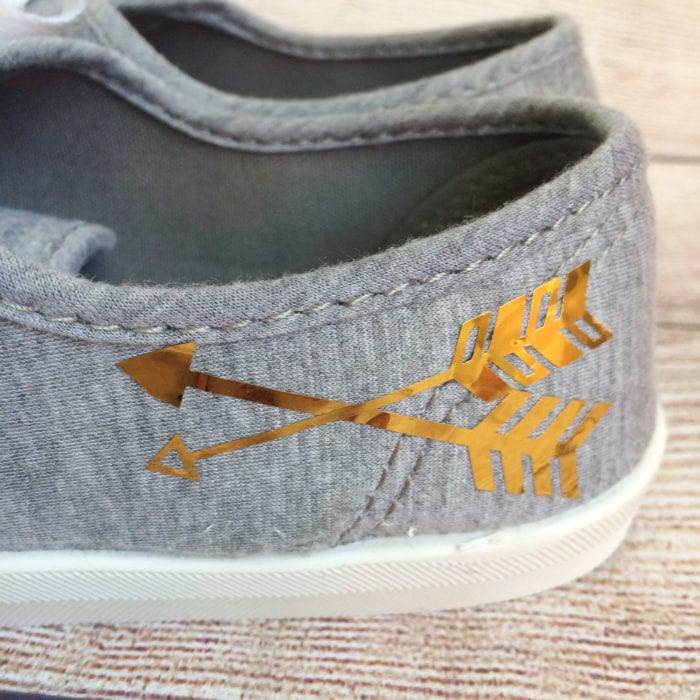
Heat Transfer Vinyl – I used the gold metallic sheets from Expressions Vinyl.
Cricut Explore & accessories (optional) – directions will assume you are using this.
*Optional – Scissors or Die Cut machine if not using a cricut)
Directions:
This metallic vinyl is a bit more tricky to apply. Here is what you will need to know.
- Choose the shape to cut out using Cricut Design Space and size it according to where it is to be applied.
- Make sure to select mirror image for iron on products.
- Put the vinyl with the clear plastic coating touching the mat, so the grey backing is what you will see.
- Remove the excess material around your shape (this is called weeding). Don’t forget the tiny cutouts inside the arrows or inside any letters. Keep the clear plastic on your design and place where it looks best.
- Preheat the fabric for 3 seconds with an iron or heat press.
- Apply medium pressure at 275°F for 15 seconds
- Let the design cool before peeling the clear covering.

Tip: if ironing onto shoes, or something small where an iron or heat press wont work, try a mini iron! If you don’t want to purchase another tool, you could try a flat iron (for hair) or the cricut spatula tool with a blow drier.
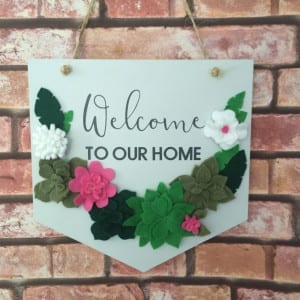
Looking for more project ideas? Get inspired with these projects!
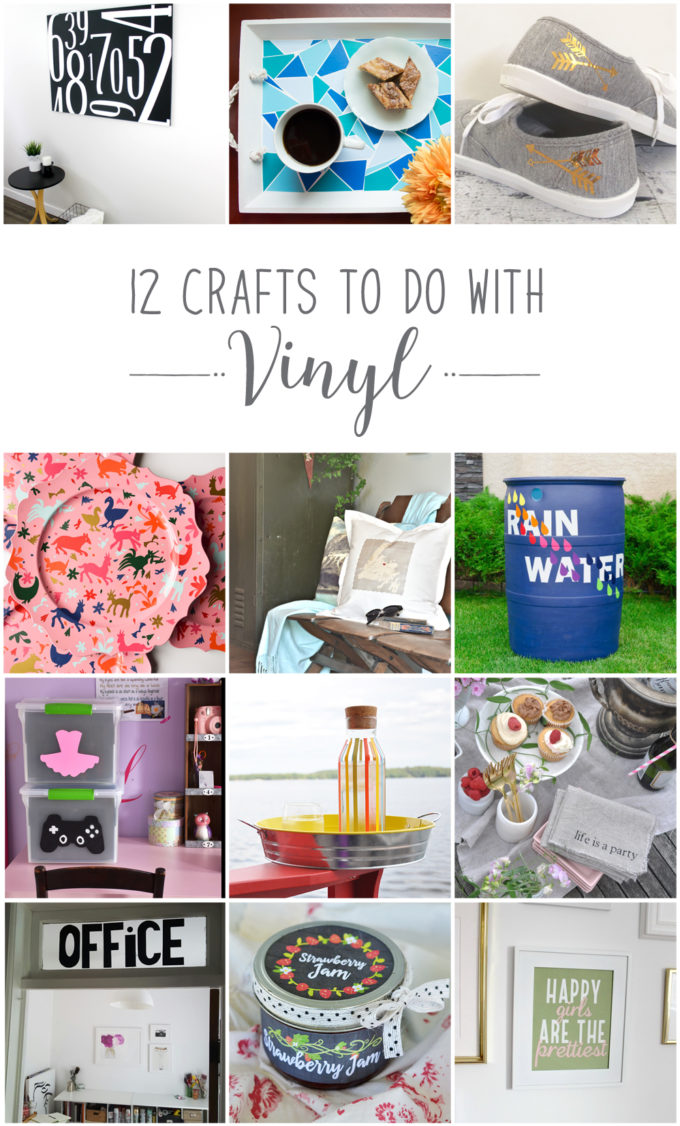
Now it’s time to see the rest of the DIY vinyl project ideas from my Canadian blogging friends!
From the top left, they are:
Number Subway Art from Love Create Celebrate
DIY Upcycled Faux Geometric Mosaic Tile Serving Tray Using Vinyl from Sustain My Craft Habit
Personalized Shoes from Brooklyn Berry Designs
Vinyl Otomi Chargers from PMQ for Two
DIY personalized throw pillow – home is where the heart is from Vin’yet Etc.
DIY Decorated Rain Barrel Using Fun Vibrant Colours from Time With Thea
Child’s Memory Box with Hand-Cut Vinyl Decals from Woman in Real Life
DIY Striped Carafe from Lifeovereasy
Life is a Party Napkins from Life is a Party
Vintage Inspired DIY Office Sign from Heather in Heels
Easy Strawberry Jam with Printable Vinyl Labels from The DIY Mommy
Custom Artwork Using Vinyl from Love Create Celebrate
I have a few projects using vinyl you should check out!
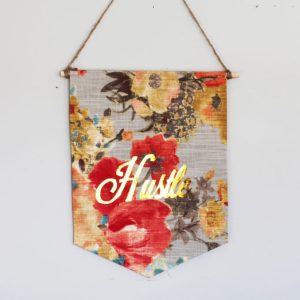
This banner uses the same metallic gold iron on vinyl.
** Update** If you would like to see all 12 projects for this #12monthsofdiy series you can see each month here!

Comments & Reviews
Heather Travis says
totally adorable! I love this idea and the gold is just perfect!
Dannyelle @ Life is a Party says
Love these, the arrows, the gold…perfect.
Laurie @ Vin'yet Etc. says
These are so incredibly cute!!! What a fun way to make your “keds” unique and so fun!
Thea says
Brooke, you are onto something with your fabulous DIY. As a former teacher I used to get so frustrated with students who had the same indoor shoes in the same classroom. Inevitably there would be mix ups and confusion. Your very simple but totally clever DIY upgrade is brilliant. Your idea can personalize basic tennis shoes so easily. Love your great ideas and style!
dani@lifeovereasy says
Sooo adorable – I love these! I can see those cute little arrows on quite a few of my wardrobe favs. Thanks for sharing.
Lindi says
These are super cute! I would absolutely make these! Great idea!
Sonja @sustainmycrafthabit says
These are just so sweet. I can imagine how much fun these would be to make and personalize with the kids!
Joann @ Woman In Real Life says
This is so cute! I would have never thought to put vinyl on shoes! My daughter would love this.