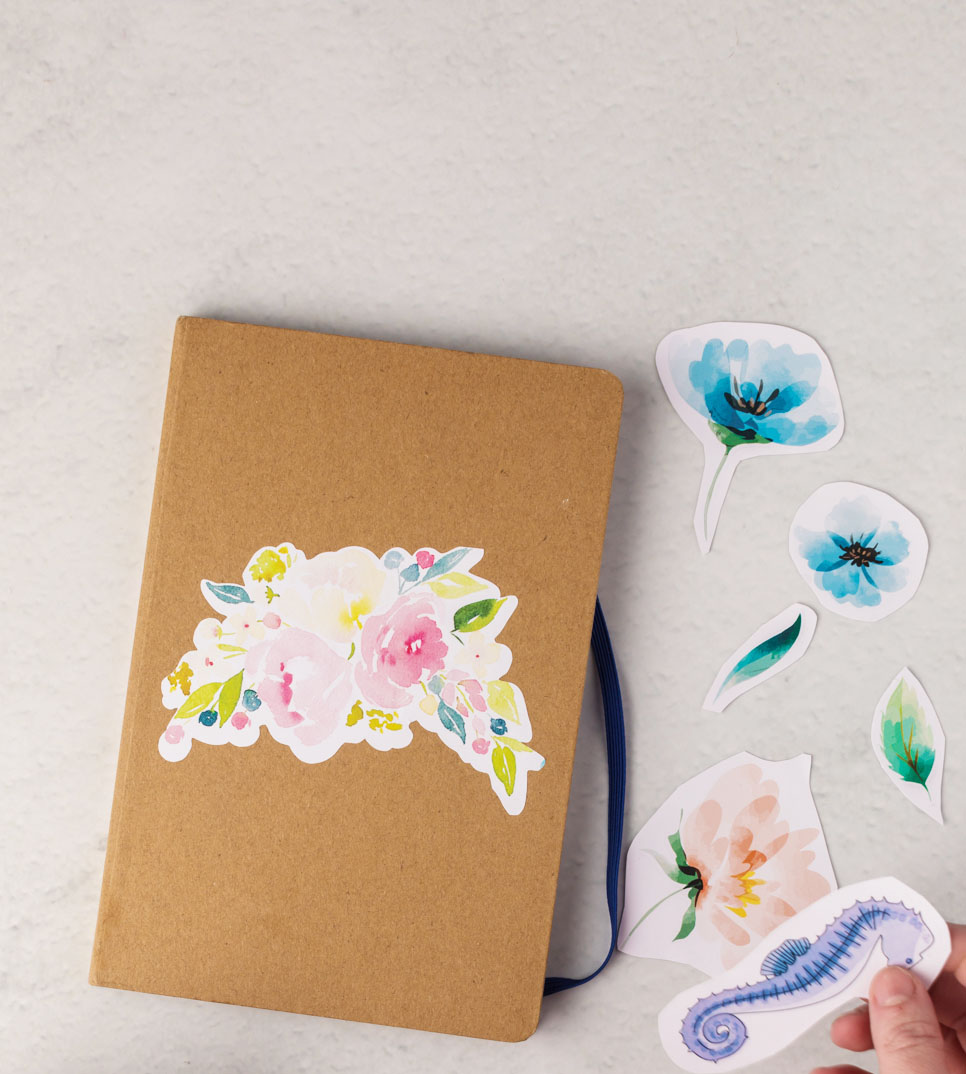
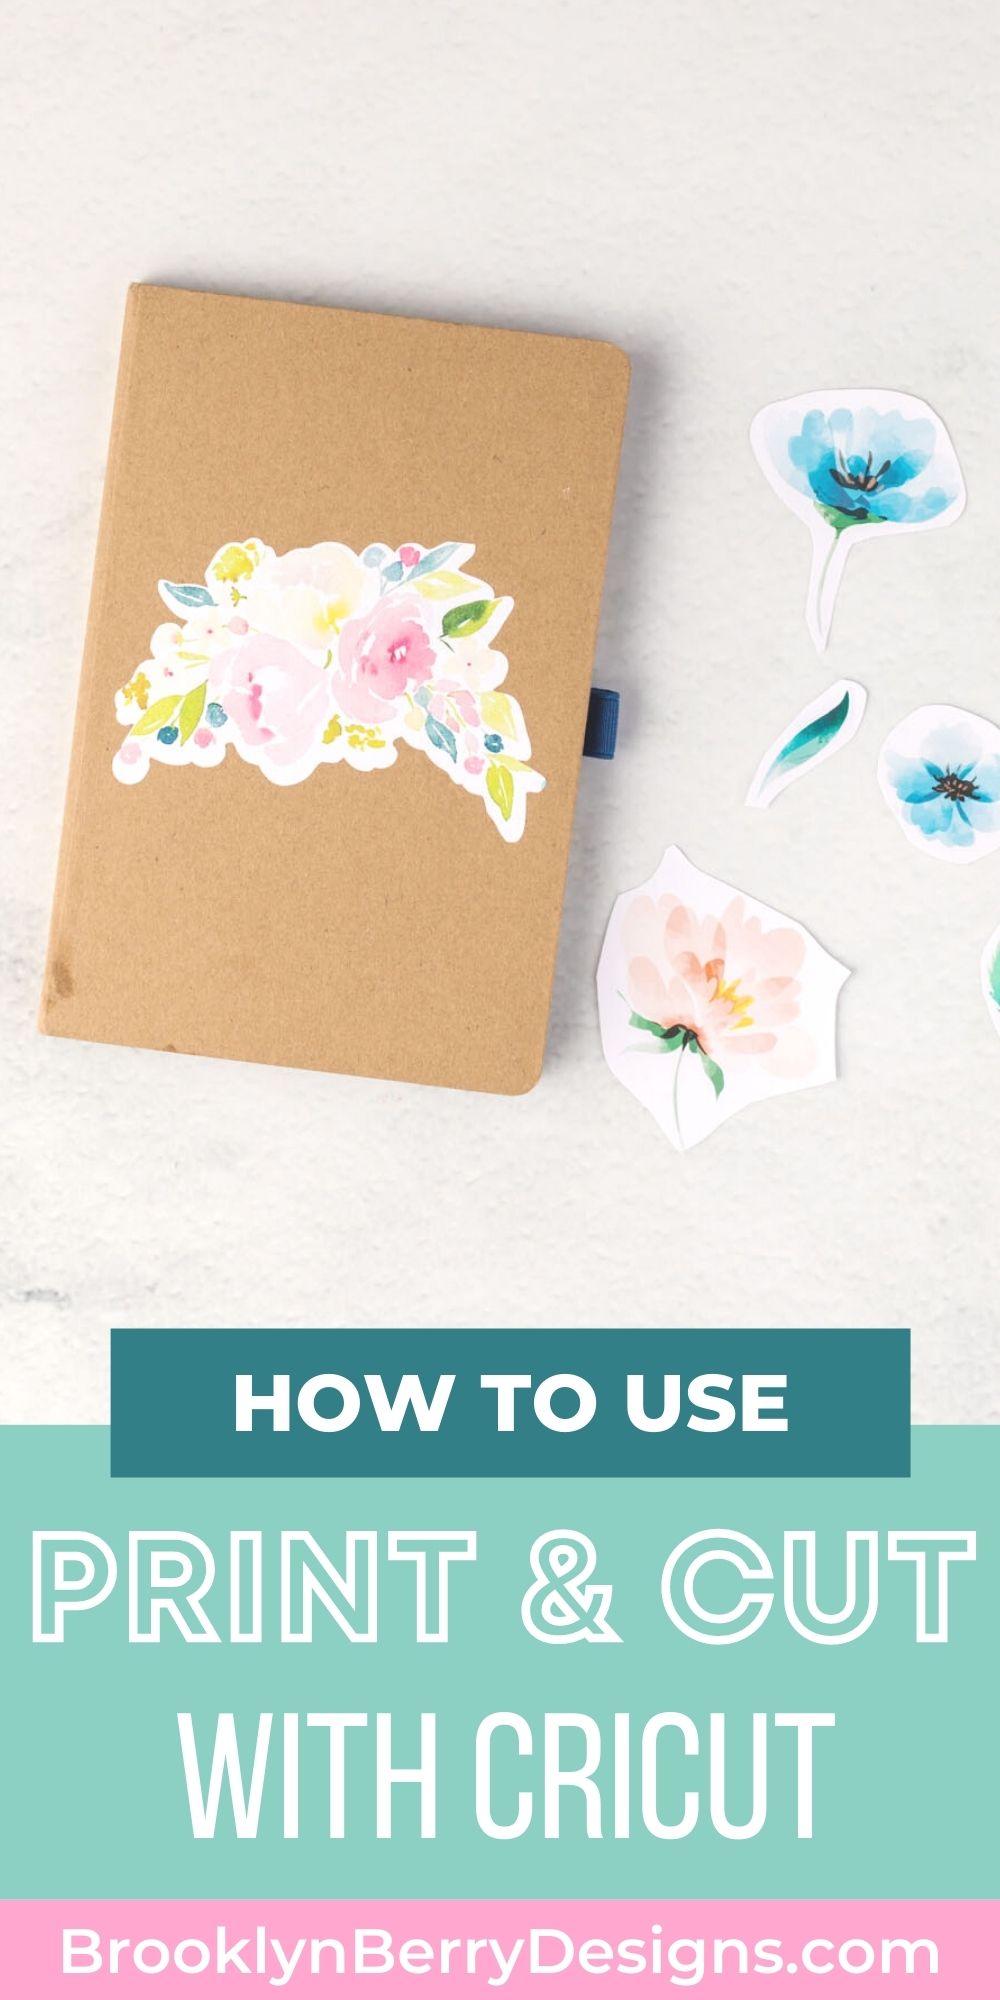
Custom stickers are the cutest trend around these days, and one of my favorite projects to make with my kids. I am here to show you how to make your own print then cut stickers with your Cricut Explore Air or Cricut Maker. We will be learning all about the Cricut’s print then cut feature of your Cricut machine.
HOW TO MAKE PRINT THEN CUT STICKERS
It seems like the biggest hesitation people have to use the print then cut feature is the fear of wasting materials. I have been there, I hate wasting money and materials, and I am here to help you through it.
What Is Print Then Cut?
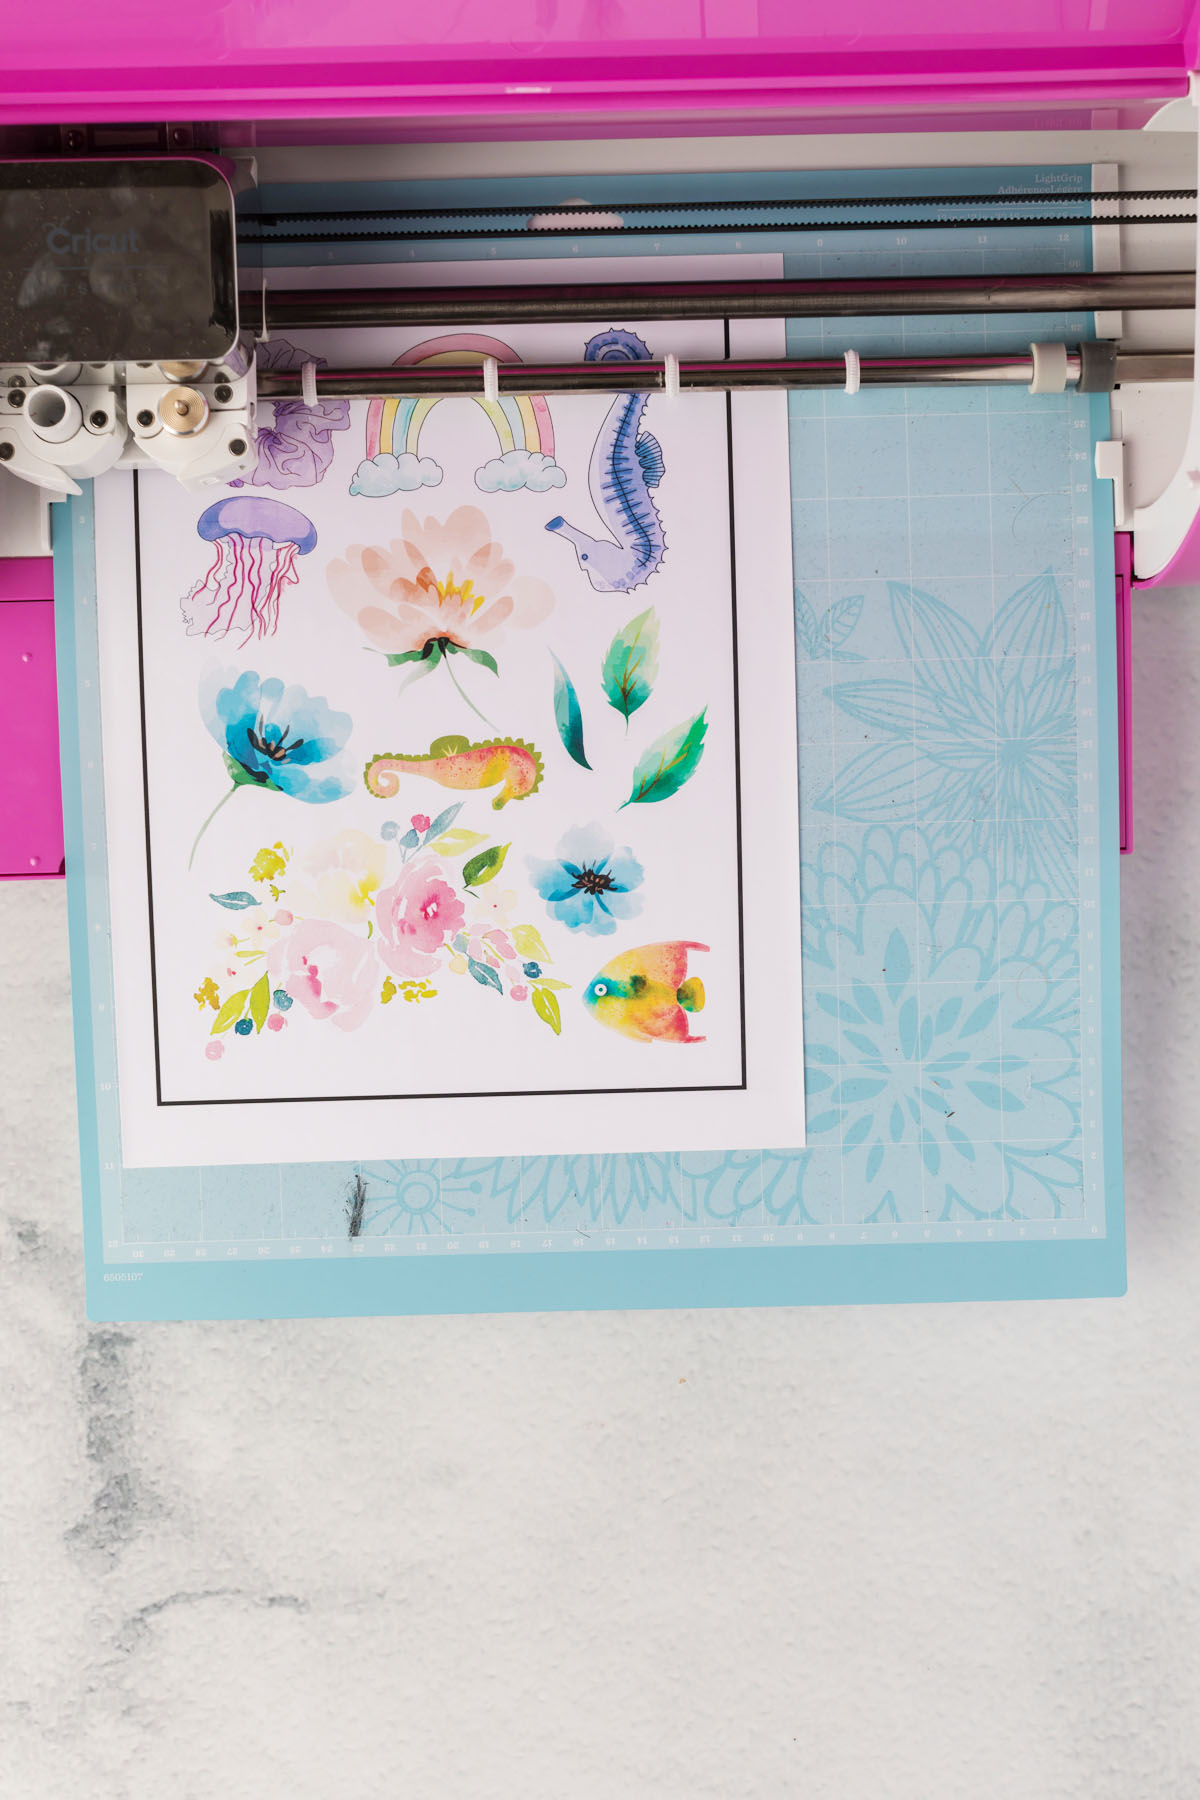
The print then cut feature is where you upload a flat image to Cricut Design Space and print it out on your home printer. After printing, you will place the sticker sheet on a cutting mat and load it into your machine. You will notice a black box around your design – these are registration marks that help with aligning where to cut.
Print then cut projects with your Cricut are amazing because they can do so much more than cutting solid colors of vinyl. You can use any image, even a photograph, to make stickers, cake toppers, and custom wall coverings. All you need is an inkjet printer!
What Machine Can I Use For Printable Stickers?
I use my Cricut Explore Air, or my Cricut Maker to use print then cut. The Cricut Joy cannot be used as it does not have the sensors to read the registration marks.
What Printer Should I Use?
Any basic inkjet printer will work. I personally own an HP Envy and use HP Instant Ink to make printing affordable and ink easy to get. Learn more about HP Instant Ink with HP printers:
The Cheapest Way To Print At Home
Do not use a laser printer as the heat will melt the sticker paper.
Supplies Needed:
- inkjet printer
- Sticker paper of your choice
- Cricut cutting mat
- Cricut Explore Air
- Sticker Design
How to make stickers with Cricut
Open Cricut Design Space and insert your design
The first thing you will do is find where you saved your files. Select the upload button, find your image file, choose upload as print then cut. Upload image.
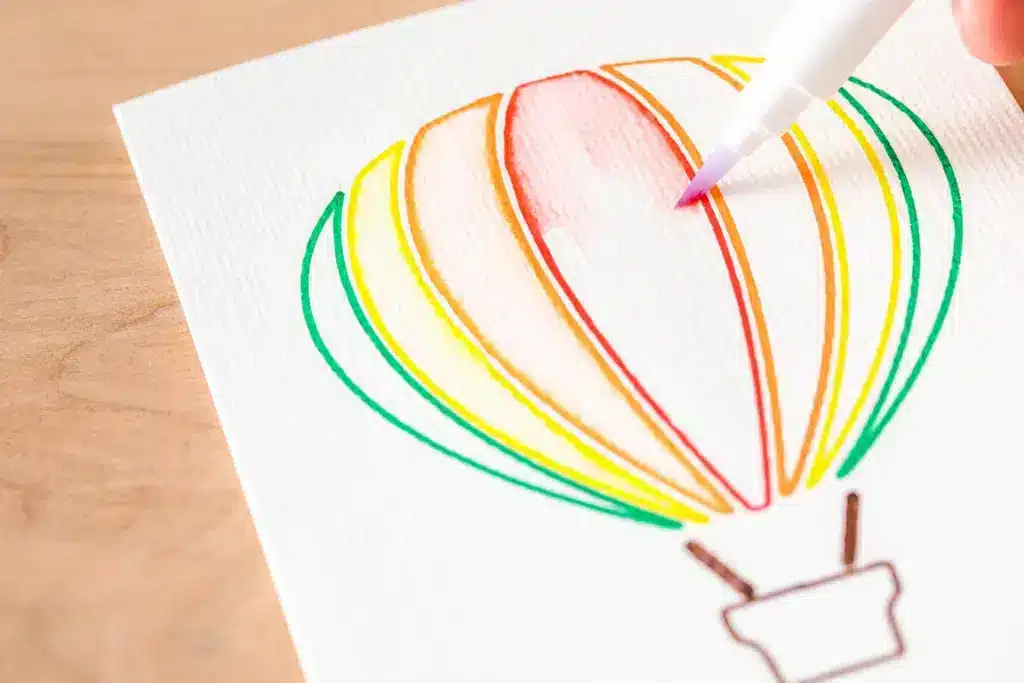
You can also search for your designs in design space. Filter your search to just show you a printable image. Or you could also use the search term watercolor for some great cut designs to use. Any other image with multiple layer svg files can be converted by selecting all of the layers and using the flatten tool to make it one single layer. Insert images into the canvas.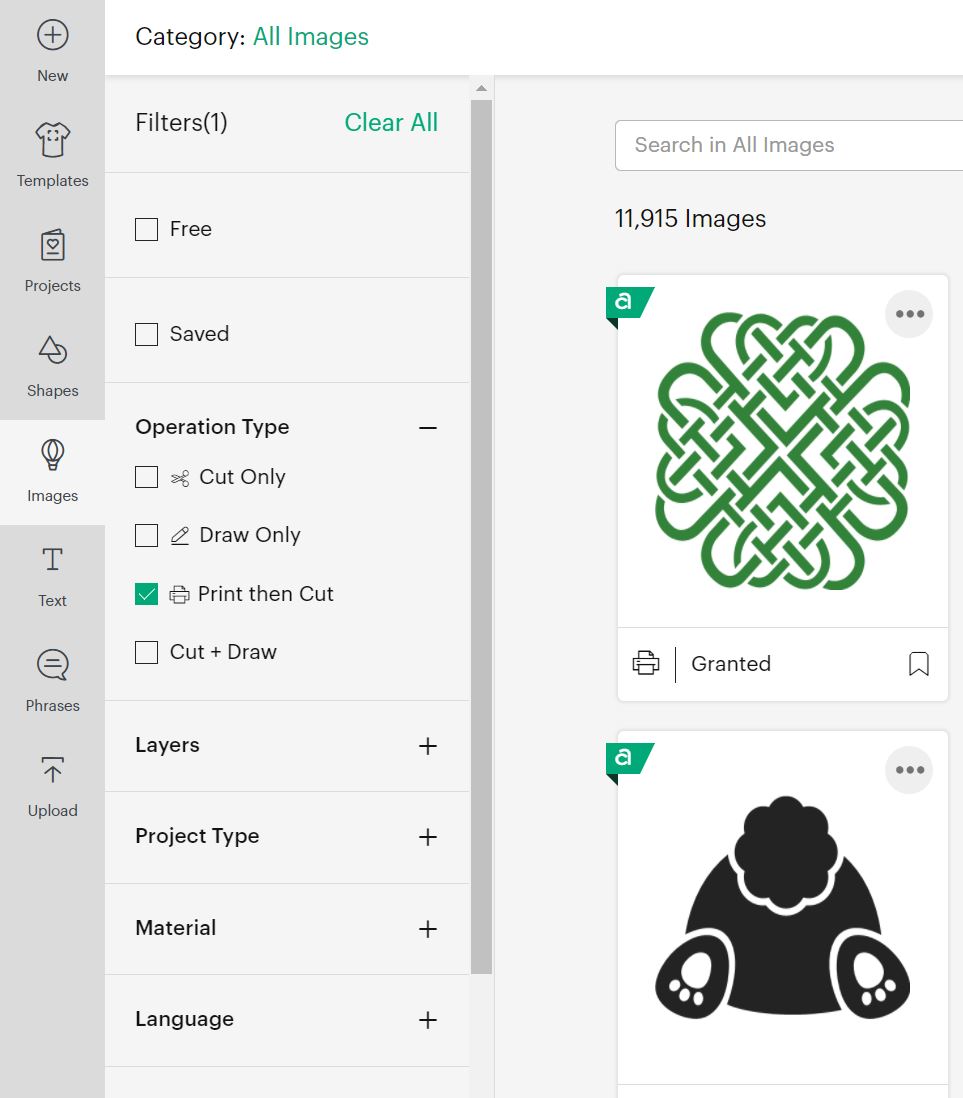
What is the Maximum Size For Print Then Cut?
Arrange stickers on your canvas and resize. I like to size my stickers to be about 2.5″ to 3″ wide. Add as many images as you can nest into a 9.25″ x 6.75″ (the maximum size for Print Then Cut is 9.25″ x 6.75″ and the default material size is a standard 8.5 x 11 inches).
The best way I have found to do this is to insert a square shape and adjust the size to your sticker area. Arrange your images to be as close as possible without overlapping. Remove the rectangle, and attach all of your images together.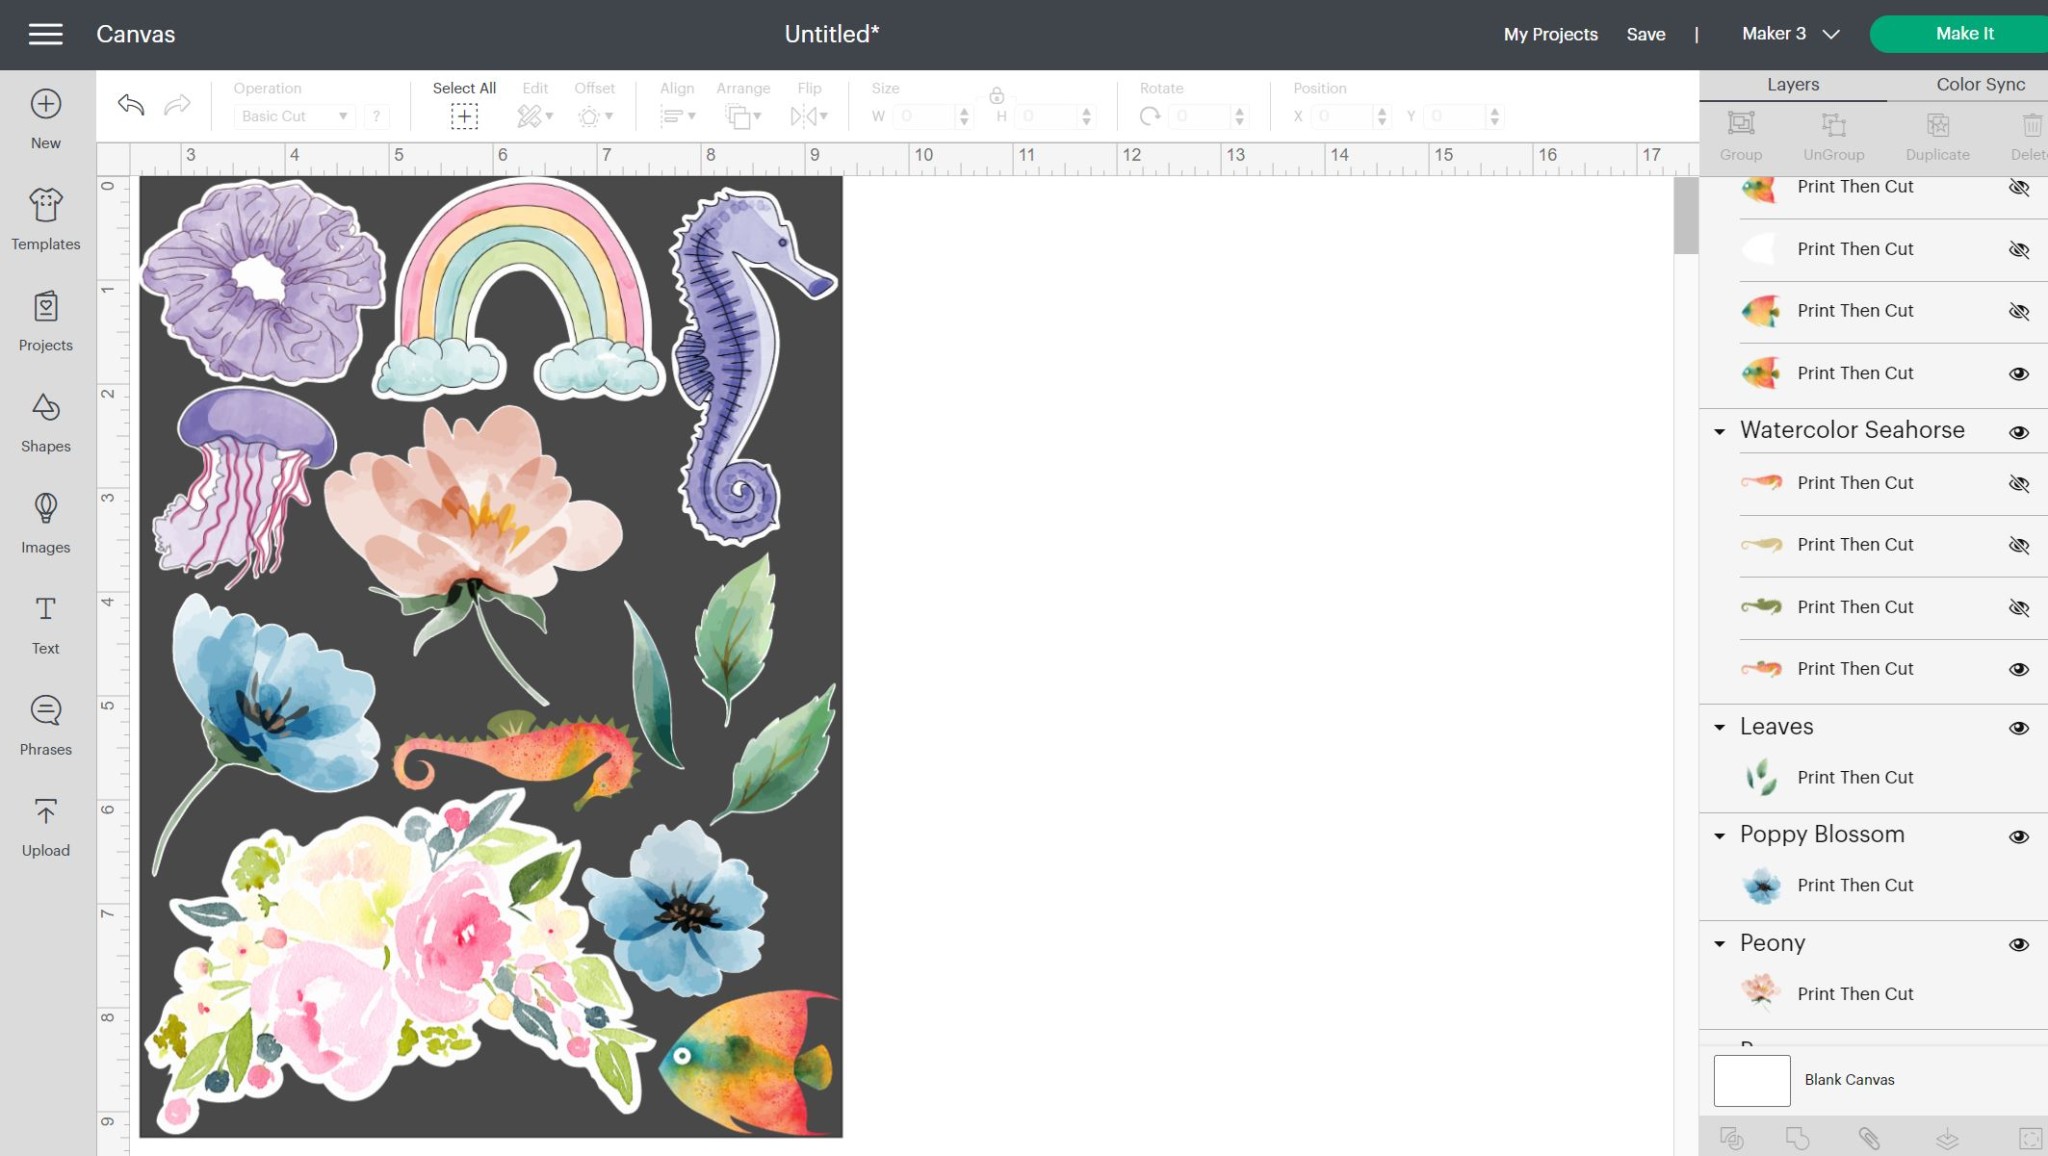
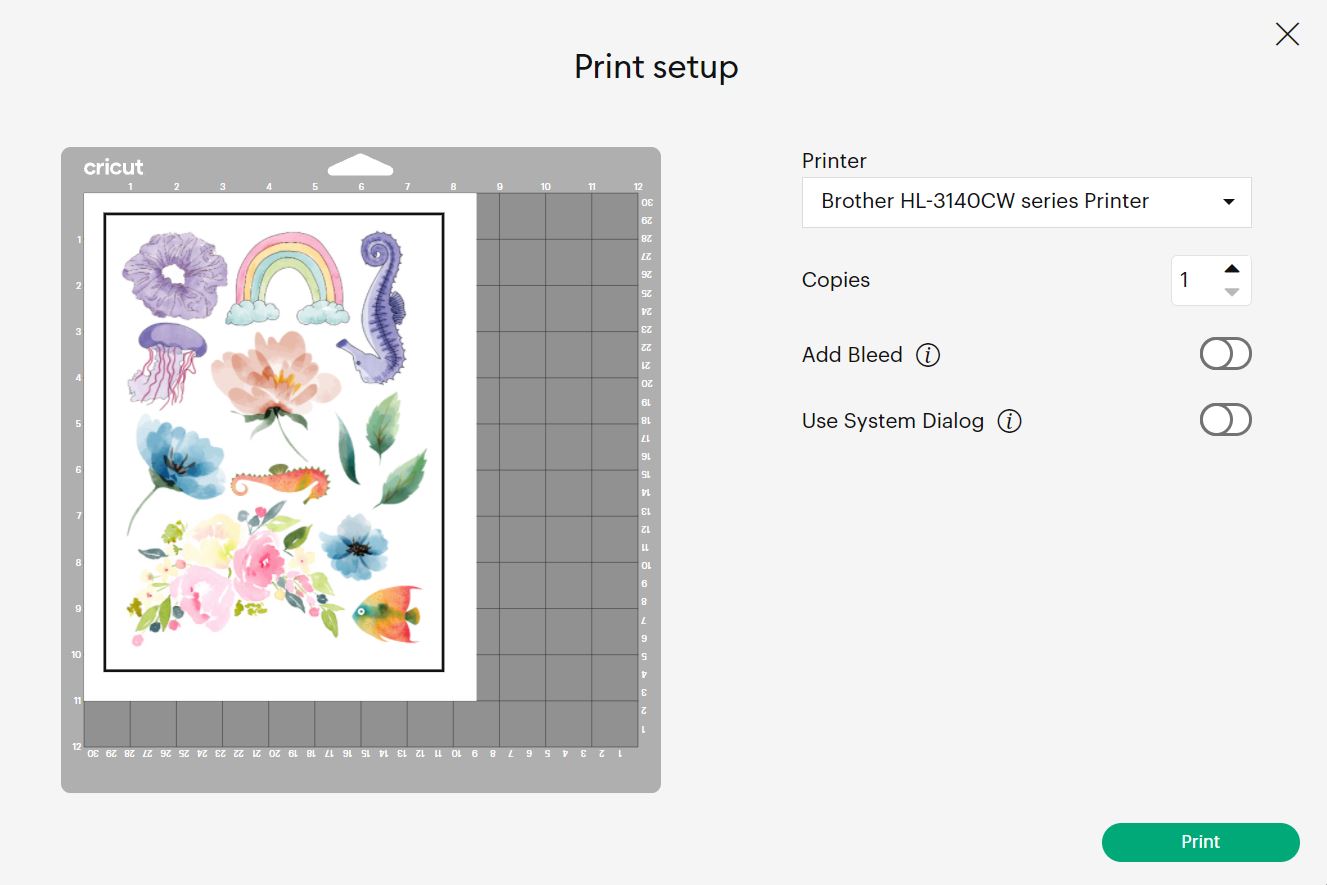
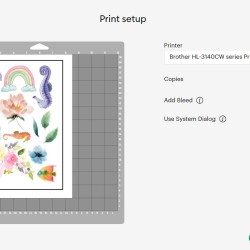
Click make it and select your materials. Design space will send you prompts on how to send your design to the printer. Remember that the black lines are normal! Check your printer settings and adjust for print quality.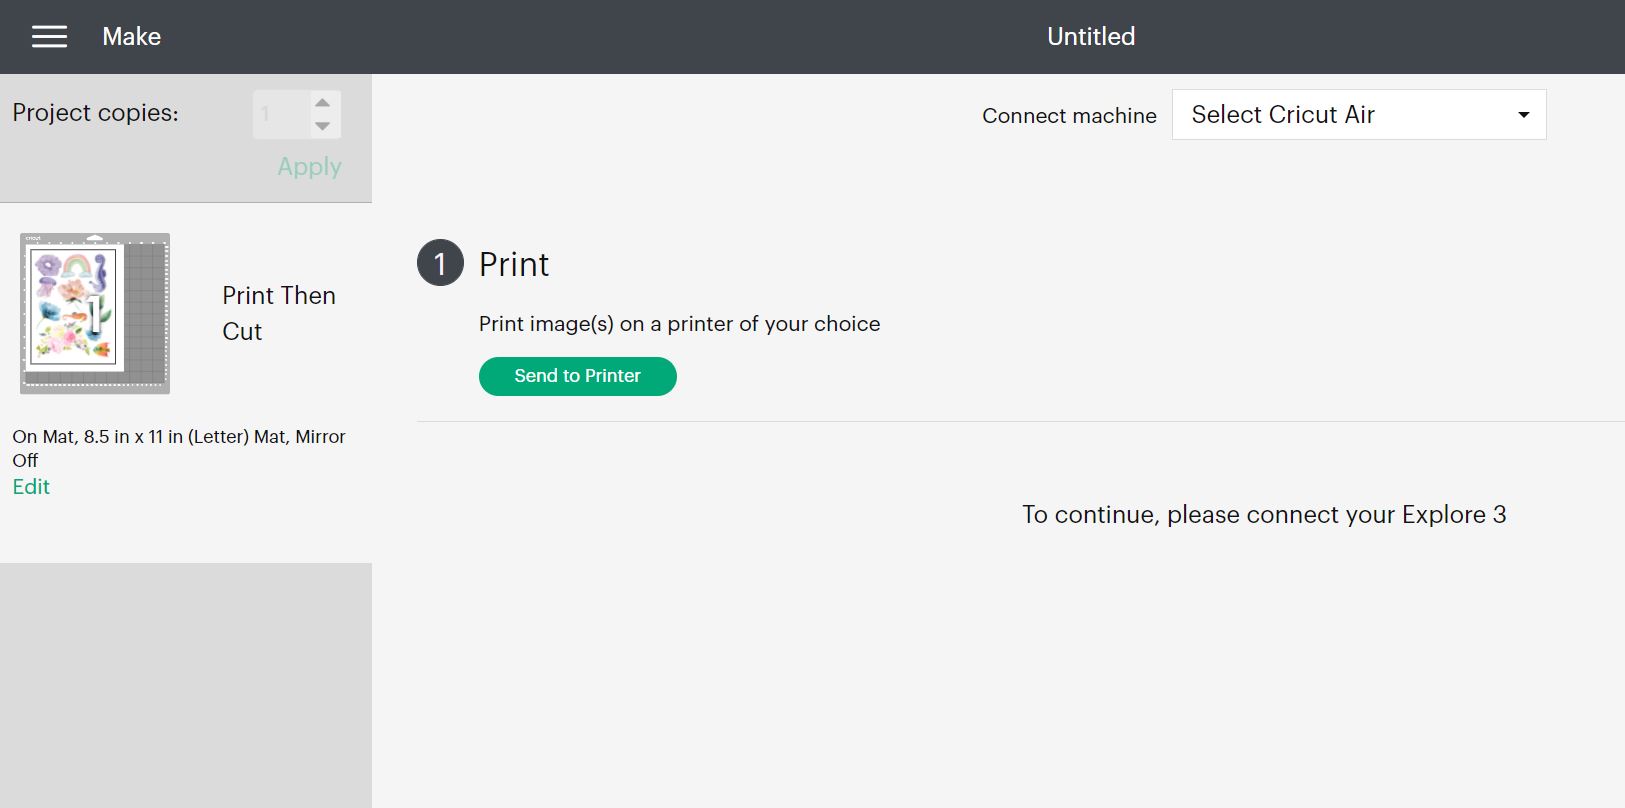
Load your printed sheet onto your cutting mat. Check your cut settings for the material you used. Cut with the fine point blade. The machine will automatically do a kiss cut – which is cutting through the sticker top layer but not the backing.
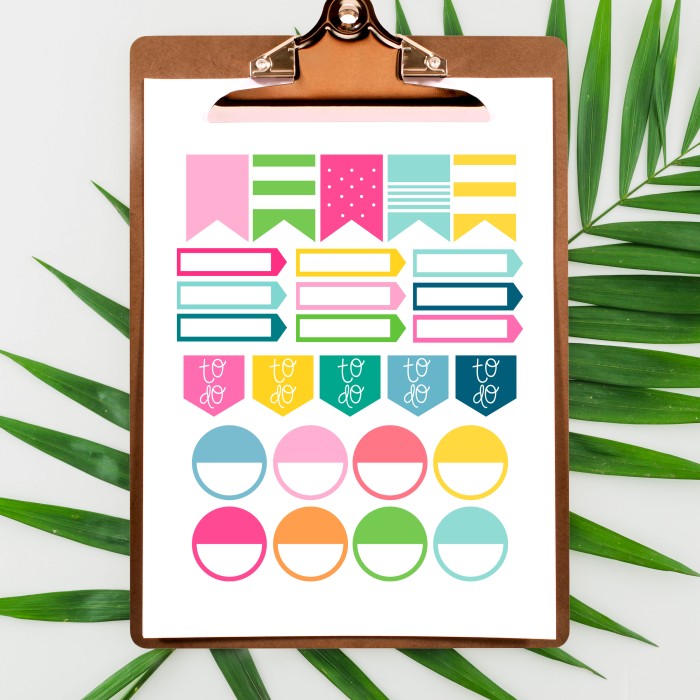
Make your own planner stickers using this same print then cut feature!
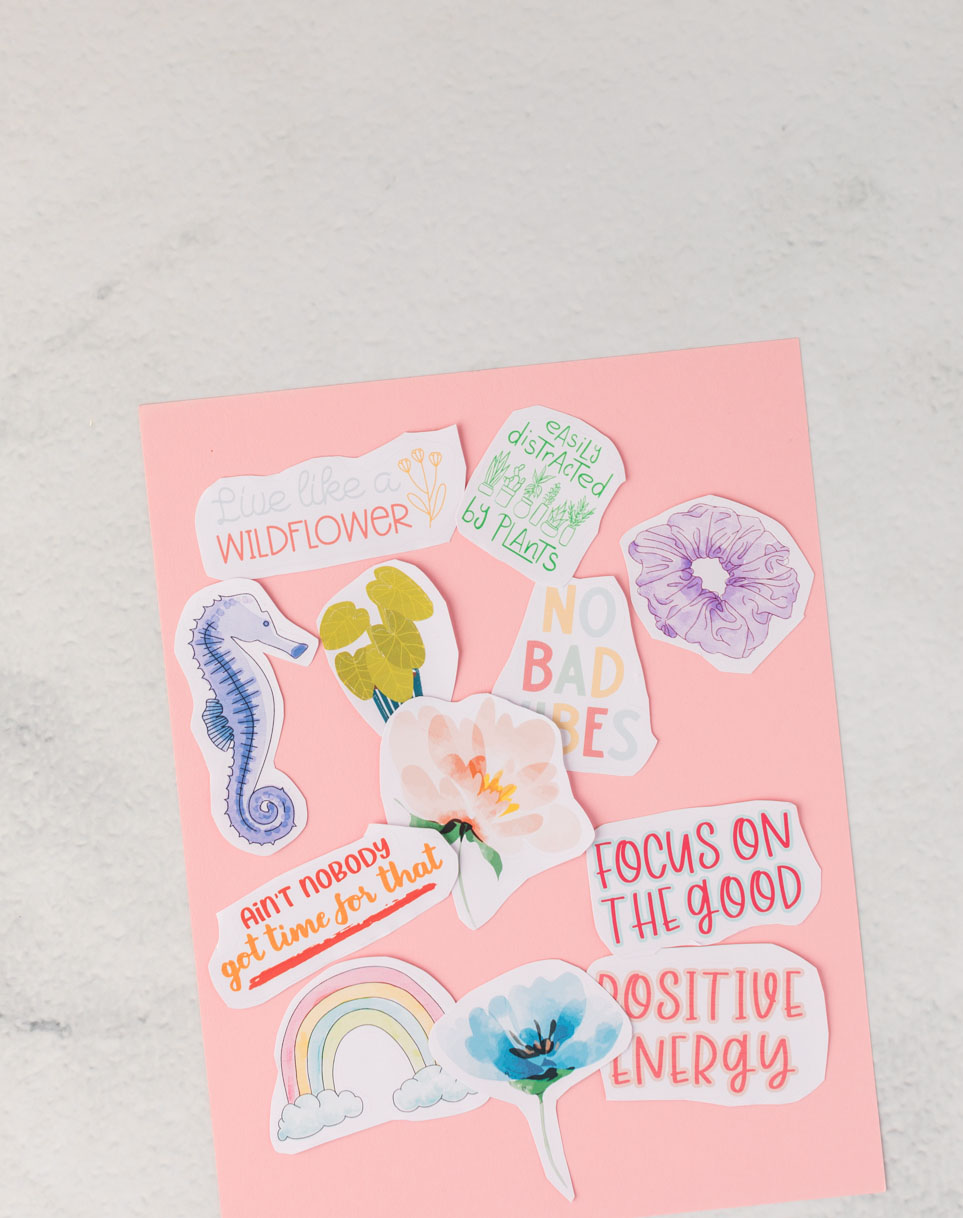
Once cutting is complete, unload the mat and remove your sticker sheet. If you want your images separated you can use scissors to cut them apart or you can cut with cardstock settings to have the machine cut all the way through both layers.
Want to make your own images for Cricut stickers? Check back soon for a full tutorial on creating your own stickers in procreate.
Best Sticker Paper For Custom Stickers
I first tried the Cricut sticker paper and didn’t love it. After looking at other reviews it seems I was not the only one! I much prefer the Cricut Printable Vinyl for stickers. There are a lot of printable sticker paper sheets available online as well.
How to make Stickers Course
If you are looking for some tricks and tips or a more in-depth resource list, I HIGHLY recommend this Stickers: Beginner to Boss course from my friend Stephanie at Crafting In The Rain. It’s very helpful without being overwhelming, and she has tested many different products and methods. It’s ONLY $21! What a deal!
Bonus: My readers can use the coupon code BB10 to save 10%!
Stickers: Beginner to Boss
- VIDEOS – detailed tutorials about designing and cutting the best stickers ($30 value))
- CUTTING GUIDE – printable quick reference for machine settings to use ($10 value)
- Specific products I like, and why ($5 value)
- Free Sticker files you can use to practice the methods, and even sell! ($25 value)
- BONUS – troubleshooting videos ($10 value)
But you get all this for only $21
How To Make Print Then Cut Stickers
Equipment
- Inkjet printer
Materials
- Sticker paper of your choice
- Cricut cutting mat
- Cricut Explore Air
Instructions
- Open Cricut Design Space
- Search printable images or upload your own design
- Arrange and resize stickers to fit within the max print then cut size of 6.75" x 9.25".
- Click make it and change settings to washi tape for a kiss cut.
- Send project to printer.
- Load printed sheet onto cutting mat and into your Cricut Machine.
- Cut apart stickers if desired.
- Peel and stick your stickers!
Happy sticker making!


Leave A Reply!