Does your pet need some adorable accessories? Spoil your furry friends with a DIY dog bandana that slips over your dog’s collar. It’s easy to sew and can be customized! Grab some fabric and let’s get sewing this really simple project that can be made with fabric scraps.
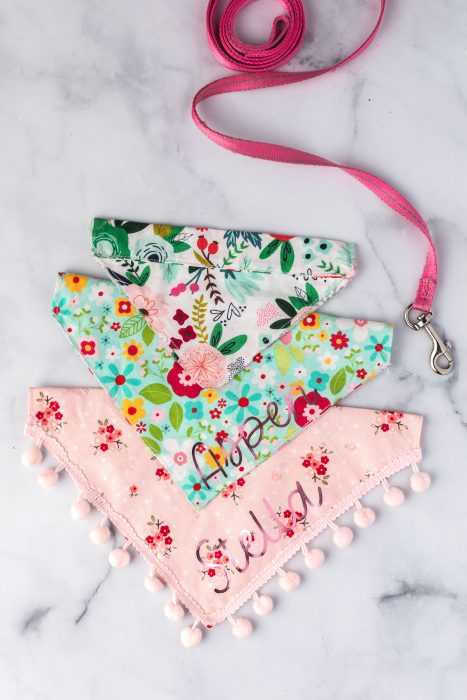
We recently added a puppy to our family, which is something I never thought would happen. As a mom of all boys, I saw this new family member as an opportunity to have another female in the family. I insisted we had to have a girl. She needed a girly name, and my motto is no accessory will be too over the top.
After looking for unique dog names, we finally decided on a name for little miss.
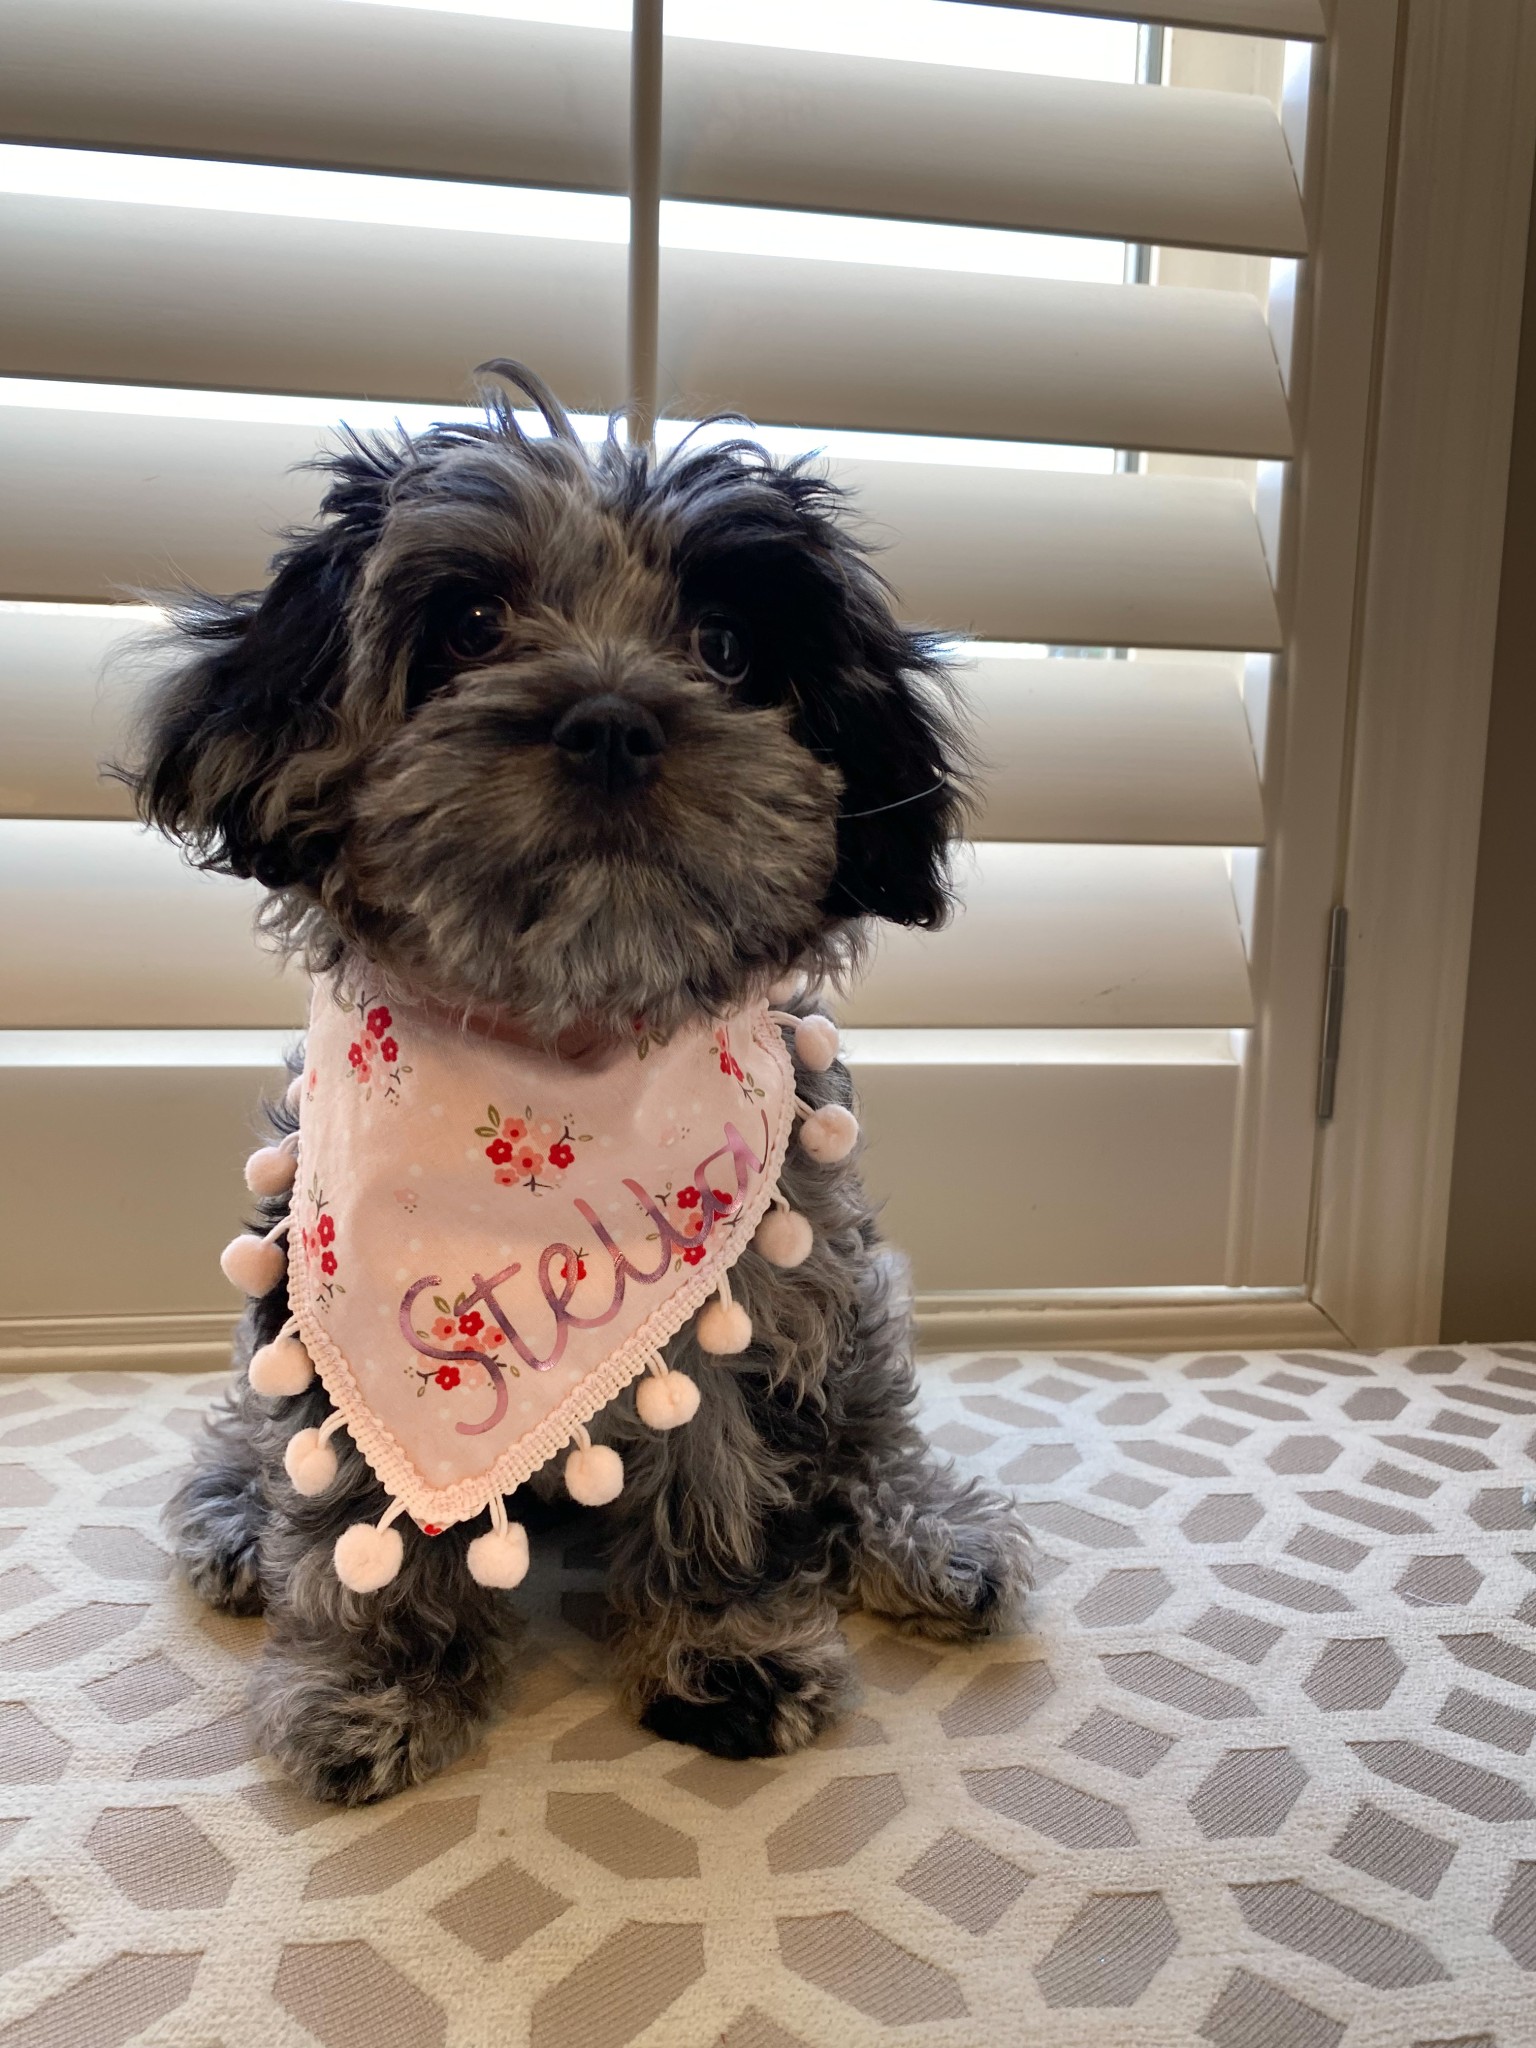
Meet Stella, our adorable Merle Cavapoo.
DIY Pet Bandanas
Immediately I began searching tutorials for hair bows, shirts, and bandanas and got to experimenting. This is the reason I love to craft – to make things for my loved ones.
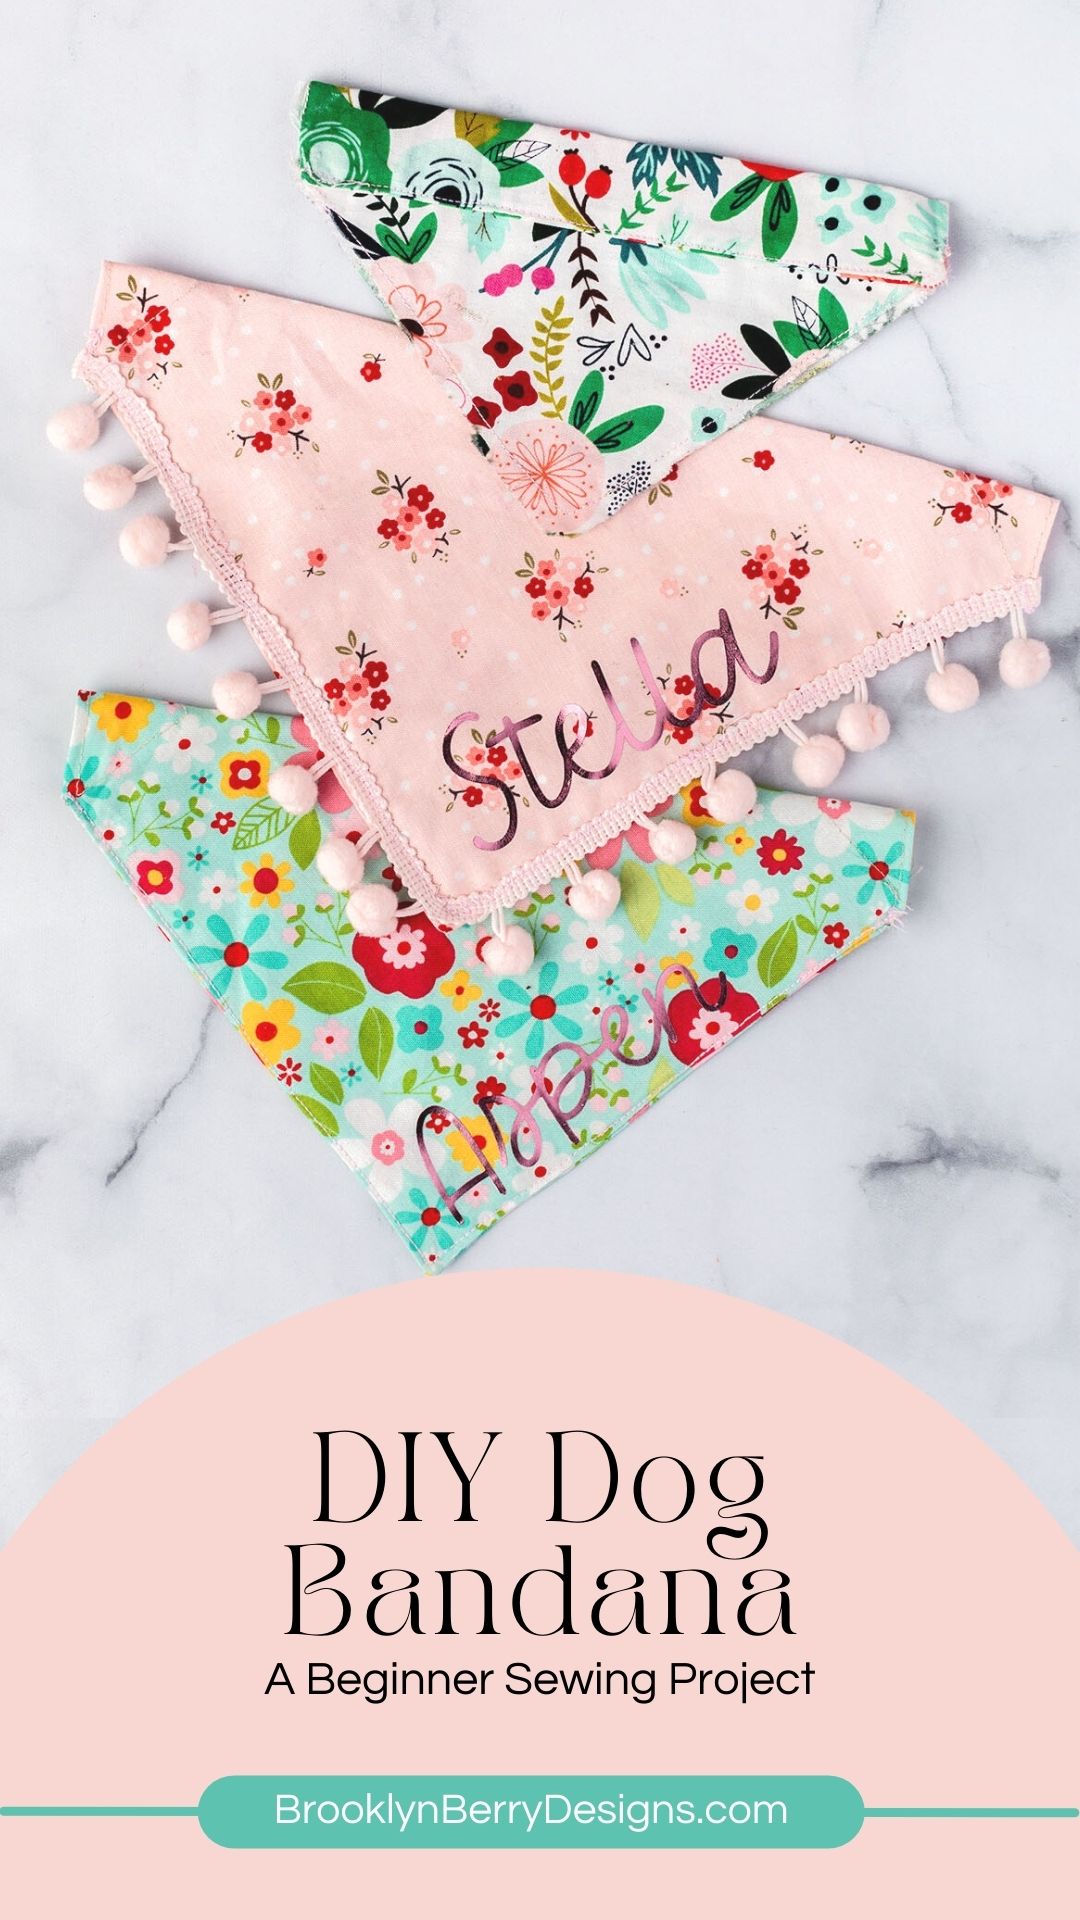
My first project for my new best friend is a bandana that goes over the pet’s collar. A slipcover bandana if you will? It is the perfect accessory for my cute little puppy. These are fun projects to make and area great beginner simple sewing project.
In my very basic testing, I have found the bandanas that slip over the dog’s collar to be the most comfortable. They don’t seem to even notice them and will wear them with ease. No annoying knots!
After being the most comfortable, the collar bandana has so many options. I am sharing the most basic way to put this together, but if you have intermediate level sewing skills you could make it double sided with coordinating fabrics. Pom pom trim or tassels and fringe would be so cute. For today I am going to personalize my DIY dog bandana with iron on vinyl.
Supplies Needed:
- Fabric – fat quarters works perfect
- Template?
- Sewing machine
- Rotary cutter or fabric scissors
- Iron / cricut easy press
Pet Bandana Sizes
The size will depend on your pet, here are the basic sizes. Feel free to adjust the size as necessary depending on the size of your dog and the dog’s neck size.
- X-Small Dog or Cat: 6” x 6” Collar Opening: 1.5”
- Small Dog: 8” x 8” Collar Opening: 1.5”
- Medium Dog: 9.5” x 9.5” Collar Opening: 2”
- Large Dog: 11” x 11” Collar Opening: 2.5”
Directions For Sewing Pet Bandana:
Cut out a piece of your favorite fabric according to the size of the bandana you are making. Press your square in half to form a triangle. Make sure you have a good crease to line up your folds.
The first step is to press your square in half diagonally so you have a triangle. Open it back out and you should have a nice visible crease to work with.
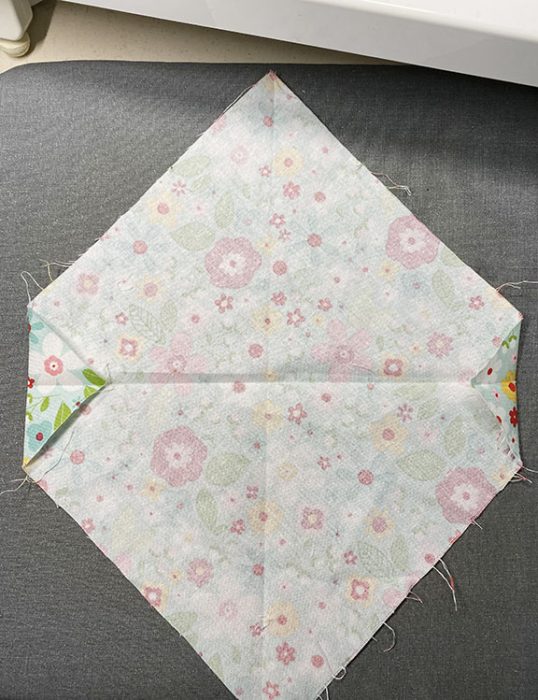
Fold the corners in to form the collar opening. I made a size XS so folded in 1.5”. You can test fit your collar here to double check the size. There should be enough room to slide your dog collar in once sewn.
Press the corners and sew that corner down. Cut the extra fabric from the seam.
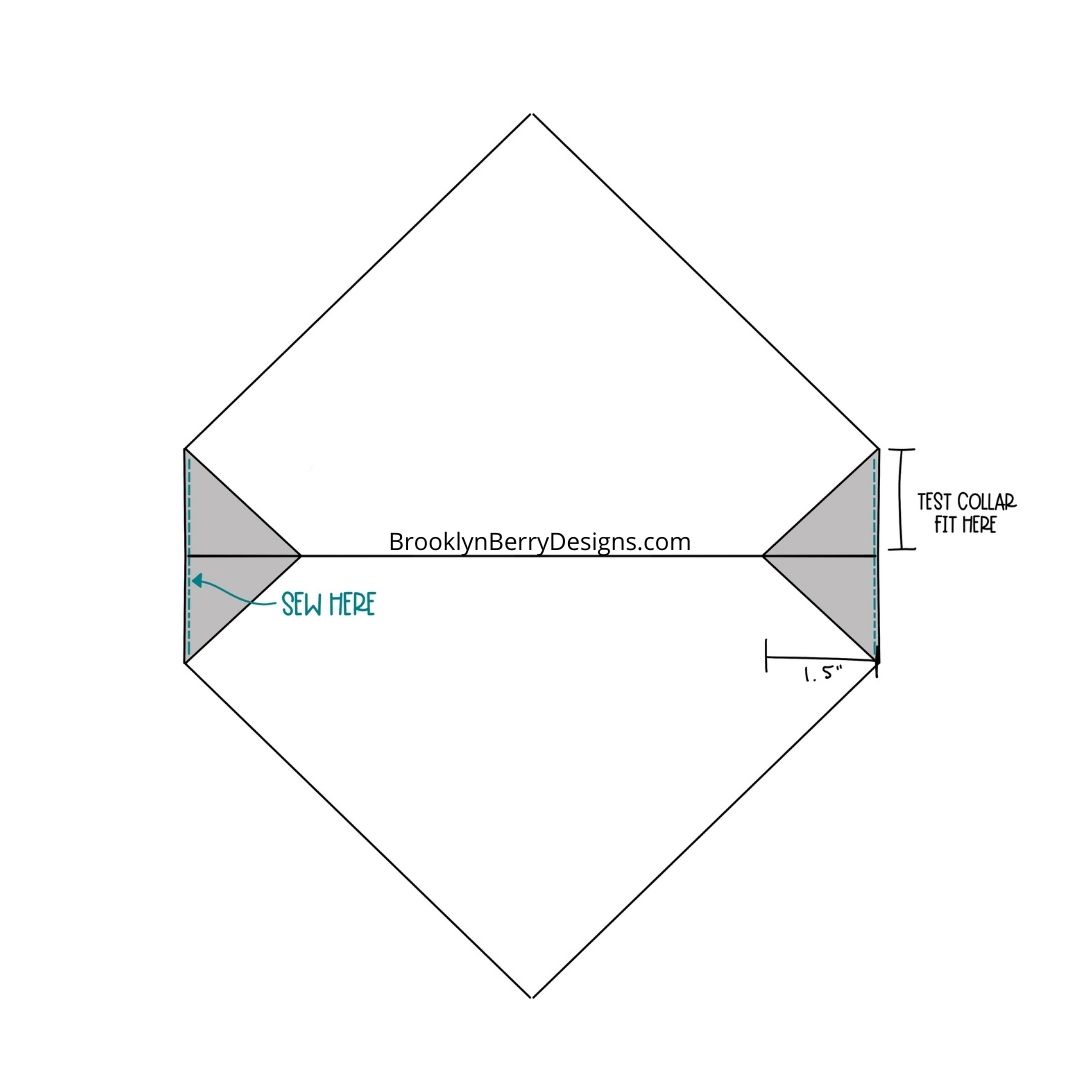
Fold the bandana right sides together and sew along the bottom two edges of the bandana. You are NOT sewing the edges you just sewed in the first step.
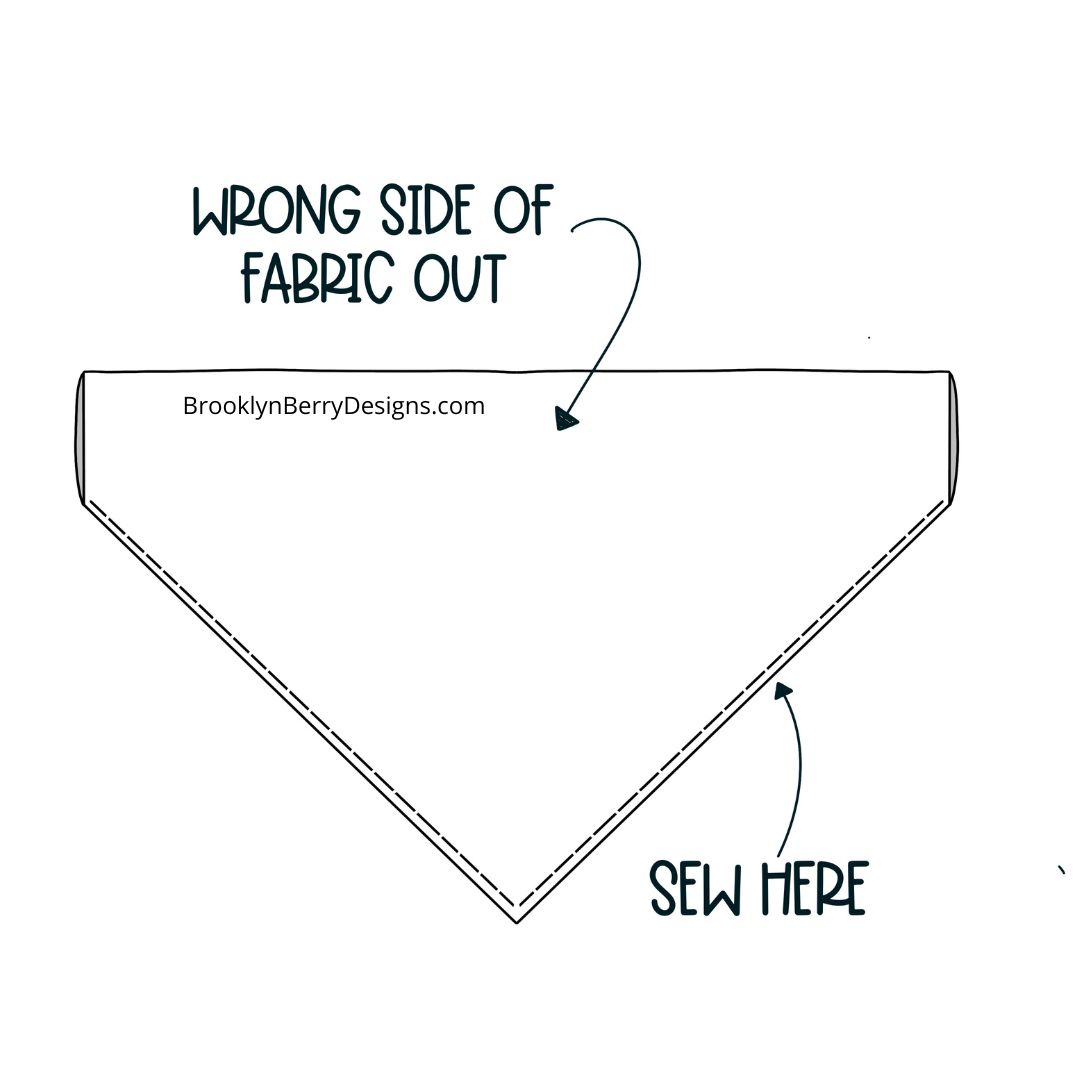
Clip the corners to remove the bulk of excess fabric and flip the bandana inside out. Use a chopstick to push out the point of the triangle. Hem around the entire bandana for a nice finished edge.
Reversible Bandana Option
For reversible dog bandanas, cut a triangle half size out of two pieces of different fabrics. Press the triangles right side together and sew the longest side to form a square. Press the seam open and proceed as usual.
Personalized Dog Bandana
To make these cute dog bandanas even cuter, I decided to add my dogs name with iron on vinyl. I used text in Cricut Design Space and cut it out on my Cricut Maker, but this could be cut on any of the cricut machines.
Free DIY Dog Bandana Pattern
If you have a Cricut Maker, or another machine with a rotary blade, I am including a free SVG file that can be used to cut out the fabric, or cut out a template on cardstock. This free sewing pattern is the easiest way to get sewing, and is the perfect sewing project for kids.
New to Iron-on vinyl? Here is a tutorial that will walk you through how to use iron-on vinyl.
DIY Dog Bandana
Equipment
- Sewing Machine
- Scissors or Rotary Blade
- Cricut Easy Press
Materials
- Fabric – Fat Quarters work great
- Iron-on Vinyl
Instructions
- Cut out fabric. Fold in half to form a triangle and press.
- Open the fabric and fold in the sides on the crease the size of the collar opening. For an extra small bandana, you will fold the triangle in 1.5". Press and sew along the edge.
- Fold the bandana right sides together and sew along the two bottom sides of the triangle.
- Flip the bandana right side out. Stitch around the bottom seams for a finished edge.
- Add trim, iron-on vinyl, or decor of choice.
Notes
Small Dog: 8” x 8” Collar Opening: 1.5”
Medium Dog: 9.5” x 9.5” Collar Opening: 2”
Big Dogs: 11” x 11” Collar Opening: 2.5”
To get the free printable enter your name and email address in the form below and click the GET IT NOW button. I’ll send the printable file straight to your inbox.
Terms and Conditions:
- By downloading this free printable you are signing up for my e-newsletter and you’ll be notified when I release new free printable files.
- This printable is for personal use or classroom use only.
- This file can be used in part or in whole for your personal projects.
- Digital reselling, sharing, and redistributing of the files is NOT allowed. If you would like to share, please direct friends to the original blog post where you found this.

DIY Leather Mary Jane Booties
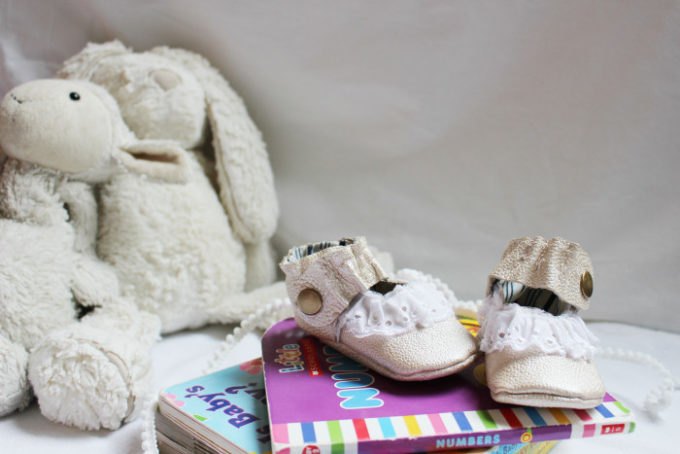
DIY Leather Mary Jane Booties Blogging is a lot like design school, and I love it. The last minute challenges, the deadlines, doubting yourself, being creative on a timeline, all good things! So when I was asked to be part of a design competition for Cricut, completing projects and hoping to win a grand prize…
How To Use The Cricut For Fly Fishing
Fly Fishing I always laugh because every item that comes into our home my husband magically finds a way to use it for fly fishing. Not only does he walk the rivers in pursuit of the perfect fish, he spends his free time making his own flies to catch the perfect fish. We had to…
No Sew Fabric Banner
Have you seen all the cute giant banners all over instagram? I am loving them, and so I decided to make a fabric banner for myself. Even better, a no sew fabric banner. Because who wants to haul out the sewing maching for a simple little craft? You could, if you wanted to I guess.…
Trendy DIY Shirts With Cricut
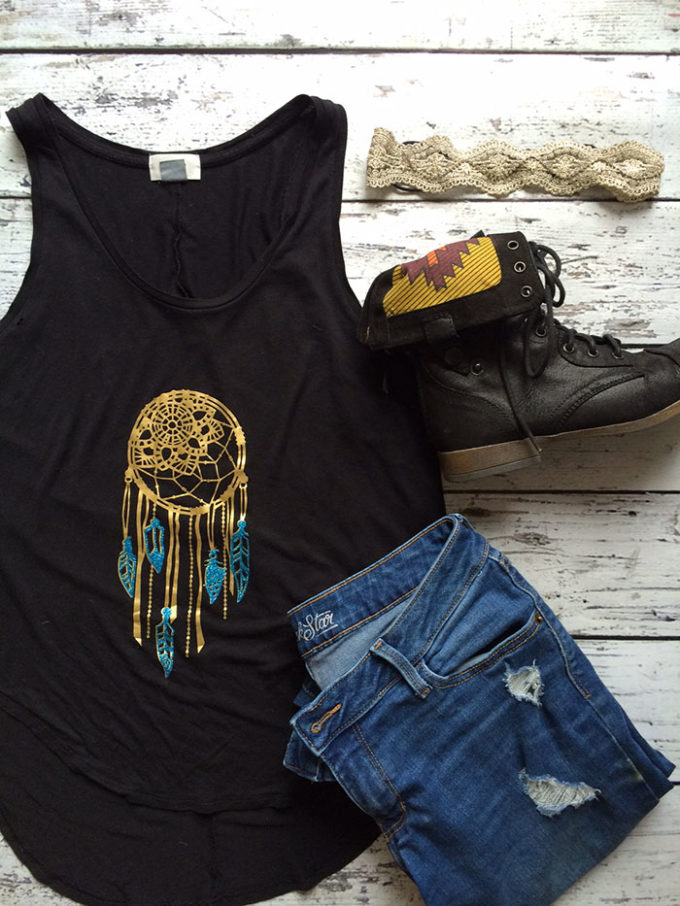
My favorite trend in women’s clothing right now is raglan tees with graphics on them. I see them everywhere, I even bought one (hello, internet famous) but it is also really easy to make your own diy shirts. I already used my Cricut Explore Air to make a wordy tank top and a quote pillow…
Paper Flower Lamp Shade
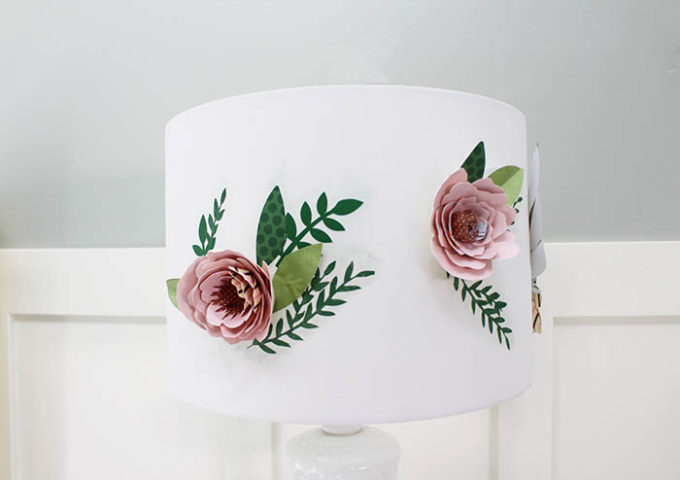
I am loving everything floral and succulents these days, and while my plants tend to be pretty hardy in the back yard, I wanted to experiment with the paper flowers I have seen all over. I decided to make over a lamp shade and add some greenery, leaves, and flowers for a simple and girly…
Felt Succulents & Banner Wreath
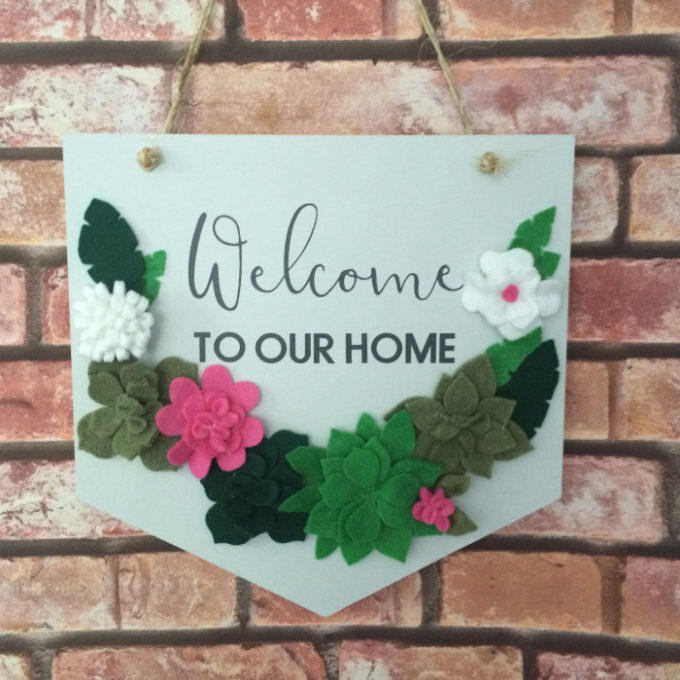
I am obsessed with succulents these days (who isn’t?) and love incorporating this trend into my home decor and craft projects. In April when I attended Snap! Conference I was stopped in my tracks to see this amazing book with succulents in it. Almost like the book planter I made a while back, but upon…



Comments & Reviews
Mary Lou Webster says
She is adorable!! My daughter just got an Ausiedoodle so this is perfect timing!
Joanne Baker-Oakes says
Excellent 👍
Carol Poss says
So much better than the “tie” bandanas and super simple to make. Thanks for sharing!
Hazel says
Thank you and love your easy instructions, just bought my Grandaughters brother’s sewing machine and they should manage this dog bandana…
Marlene Myers says
Have several dogs in our family and they will love this.
Lauren says
The most delightfully easy-to-follow instructions, thank you! (Stella is a beautiful pup!!)
Brooke says
Thanks for the sweet comment, and for the love on Stella! She is beautiful!
Nancy says
This is a great quick project.