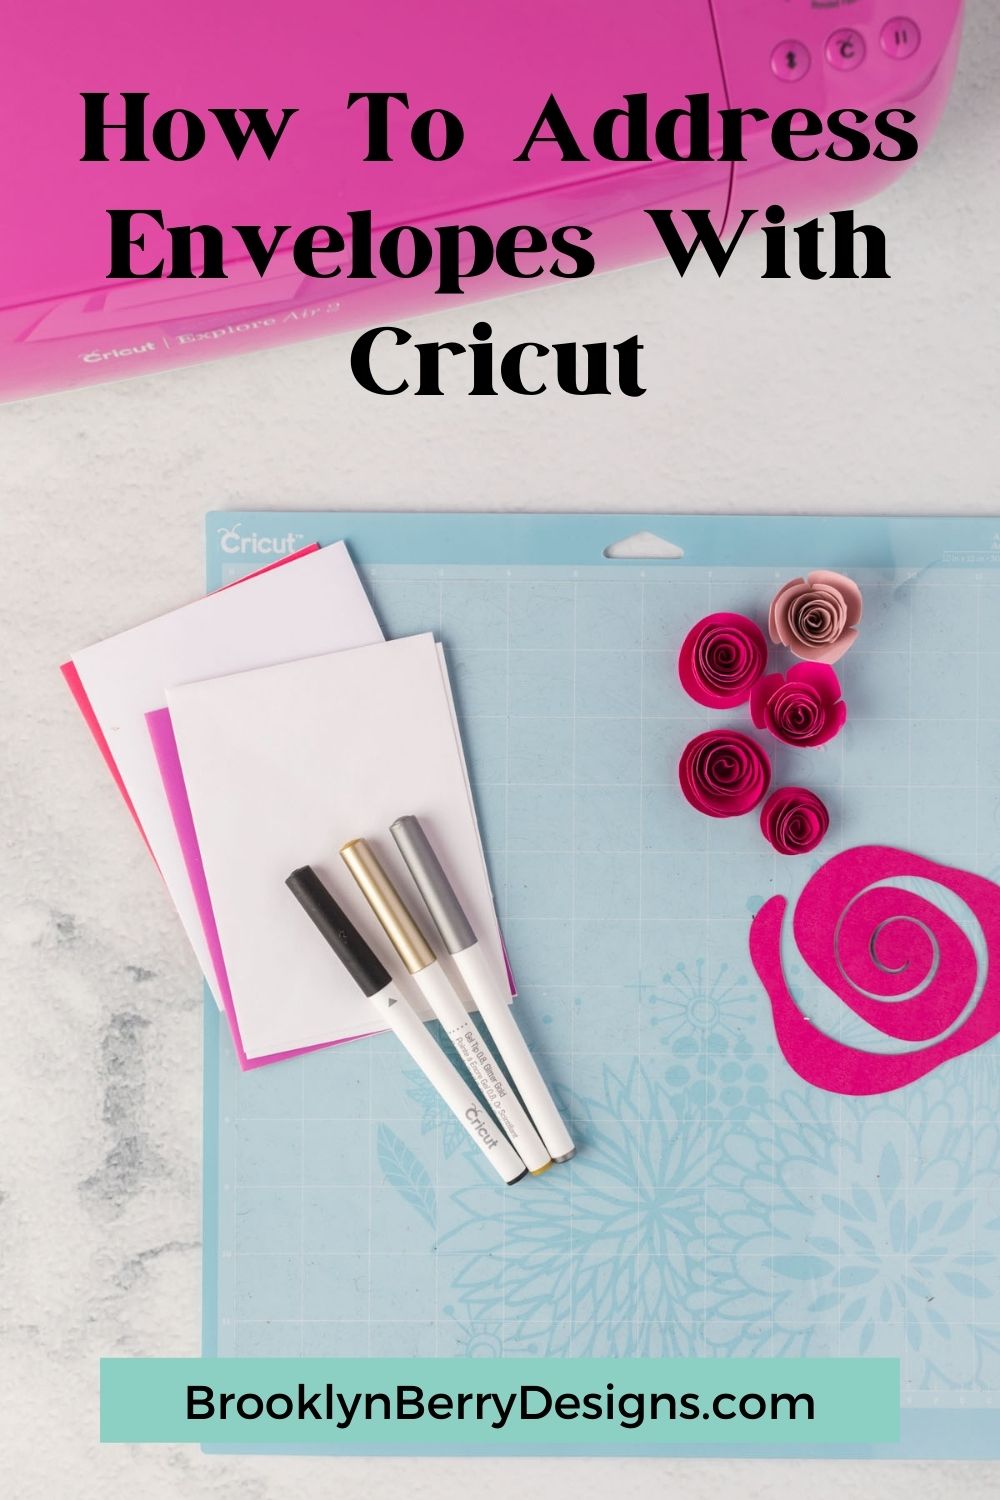
Do you have some envelopes to address but have terrible handwriting? You can use the drawing tool and Cricut pens to get the look of hand lettering or calligraphy – whatever look you like!
Writing the address on envelopes with a Cricut machine saves your hand strength! I think it adds a handwritten look for a personal touch!
Another great idea is to add a family logo or custom label where the sender’s information will go! Cute custom return address labels could be written on the envelope themselves or written onto labels or Cricut sticker paper.
SUPPLIES FOR WRITING WITH CRICUT
- Fine point pens
- Cricut cutting mat
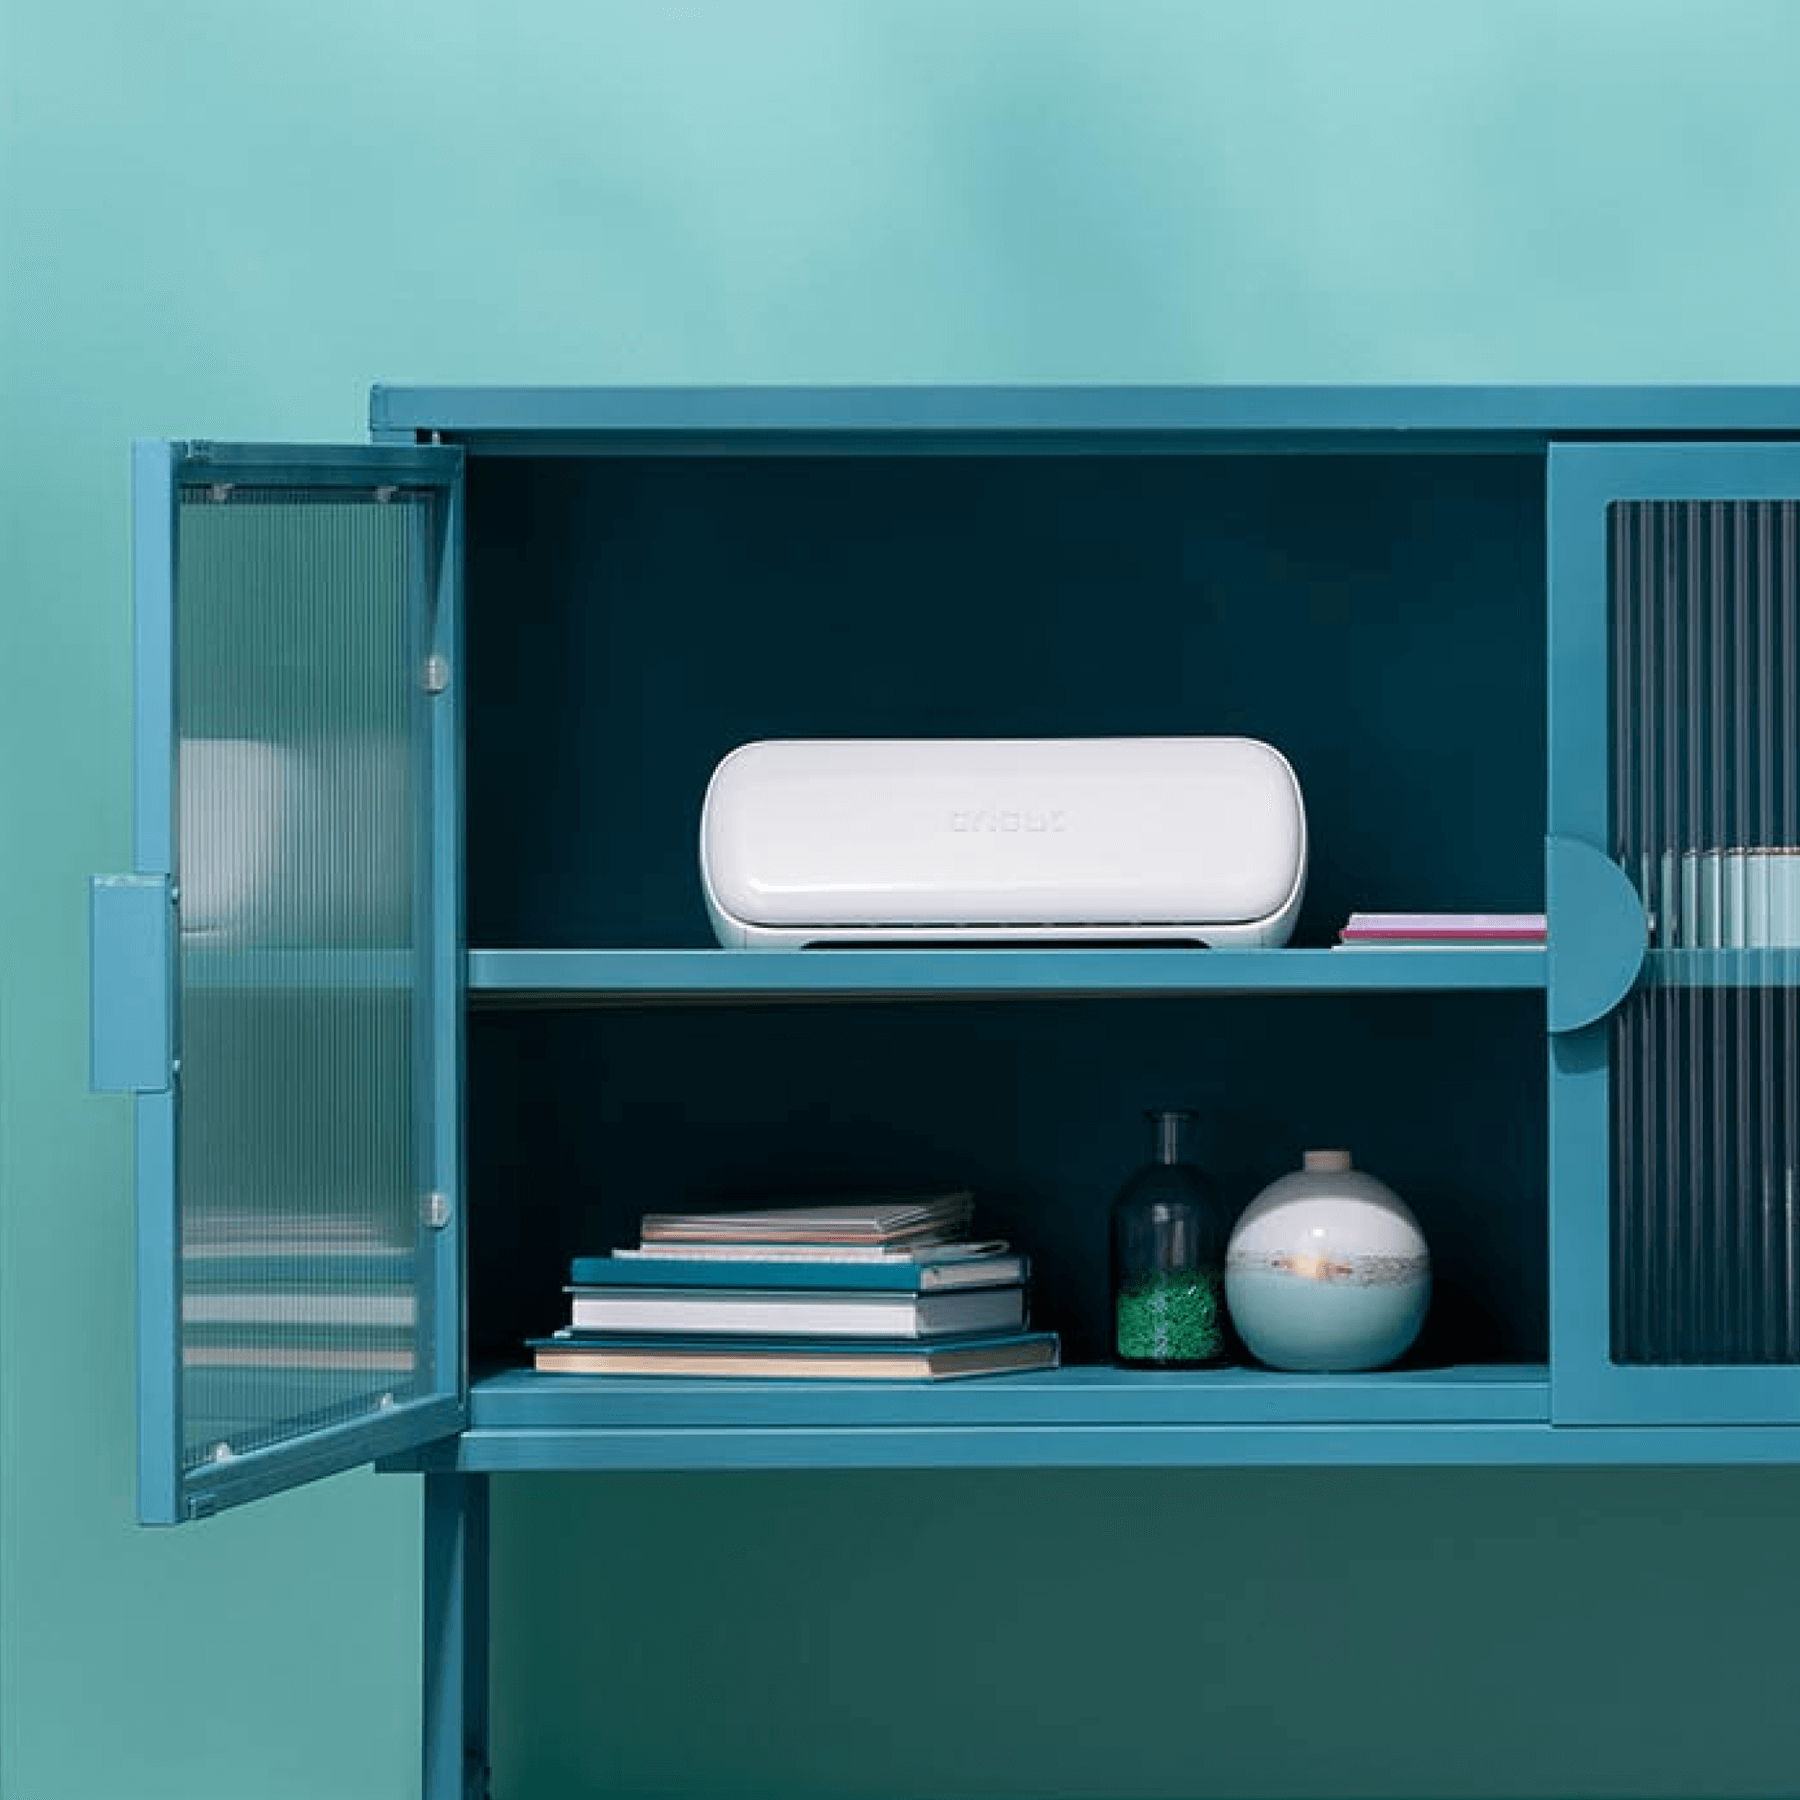
- Cricut Machine – Cricut Joy, Cricut Maker, or Cricut explore all work!
- Envelope
Setting Up Text Boxes In Design Space
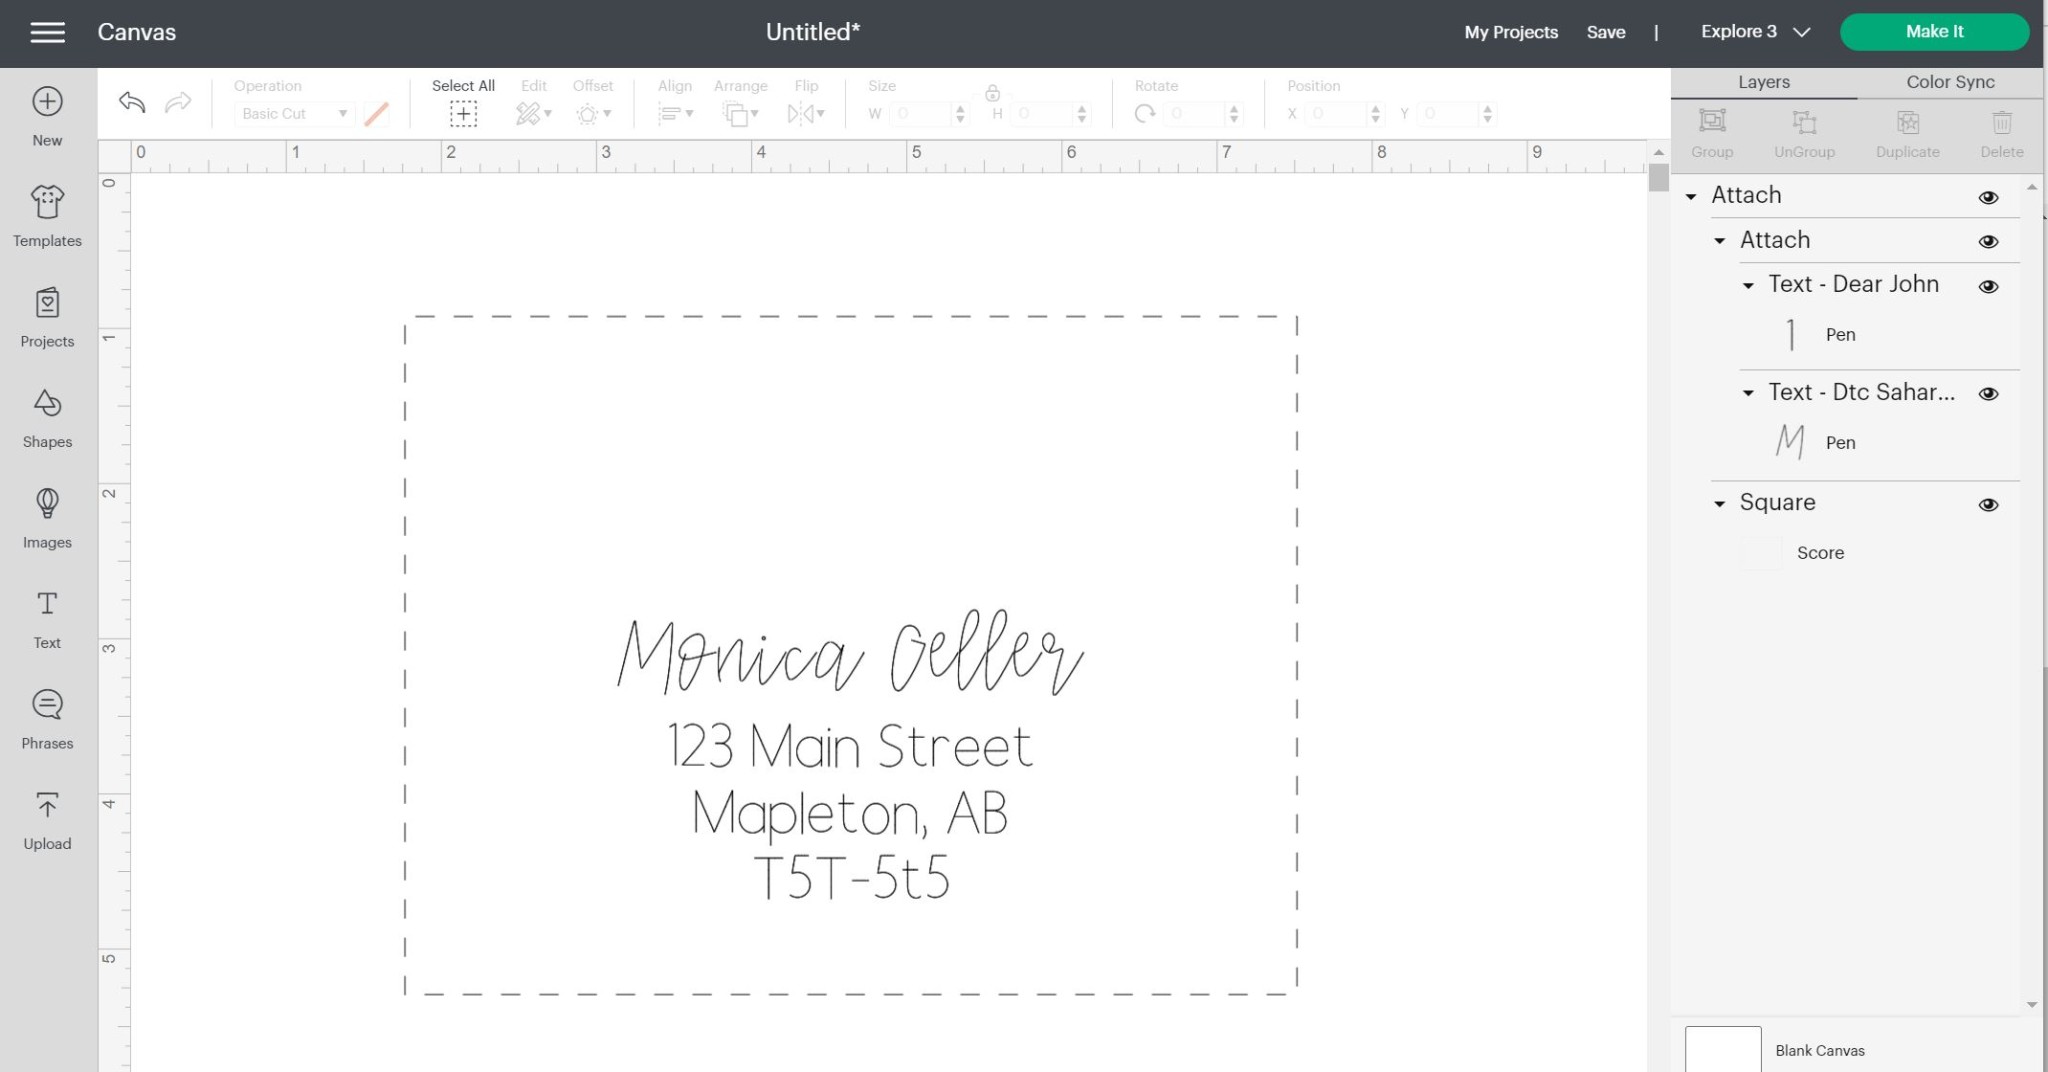
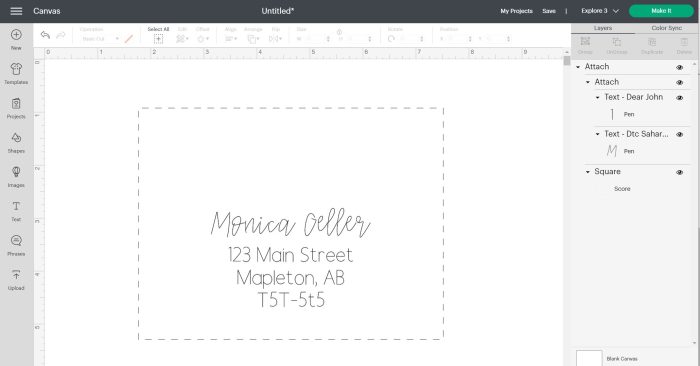
To begin, open up Cricut Design Space. We are going to start by setting up an envelope template by placing a rectangle the size of your envelope into the canvas. You will need to unlock the shape to resize it to a rectangle. Once the dimensions are correct lock the rectangle so you can’t adjust it accidentally.
If you are using the Cricut envelope from the Joy card set the envelope dimension is 4.37 in x 5.75 in. You can use your own envelope of any size for this! The rectangle helps us align the text and visualize the sizing on the envelope. You will want to change the box to be scored, not cut.
Add a new text box and type out your recipient’s mailing information. Select a writing font in a style of your choice. I like to use a cursive font for the name and a different font (such as serif fonts) for the address lines of the recipient.
Choosing Fonts In Design Space
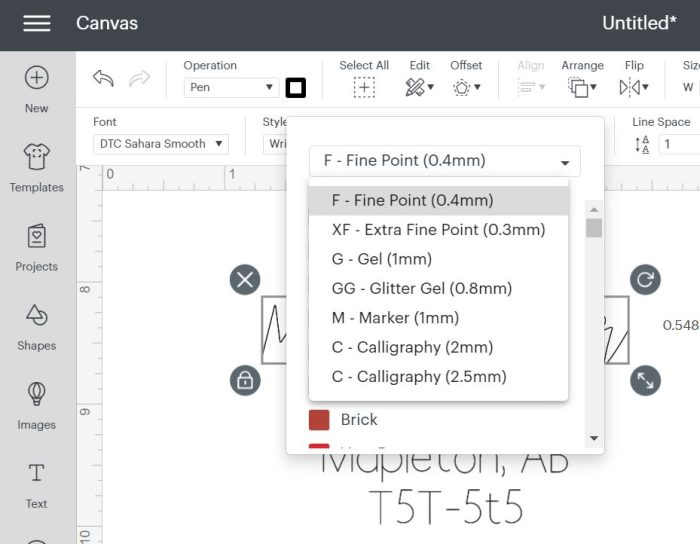
You can filter through the cricut access fonts (if you have the cricut access plan) for fonts with a writing style. These fonts were designed specifically for use with the pen tool.
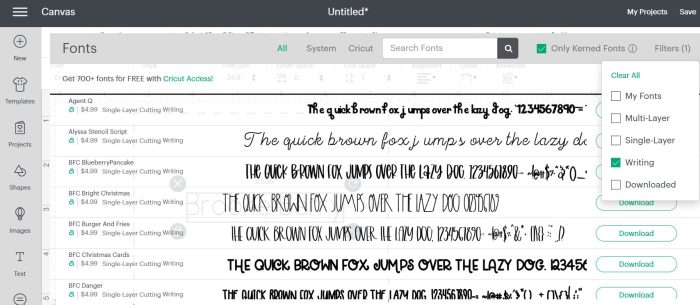
If you select a non-writing font you will see that the pen will draw an outline of the font instead.
Double-check that your layers panel has your text set to write and not cut.
Check out my list of best Cricut writing fonts.
If you are working on wedding invitations or holiday cards with a longer list I highly recommend typing up the names and addresses in a word document so you can copy and paste the text. Added bonus – save this Design Space file and you can reuse these names and addresses for the future!
You may want to adjust the line heights depending on your font style and if it has any extra tall glyphs. You can do this by simply ungrouping the words so that each line is a group. When they are set up the way you like attach all the text layers together.
Adjust the size of your text so that it looks proportionate to the size of the envelope. Select the text and envelope shape together and align them centered horizontally. Attach them together.
Click Make It. Select material lightweight cardstock.
See the Best Cricut Access Fonts
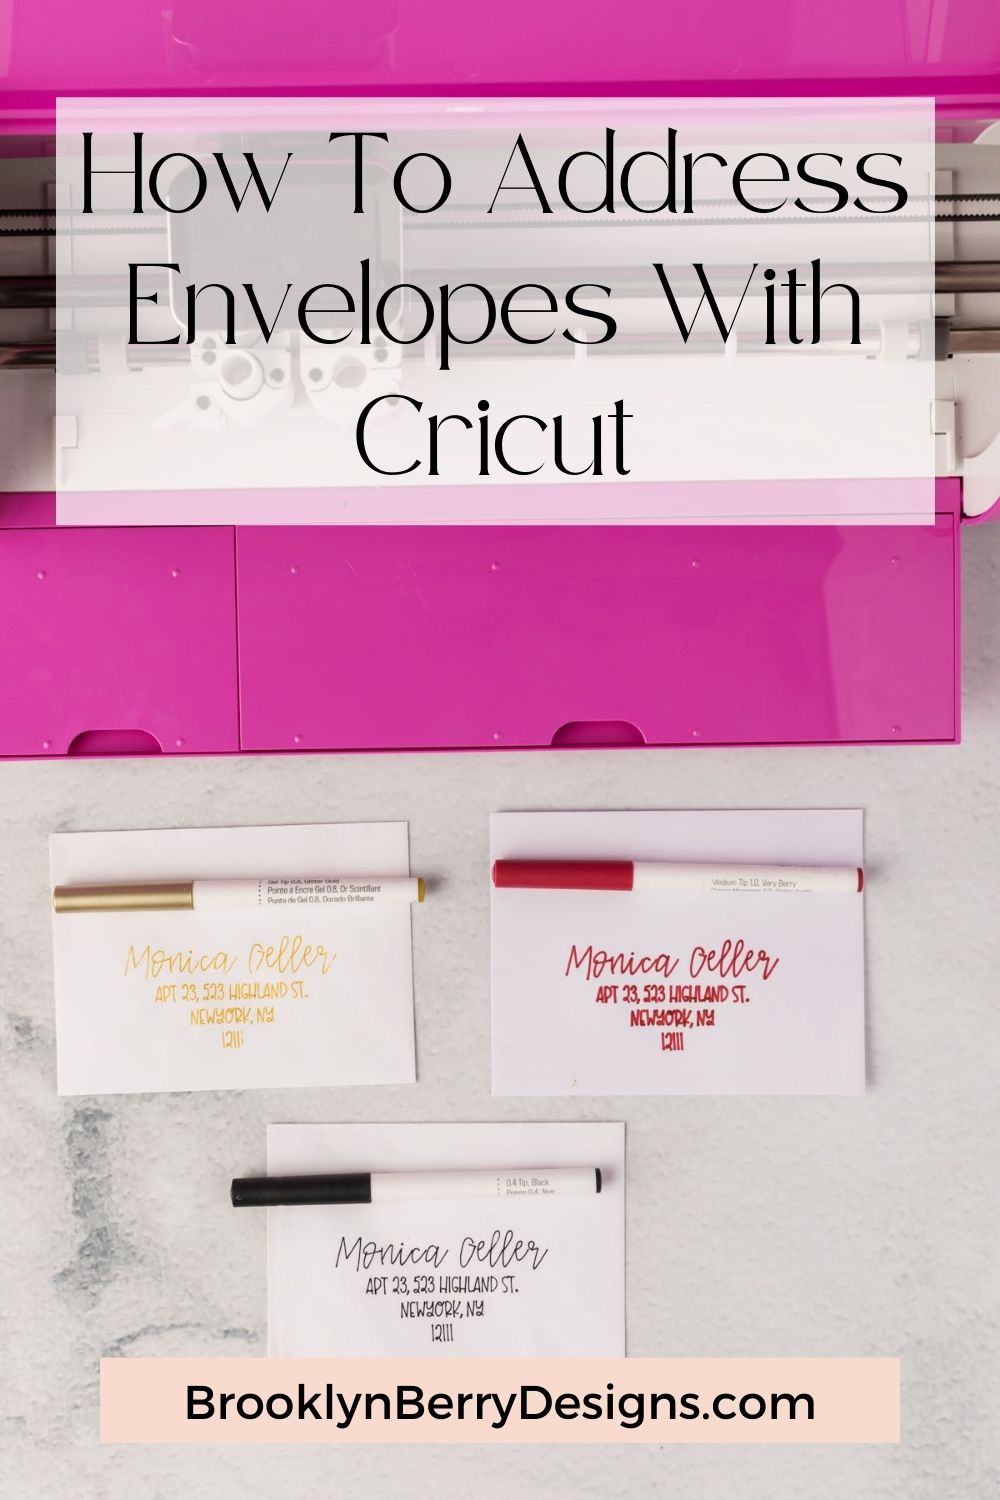
Bring out the Tools and Cricut Machine
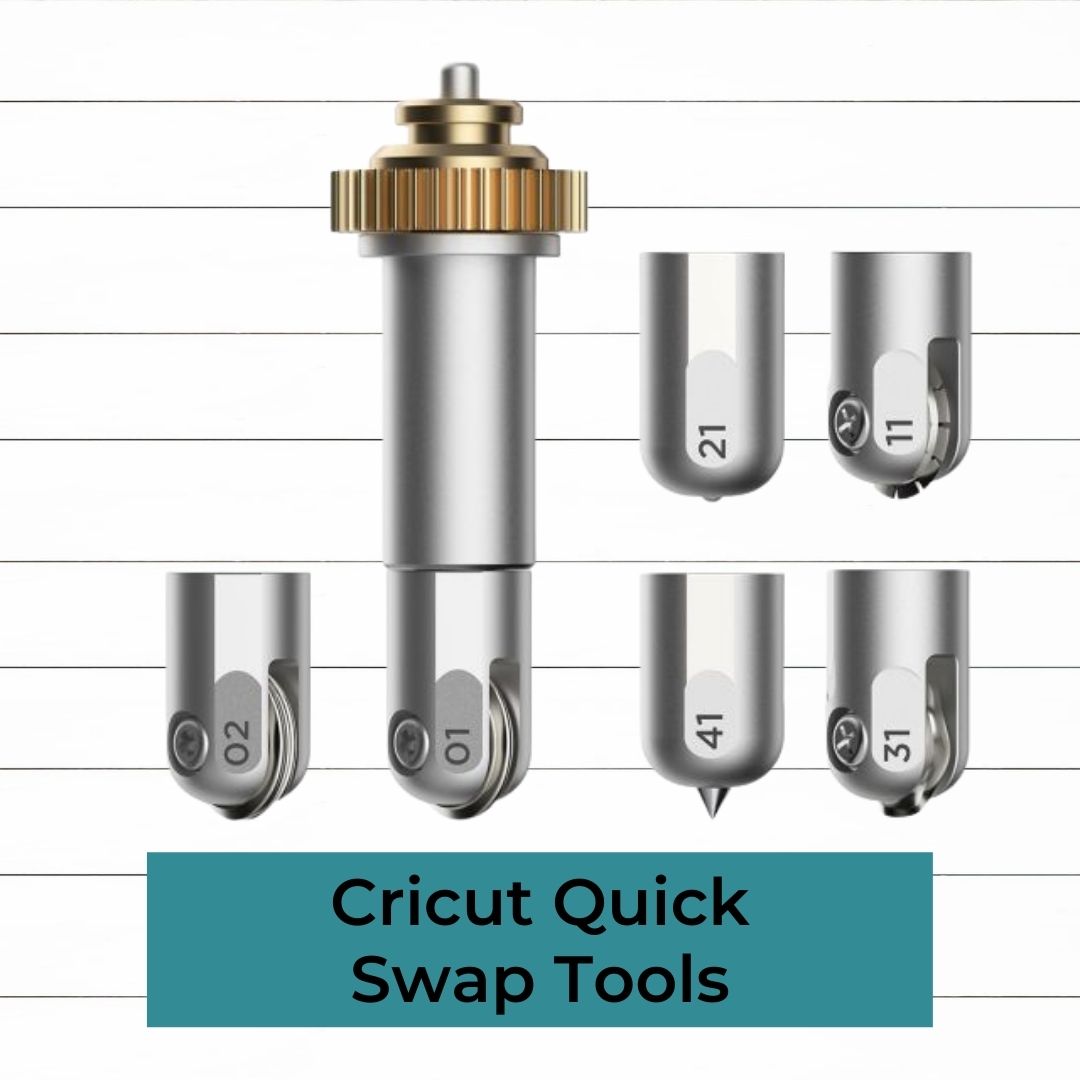
If you are using the Cricut Maker you will need to manually select the scoring stylus rather than the scoring wheel. When it is time to score you will just not put in the scoring stylus. Just leave it empty and just let the machine run. The Cricut Maker can detect the quick swap tools so it will not allow you to “trick” the machine unless you change this setting.
Place your envelope in the top left corner of your Cricut mat. You may need to adjust the placement on the mat by a quarter inch if you are wanting to be really precise. This needs a bit of trial and error to get the spacing set up just right.
When prompted, open clamp A and put in a fine point pen. Hit the go button.
Best pens for writing with Cricut
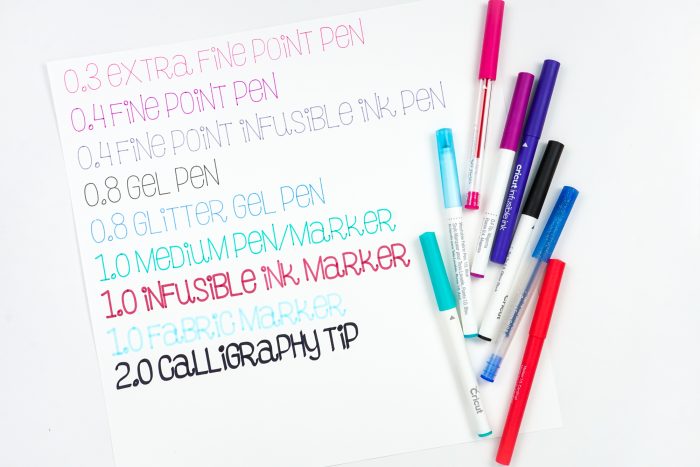
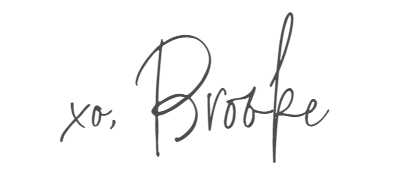
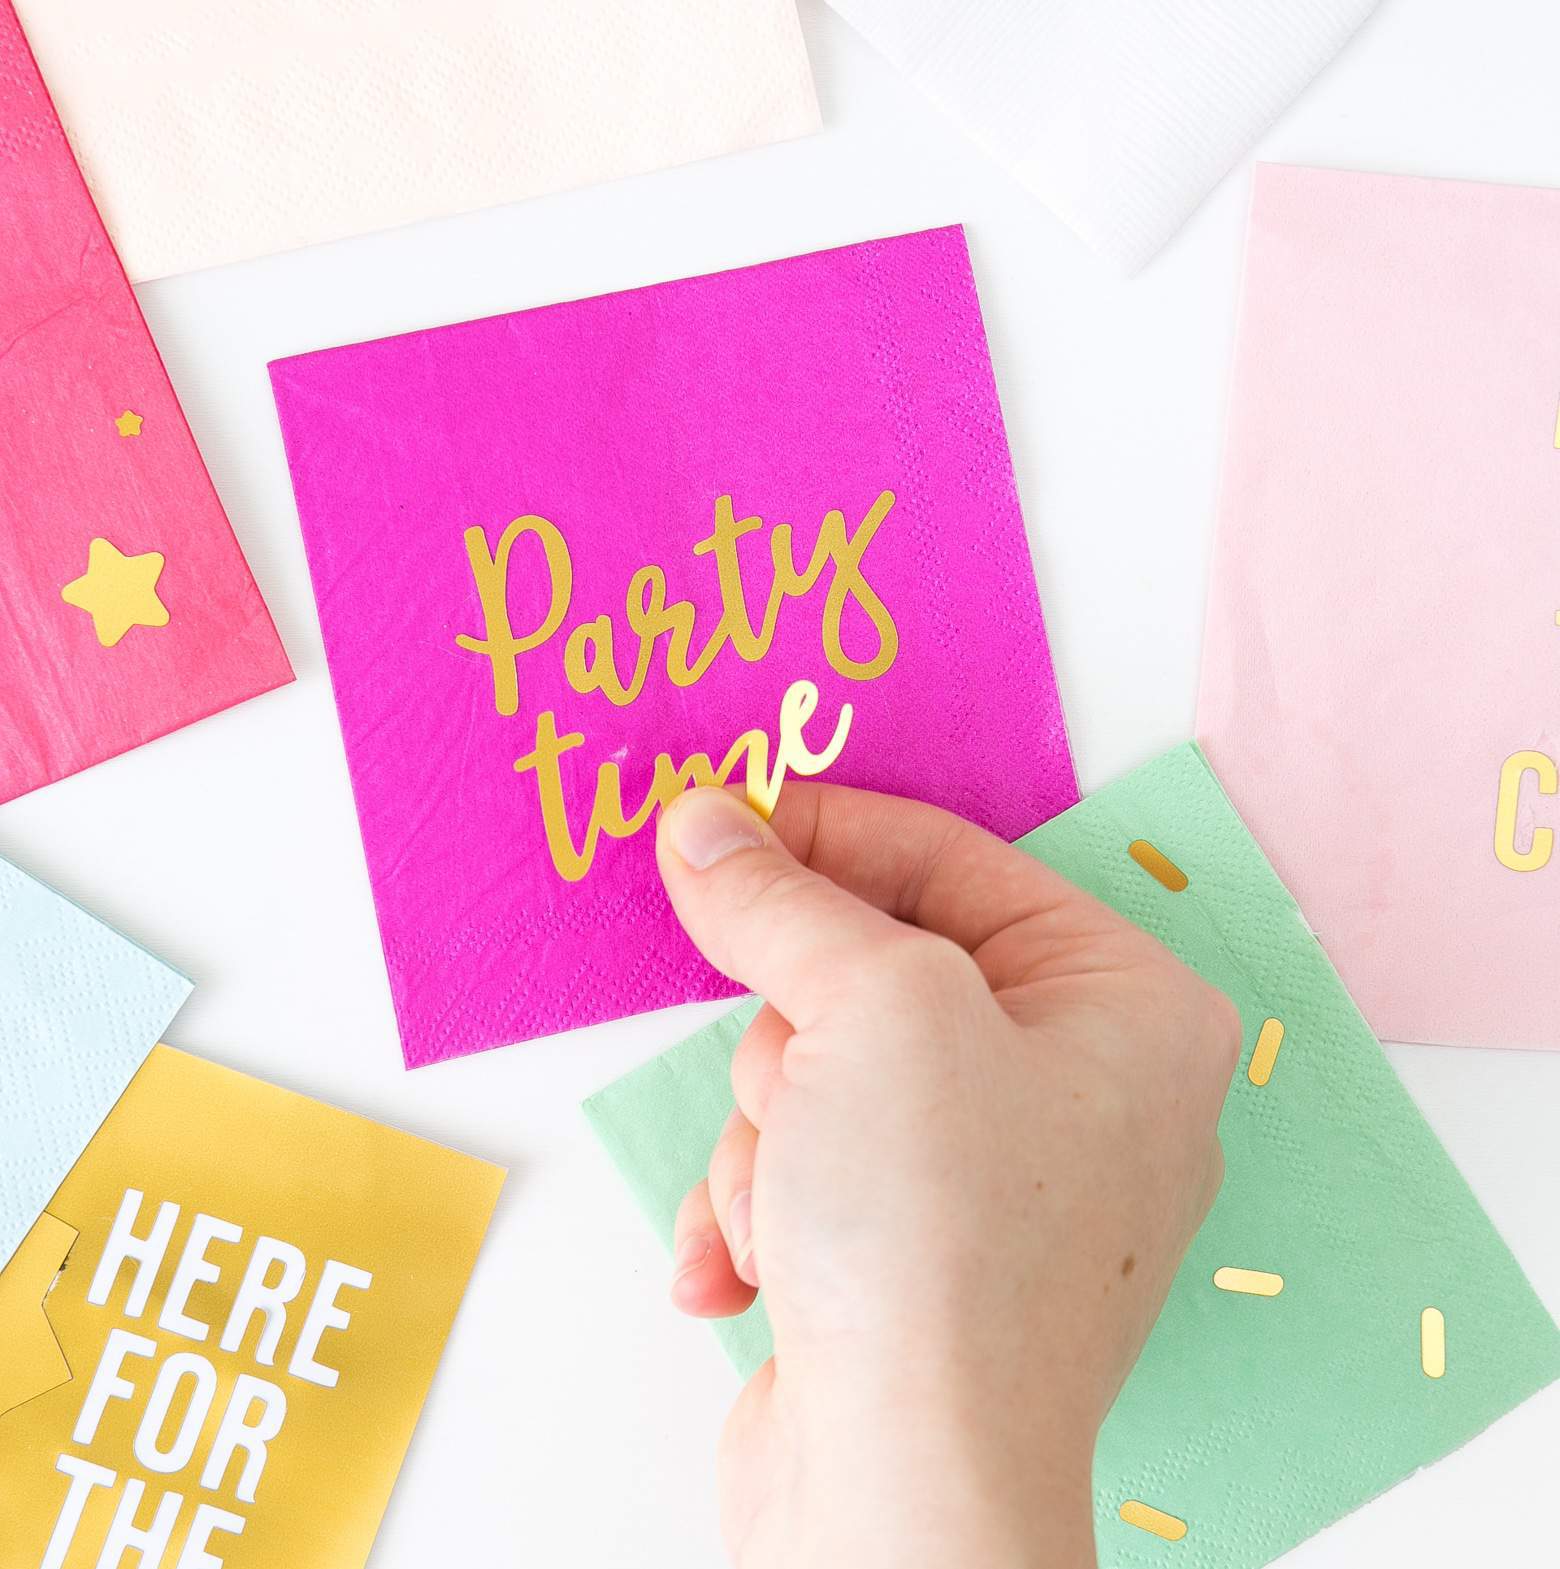
There are a few different options for pens to write with your Cricut. For best results, you should use the Cricut brand of pens. I personally LOVE these pens and use them all the time just as typical pens. If you ever see them on sale buy some! There are various options to choose from including fine point pens, ultra-fine point pens, markers, and a Cricut calligraphy pen.
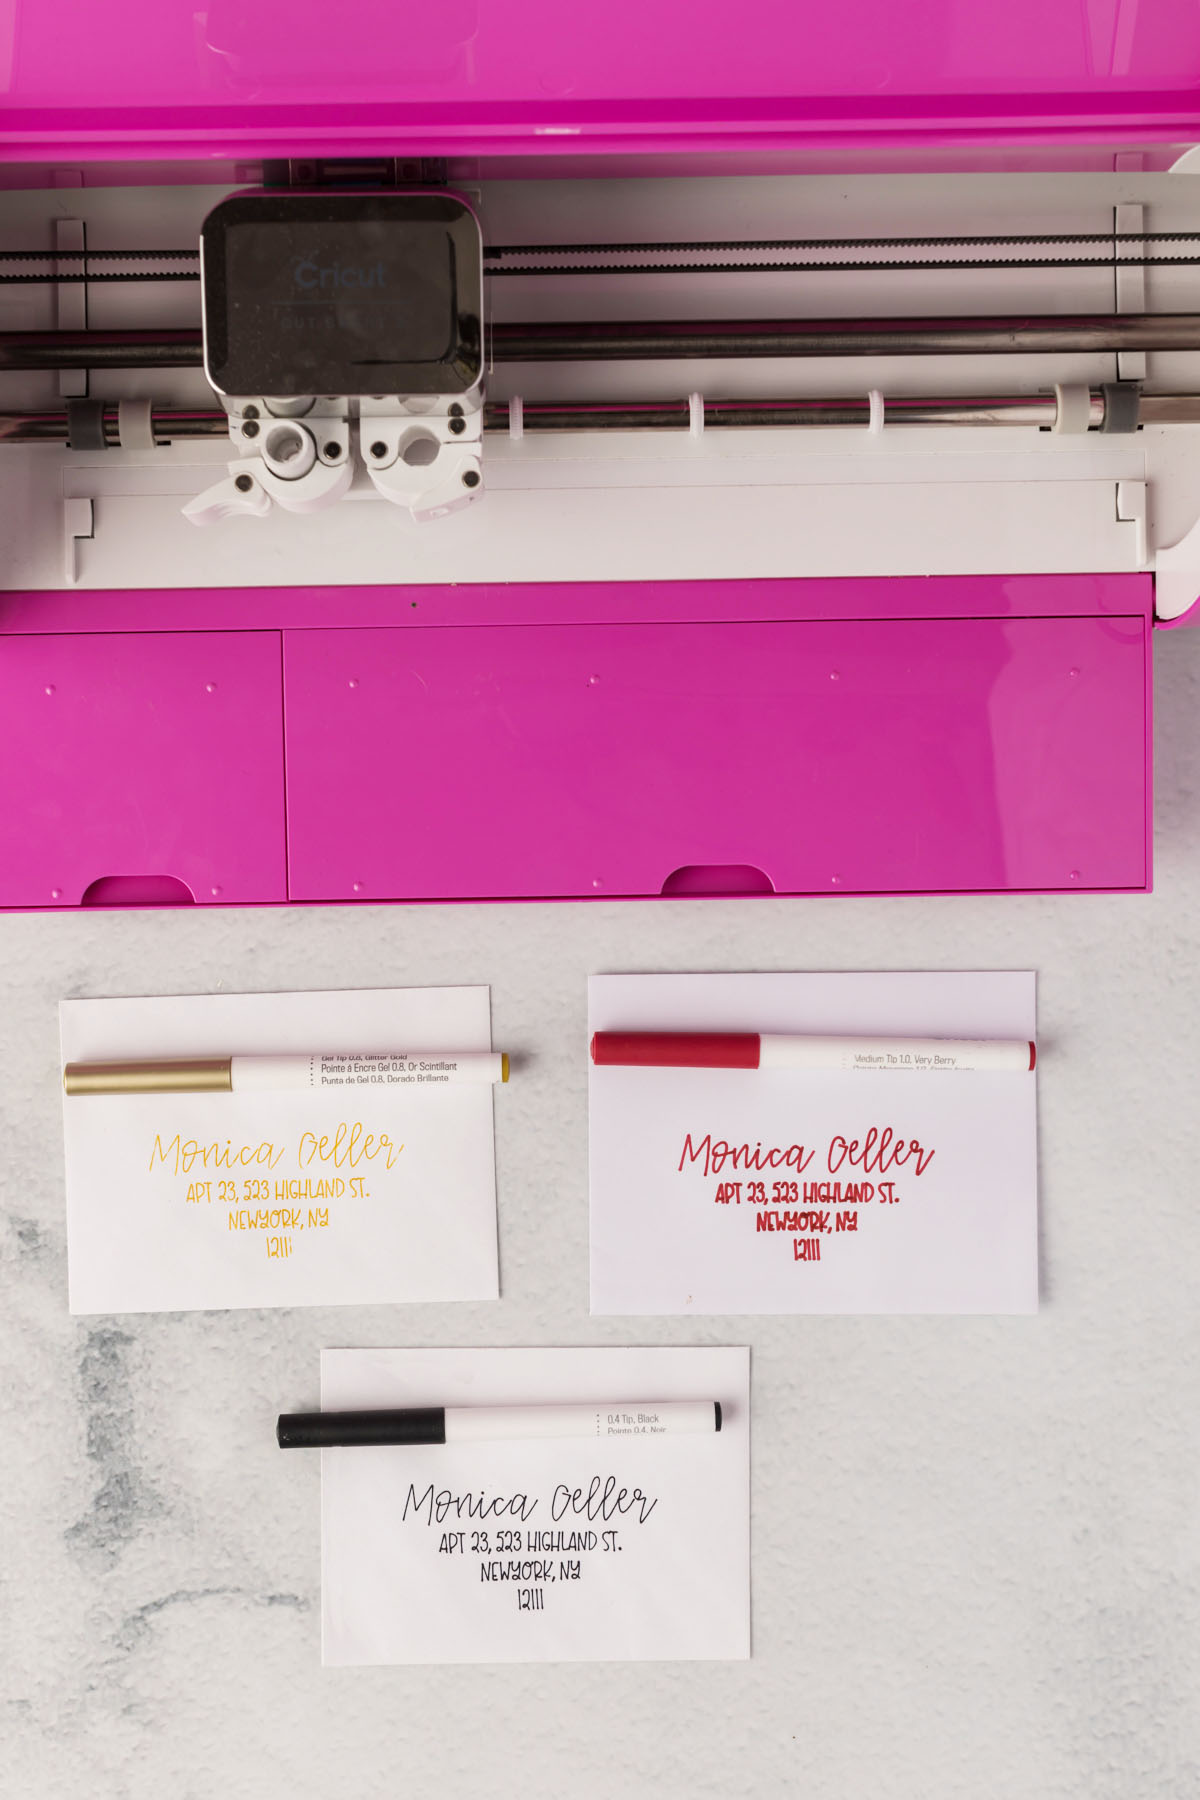
In the image above – the black ink is 0.4 fine tip. The gold is 0.8 gel pen, and the red is the medium tip marker.
If you want to try different brands of pens there are a few options. I have heard others having success with sharpie fine point markers and fine line Crayola markers. There are options for a set of adapters that will fit into your machine and can be adjusted to fit any other marker or normal pens.
Check out all of my other Cricut projects here.
If you want to see even more marker tips in use, check out the ultimate guide to cricut pens from Hey Lets Make Stuff!
Happy Crafting!


Leave A Reply!